
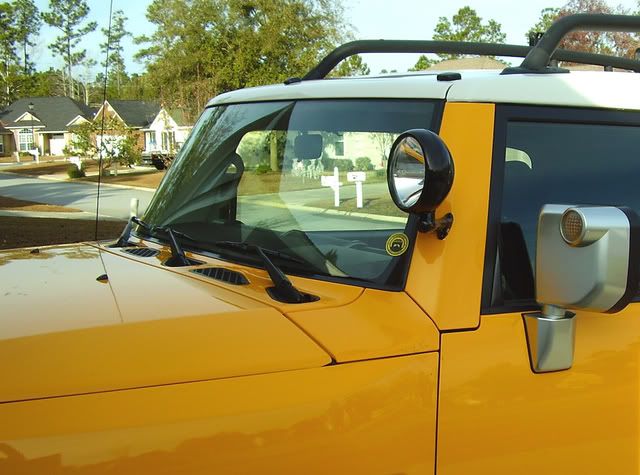
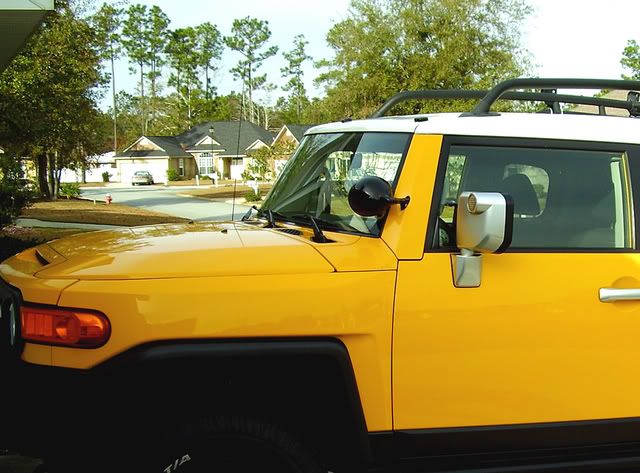
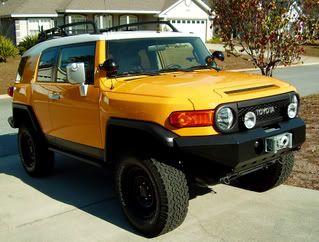
The Unity Post-Mounted Spotlight for the FJ Cruiser


Before I even get into it, I just want to throw in some warnings and disclaimers.
PLEASE READ:
This installation is not a simple "plug 'n play" modification. And, possible irreversible damage to your FJ may occur if not done correctly and/or any deviation from the instructions takes place.
Please refer to the spotlight manufacturer's instructions as the primary source of information when performing this installation, and only use my write-up merely as a reference as to how I happened to accomplish it.
Also, even though my actual installation will be a dual spotlight installation (driver and passenger side), the manufacturer of the spotlight (Unity) states that some interference with the dashboard airbag deployment on the passenger side possibly may occur under certain circumstances if a spotlight is installed on that side. So, proceed at your own risk if you plan a set-up similar to mine. (I'll be posting up pics of the passenger side installation once it's completed.)
This write-up will only chronicle the installation of the driver's side spotlight. (The passenger side's installation procedure is identical.)
And lastly, if you’re the least bit unsure about your skills for a project like this, I highly recommend that you have your spotlight(s) installed by a professional shop that specializes in Unity spotlight installation.
Purchase:
I ordered the dedicated mounting/installation kit(s) directly from UNITY HAS THE RIGHT LIGHT

The driver side installation kit part number is #11RH. (The mirror-image passenger side installation kit would be #11LH). $31.94 each.
Unity Manufacturing Co. - Detail
Unity Manufacturing Co. - Detail
NOTE: Even though the driver side installation kit is designated as "RH" (right hand), this particular mount is also used for a number of other vehicle applications, and Unity has determined that the RH mount is to be used specifically for the FJ Cruiser driver's (left hand) side. (This can be verified by checking Unity's vehicle application guide on their web site.)

However, the actual spotlight(s) (model 330CL) that are specific to the FJ Cruiser were kinda expensive from Unity.
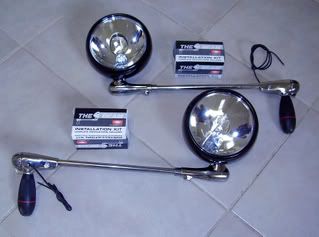
So, I ordered them from Unity Spotlight 330CL (245,000 Candlepower)--Vehicle Lighting Solutions, Inc. ($113.95 each)
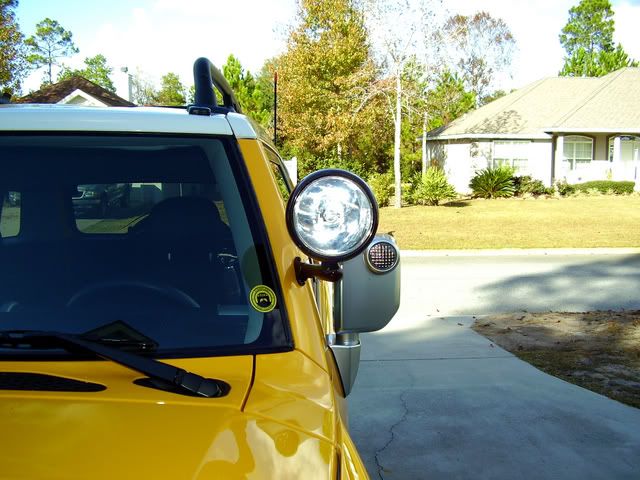
The spotlight housings are available in either chrome or black. I got the black ones, however, I painted both the chrome mounting bracket and the swivel base of the spotlight itself for a totally "blacked out" look.
As far as obtaining them locally, check Unity's web site for dealer locations, or check your phone book for stores/shops that specialize in automobile safety equipment.
Also, most major cities will have shops that cater to equipping commercial trucks, school buses, tow trucks, etc. and they typically have access to Unity's products.
Tools Required:
High-torque electric drill
Long-shaft 1/2" drill bit
Misc. other drill bits
Dremel tool
Socket wrenches
Screwdrivers
Allen wrenches
Misc. electrical connectors, cable ties, etc.
Masking tape
Touch-up paint
Patience and courage
Preparation:
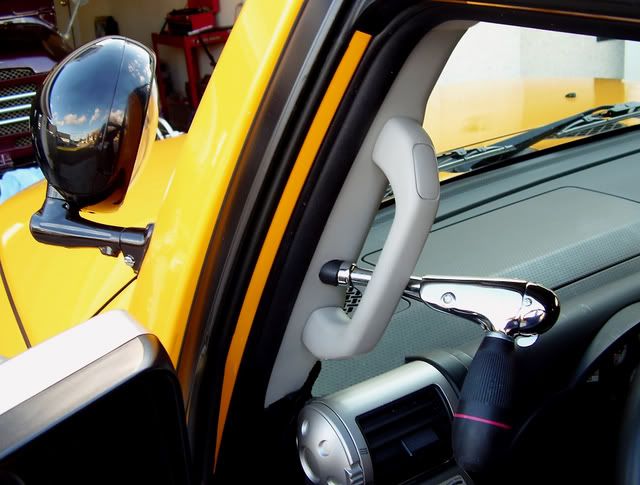
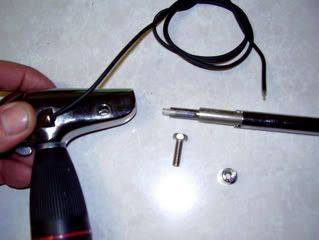
Remove the control handle from the spotlight shaft.

If you will be painting the chrome spotlight swivel base and mounting bracket, mask as necessary, sand the parts, prime, and three coats of gloss black paint. (The spotlight head is easily removed from the swivel base by opening the beam housing and unbolting the retainer bolt.)

For safety precaution, disconnect your battery's Negative (-) terminal prior to actual installation.
Cut the included mount bracket template to precise size. And, tape it exactly three inches from the base of the external A-pillar cover where it meets the cowling by the windshield.

(Also, you might want to use masking tape in the general area of where the mounting bracket holes are to be drilled in the event of drill bit slippage.)
Use a pencil or a pilot hole punch to mark the exact location of the 1/8" mounting bracket screws. (Remove the template after the marks have been made.)

Remove the driver's side grab handle and remove the interior A-pillar cover by pulling out and down from the top. (The cover will snap off will a little bit of pulling.)


Remove the grab handle mounting bracket and the side curtain airbag tether strap (if you have one).


Tuck the tether strap up out of the way.

Take a deep breath. The scary stuff is about to begin.
(Continued in the next post . . . . )


 Nice detailed install Steve!