UPDATE 4/4/24 - For more pics/info on drilling the holes for the evaporator & installing the compressor bracket, go to page 4 of this thread
Here it is! The much anticipated writeup of how to install AC into a 1st generation 4Runner or pickup.
I’m going to warn that this is going to be a very long, extensive, boring, picture heavy writeup where I’m going to compile all the research I have done and the entire process from beginning to end.
I’m going to break down this writeup into 5 parts which are:
-Getting started and finding the parts
-Evaporator
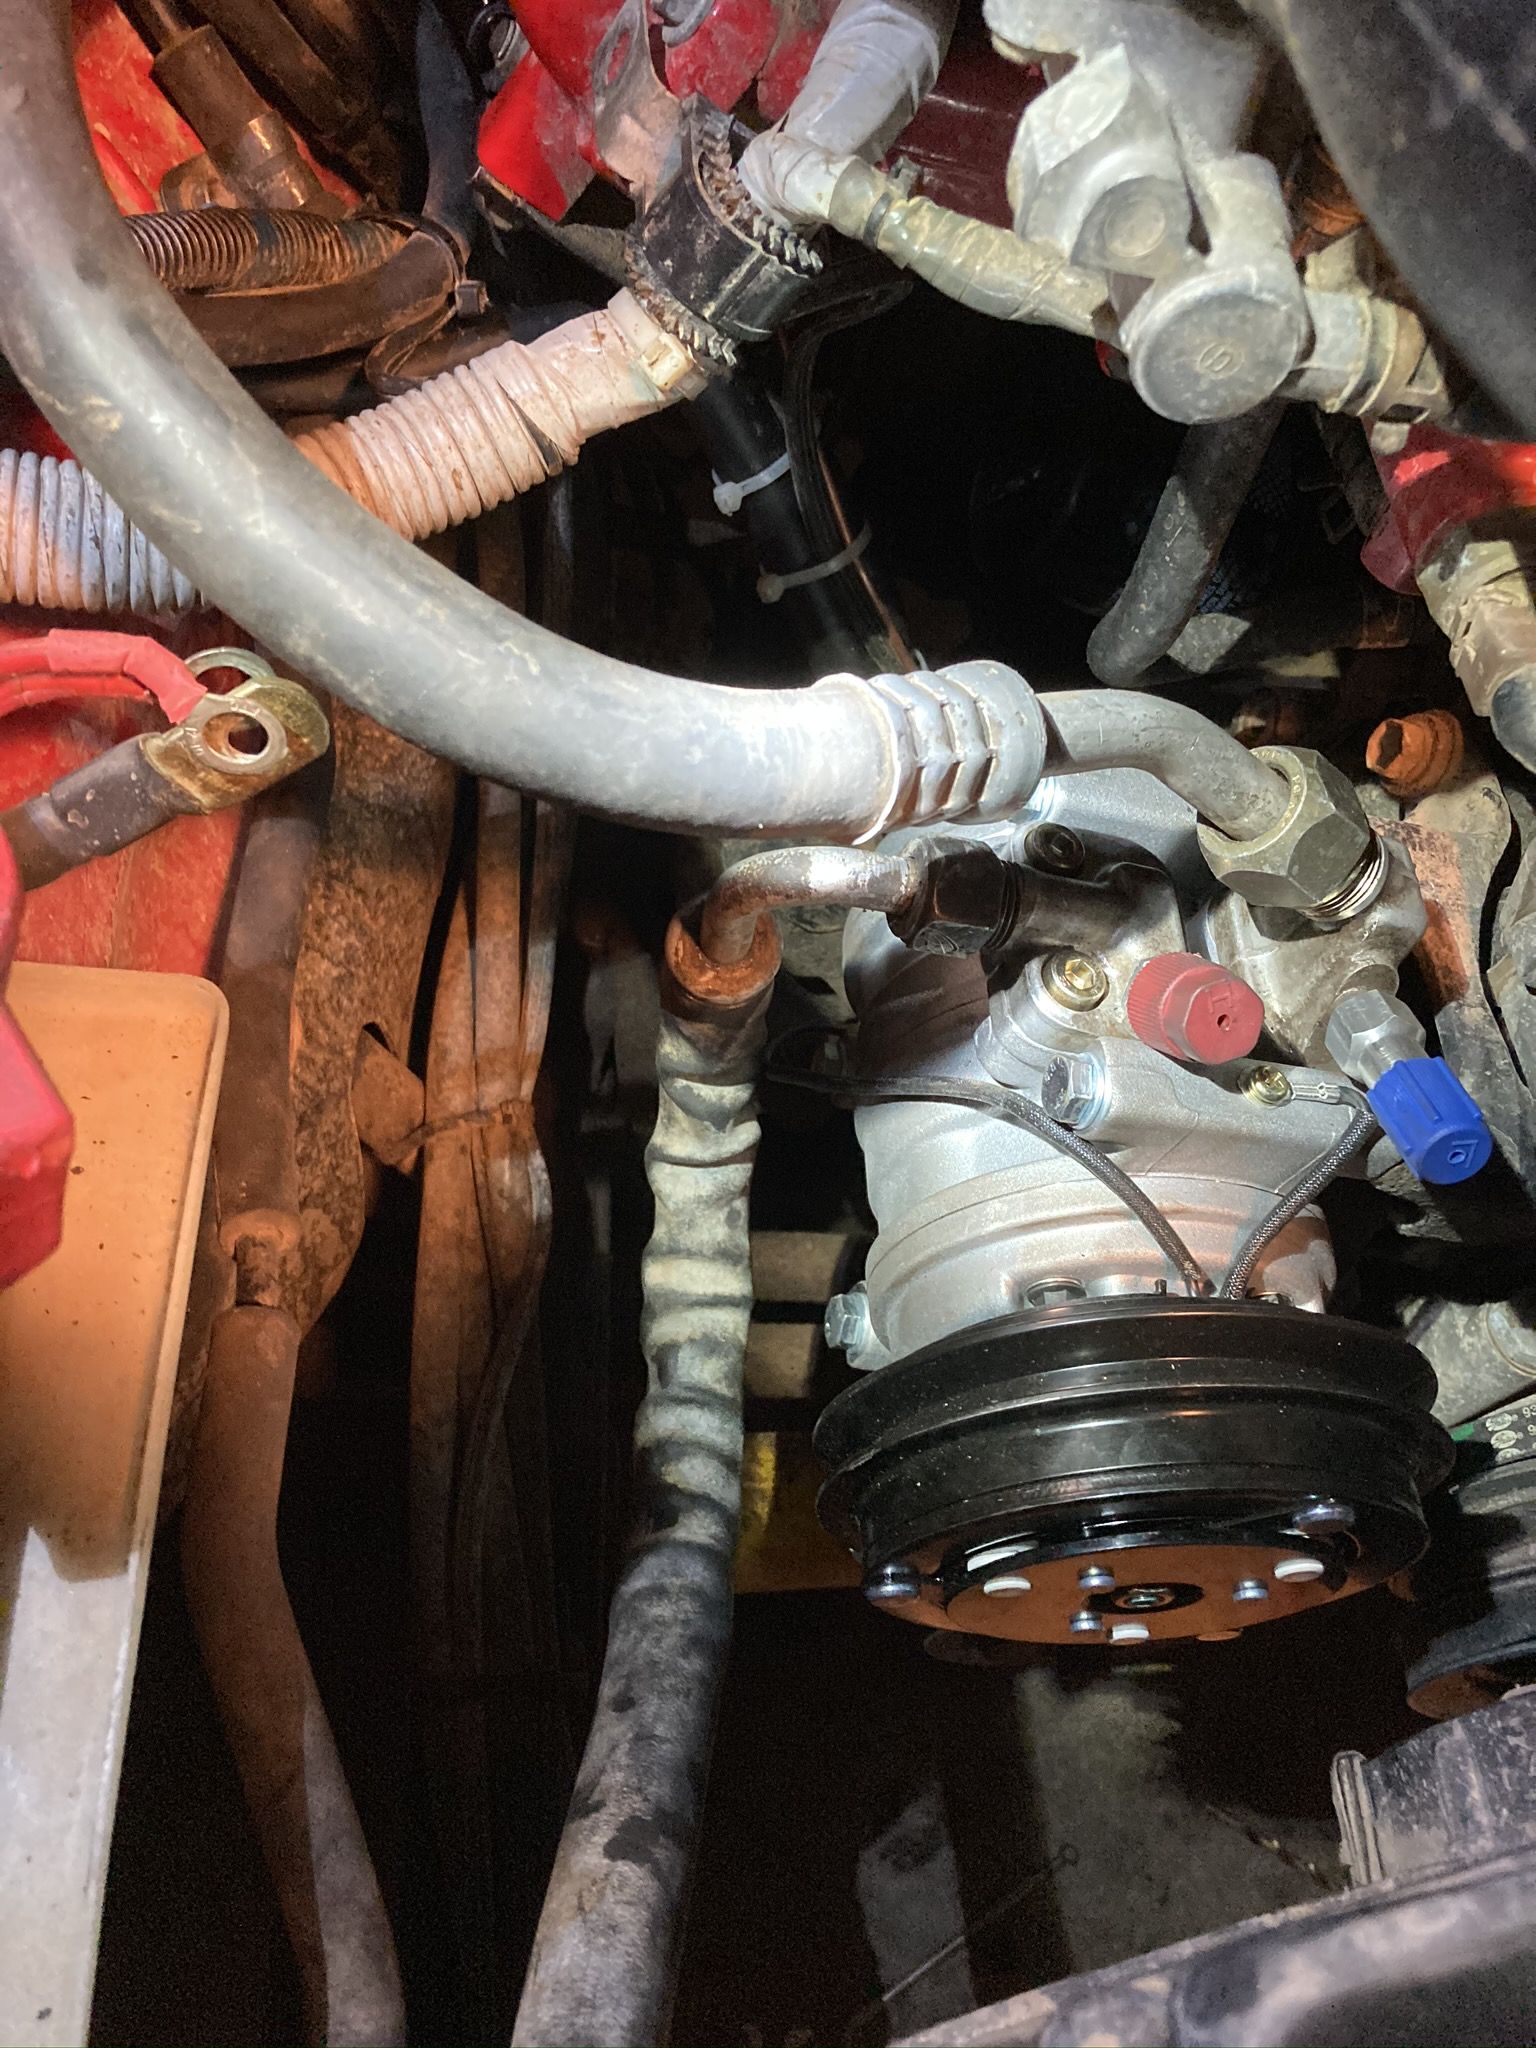
-Compressor
-Condenser/Drier
-Hooking it all up
Getting started
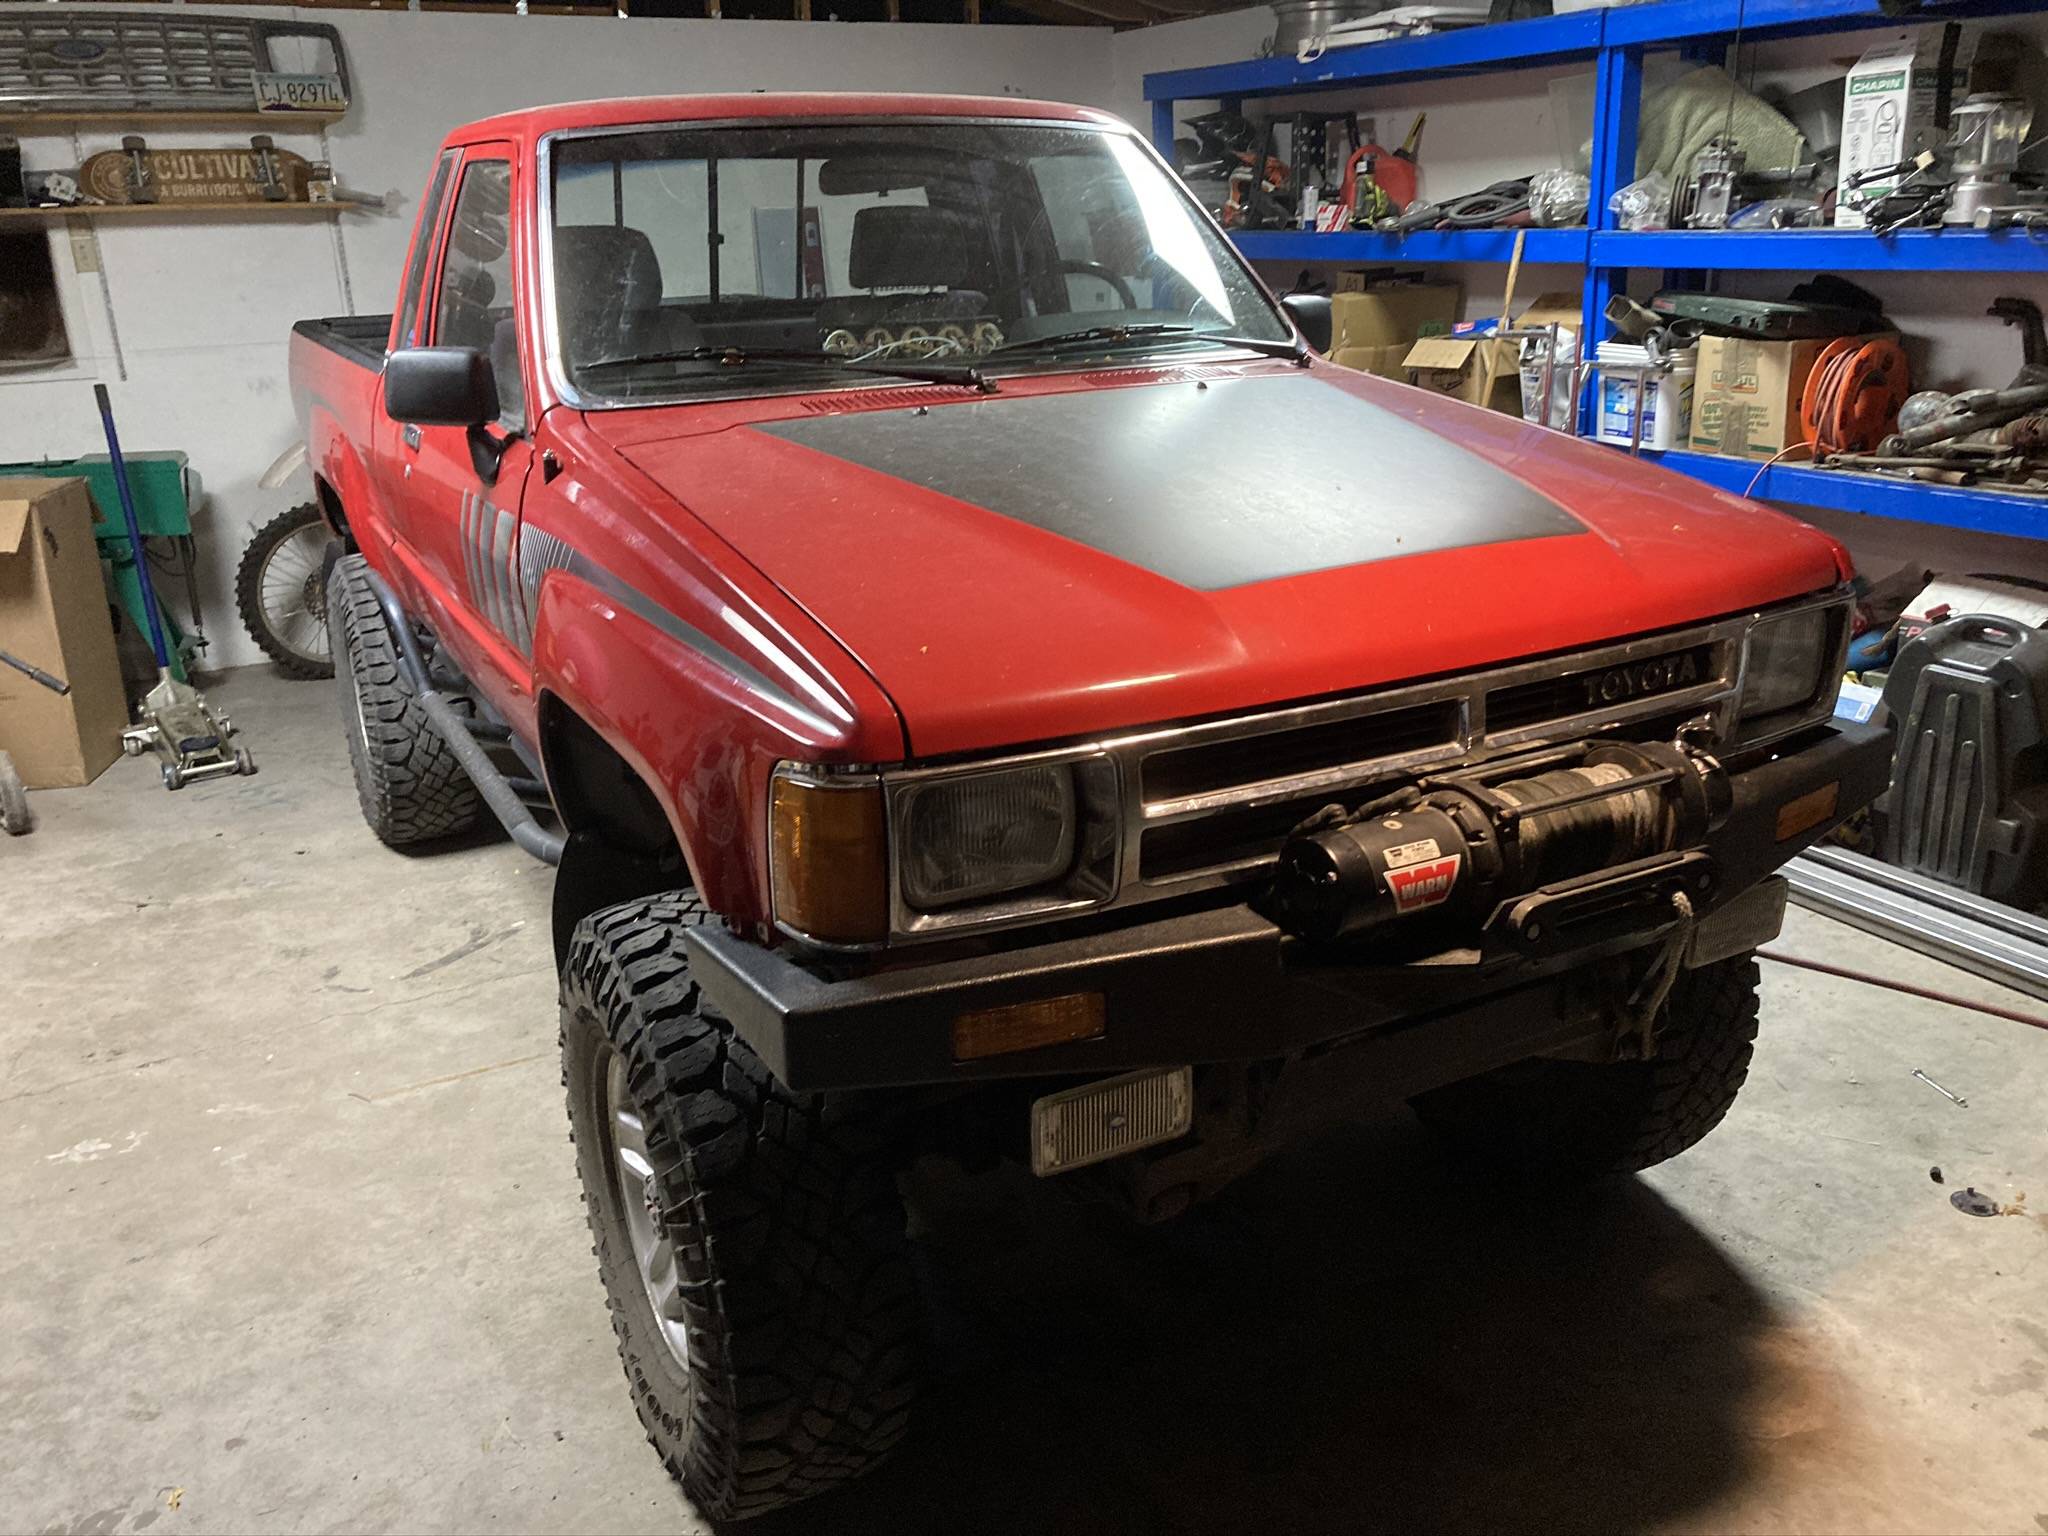
So you want to add AC to your 1st gen 4Runner/Pickup? It’s definitely doable and not too troublesome once you have everything you need. The best way to get all the parts you need is to find a donor vehicle – which is easier said than done. If you can – great! You’re ready to go. If not, these are the parts you’re going to have to hunt down.
-Evaporator box
-Evaporator
-A/C Wiring harness
-A/C compressor bracket & idler
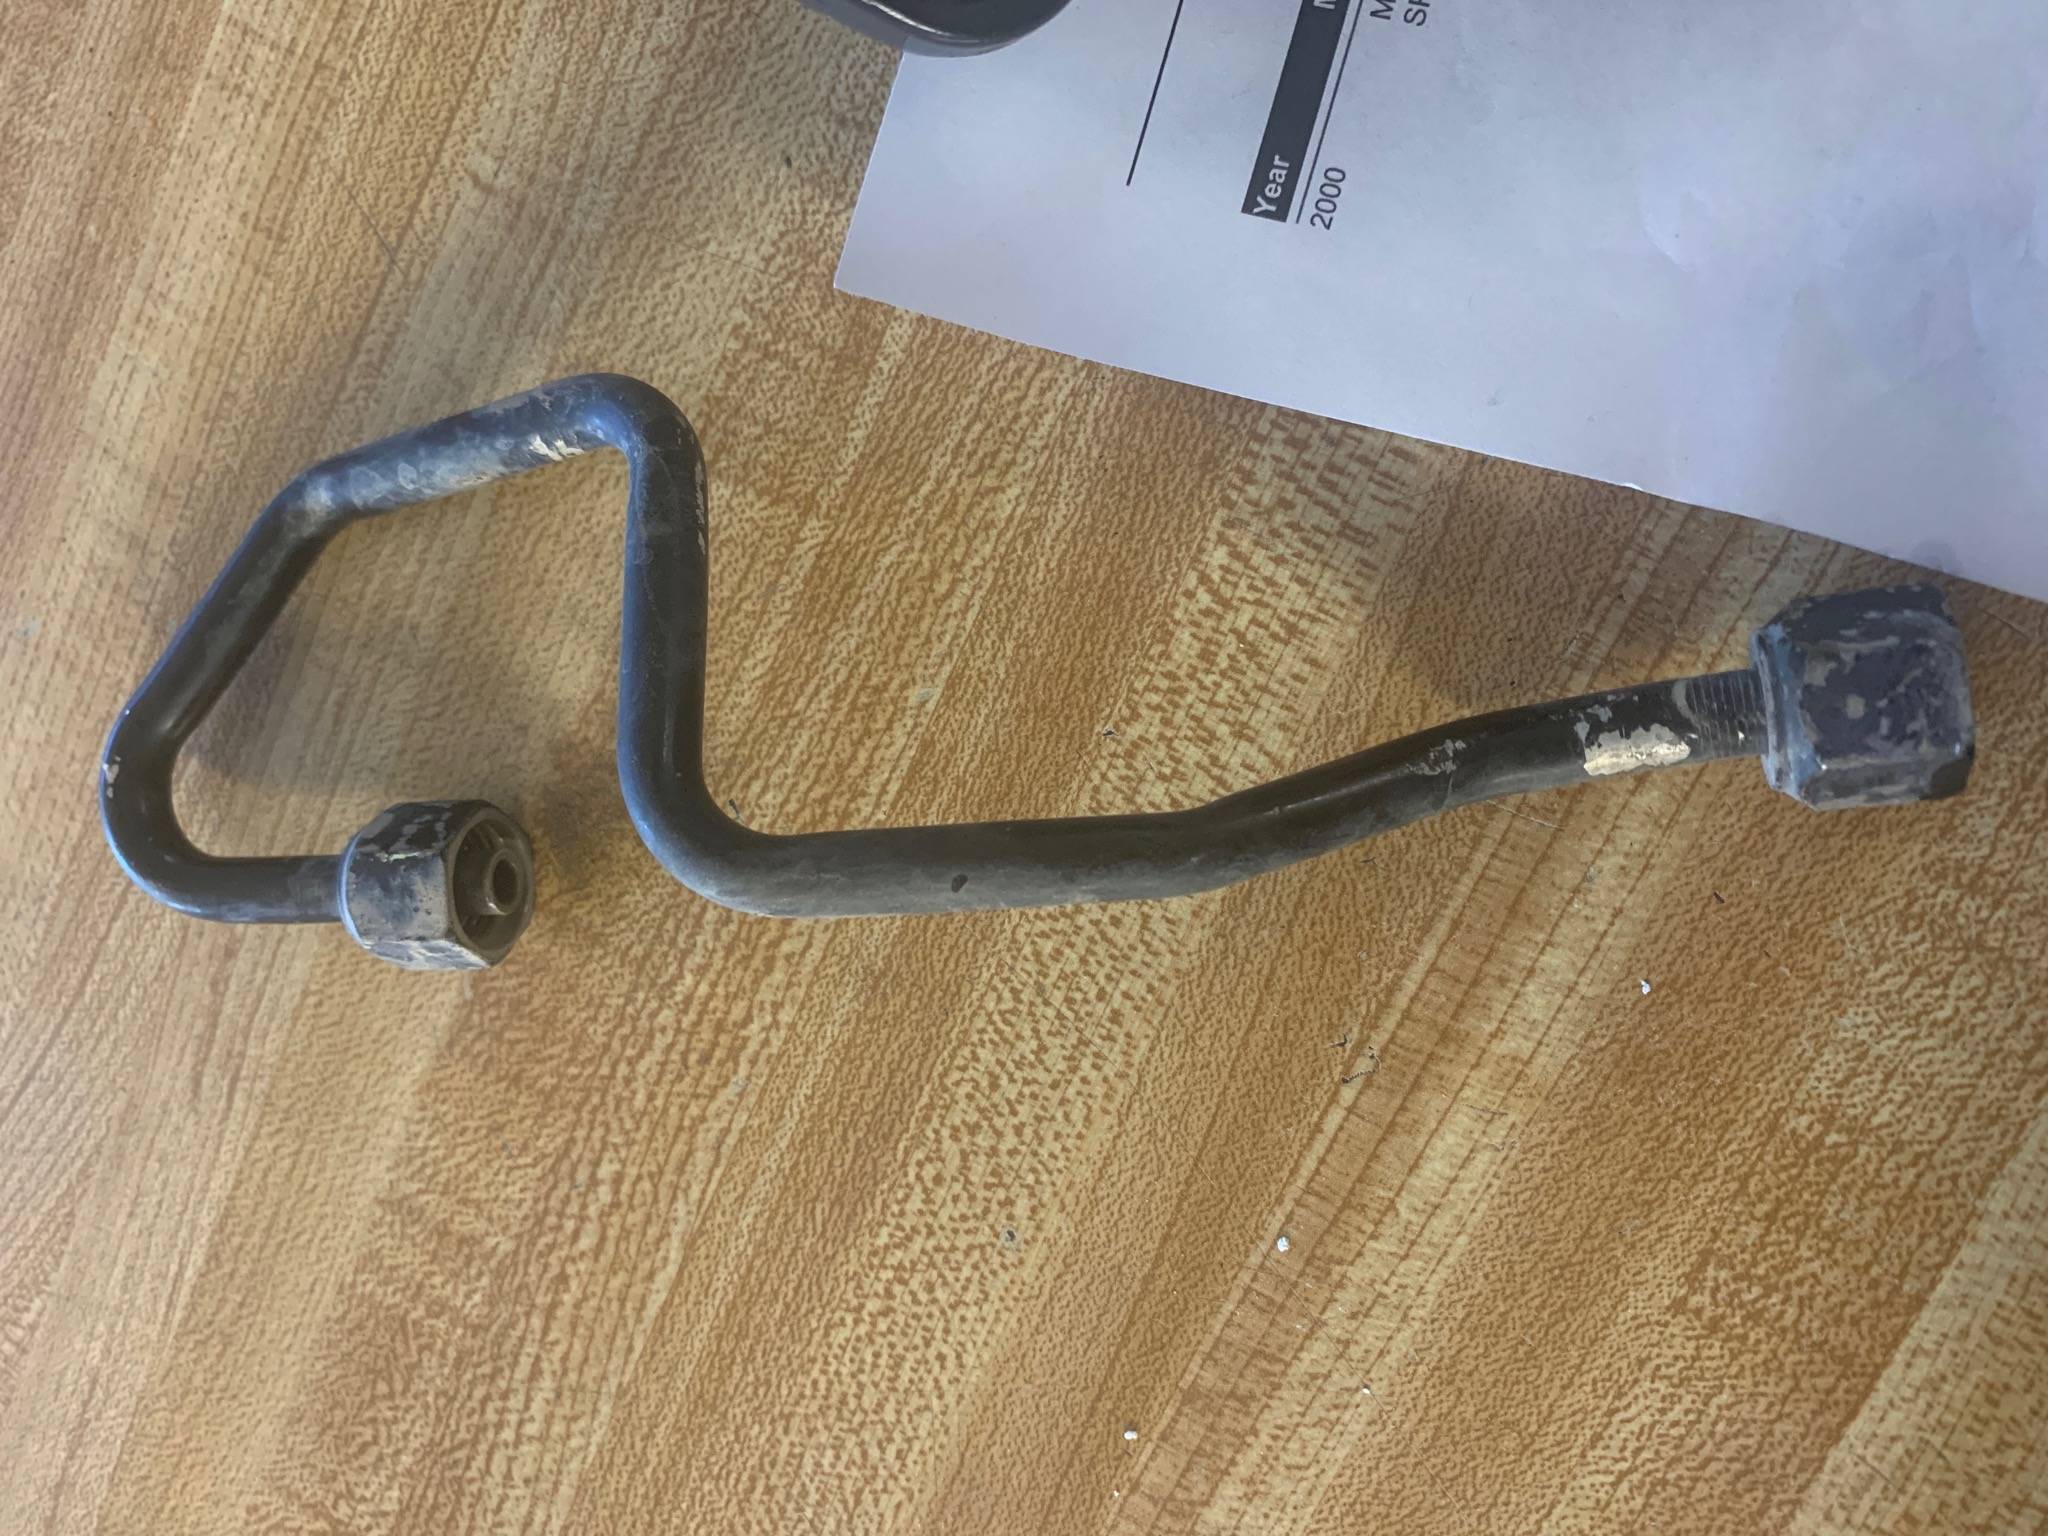
-A/C lines (including those on the condenser)
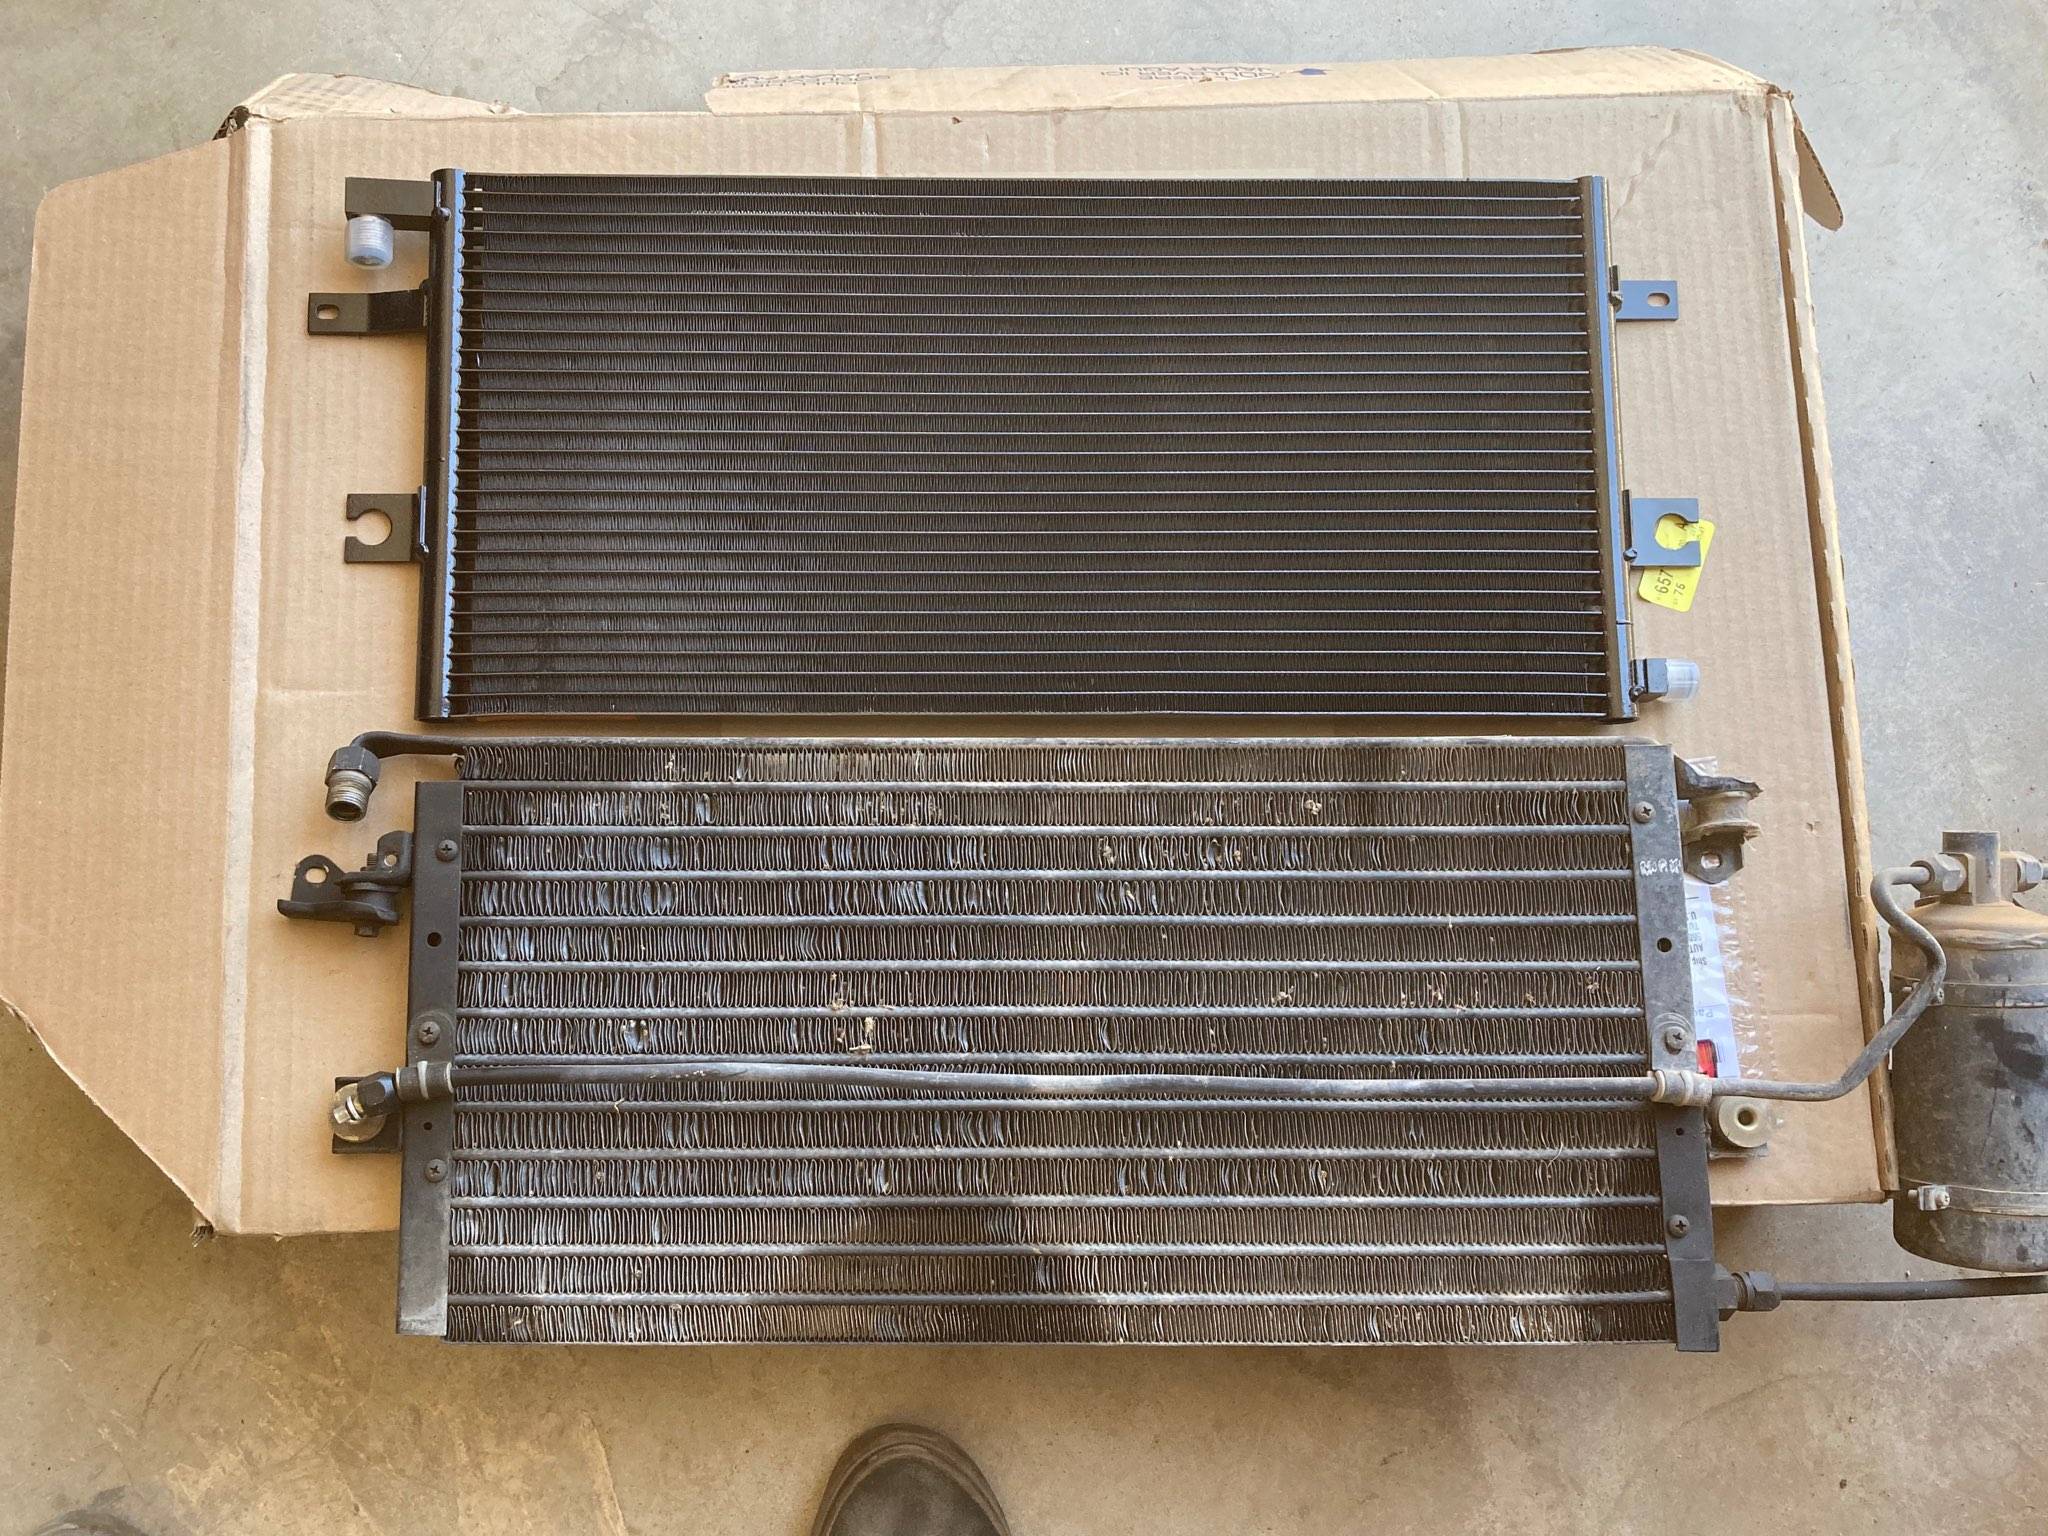
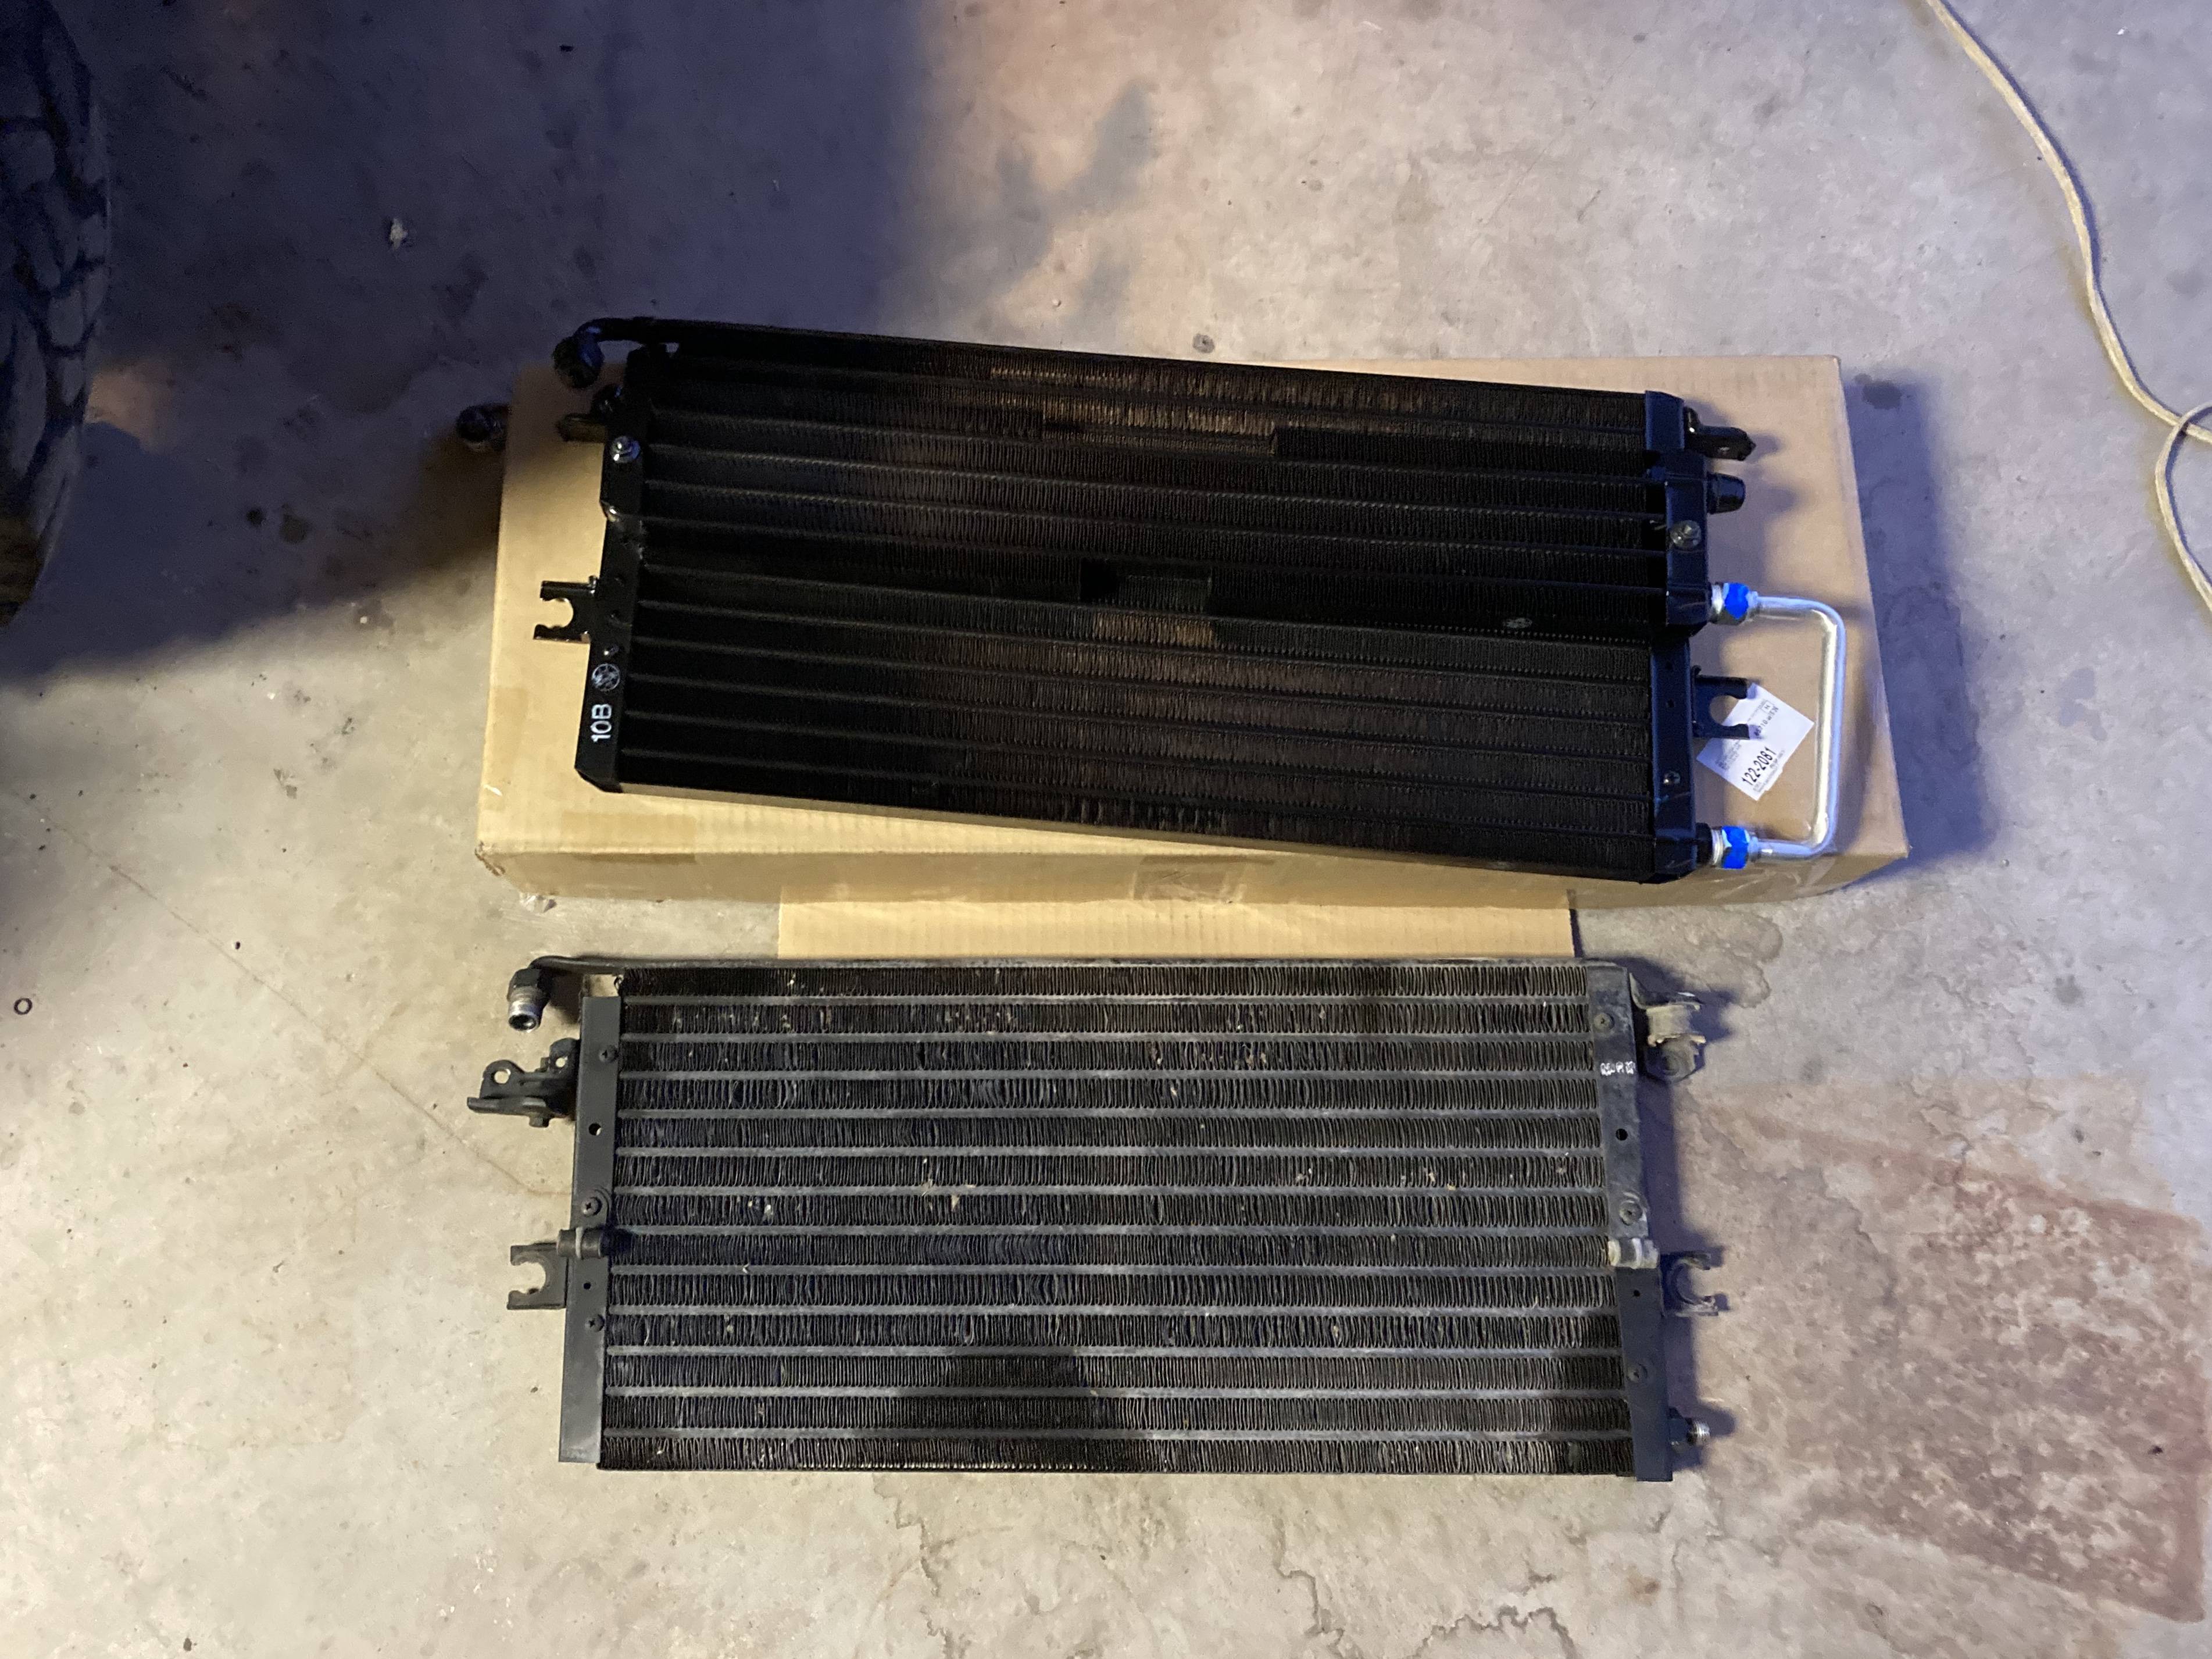
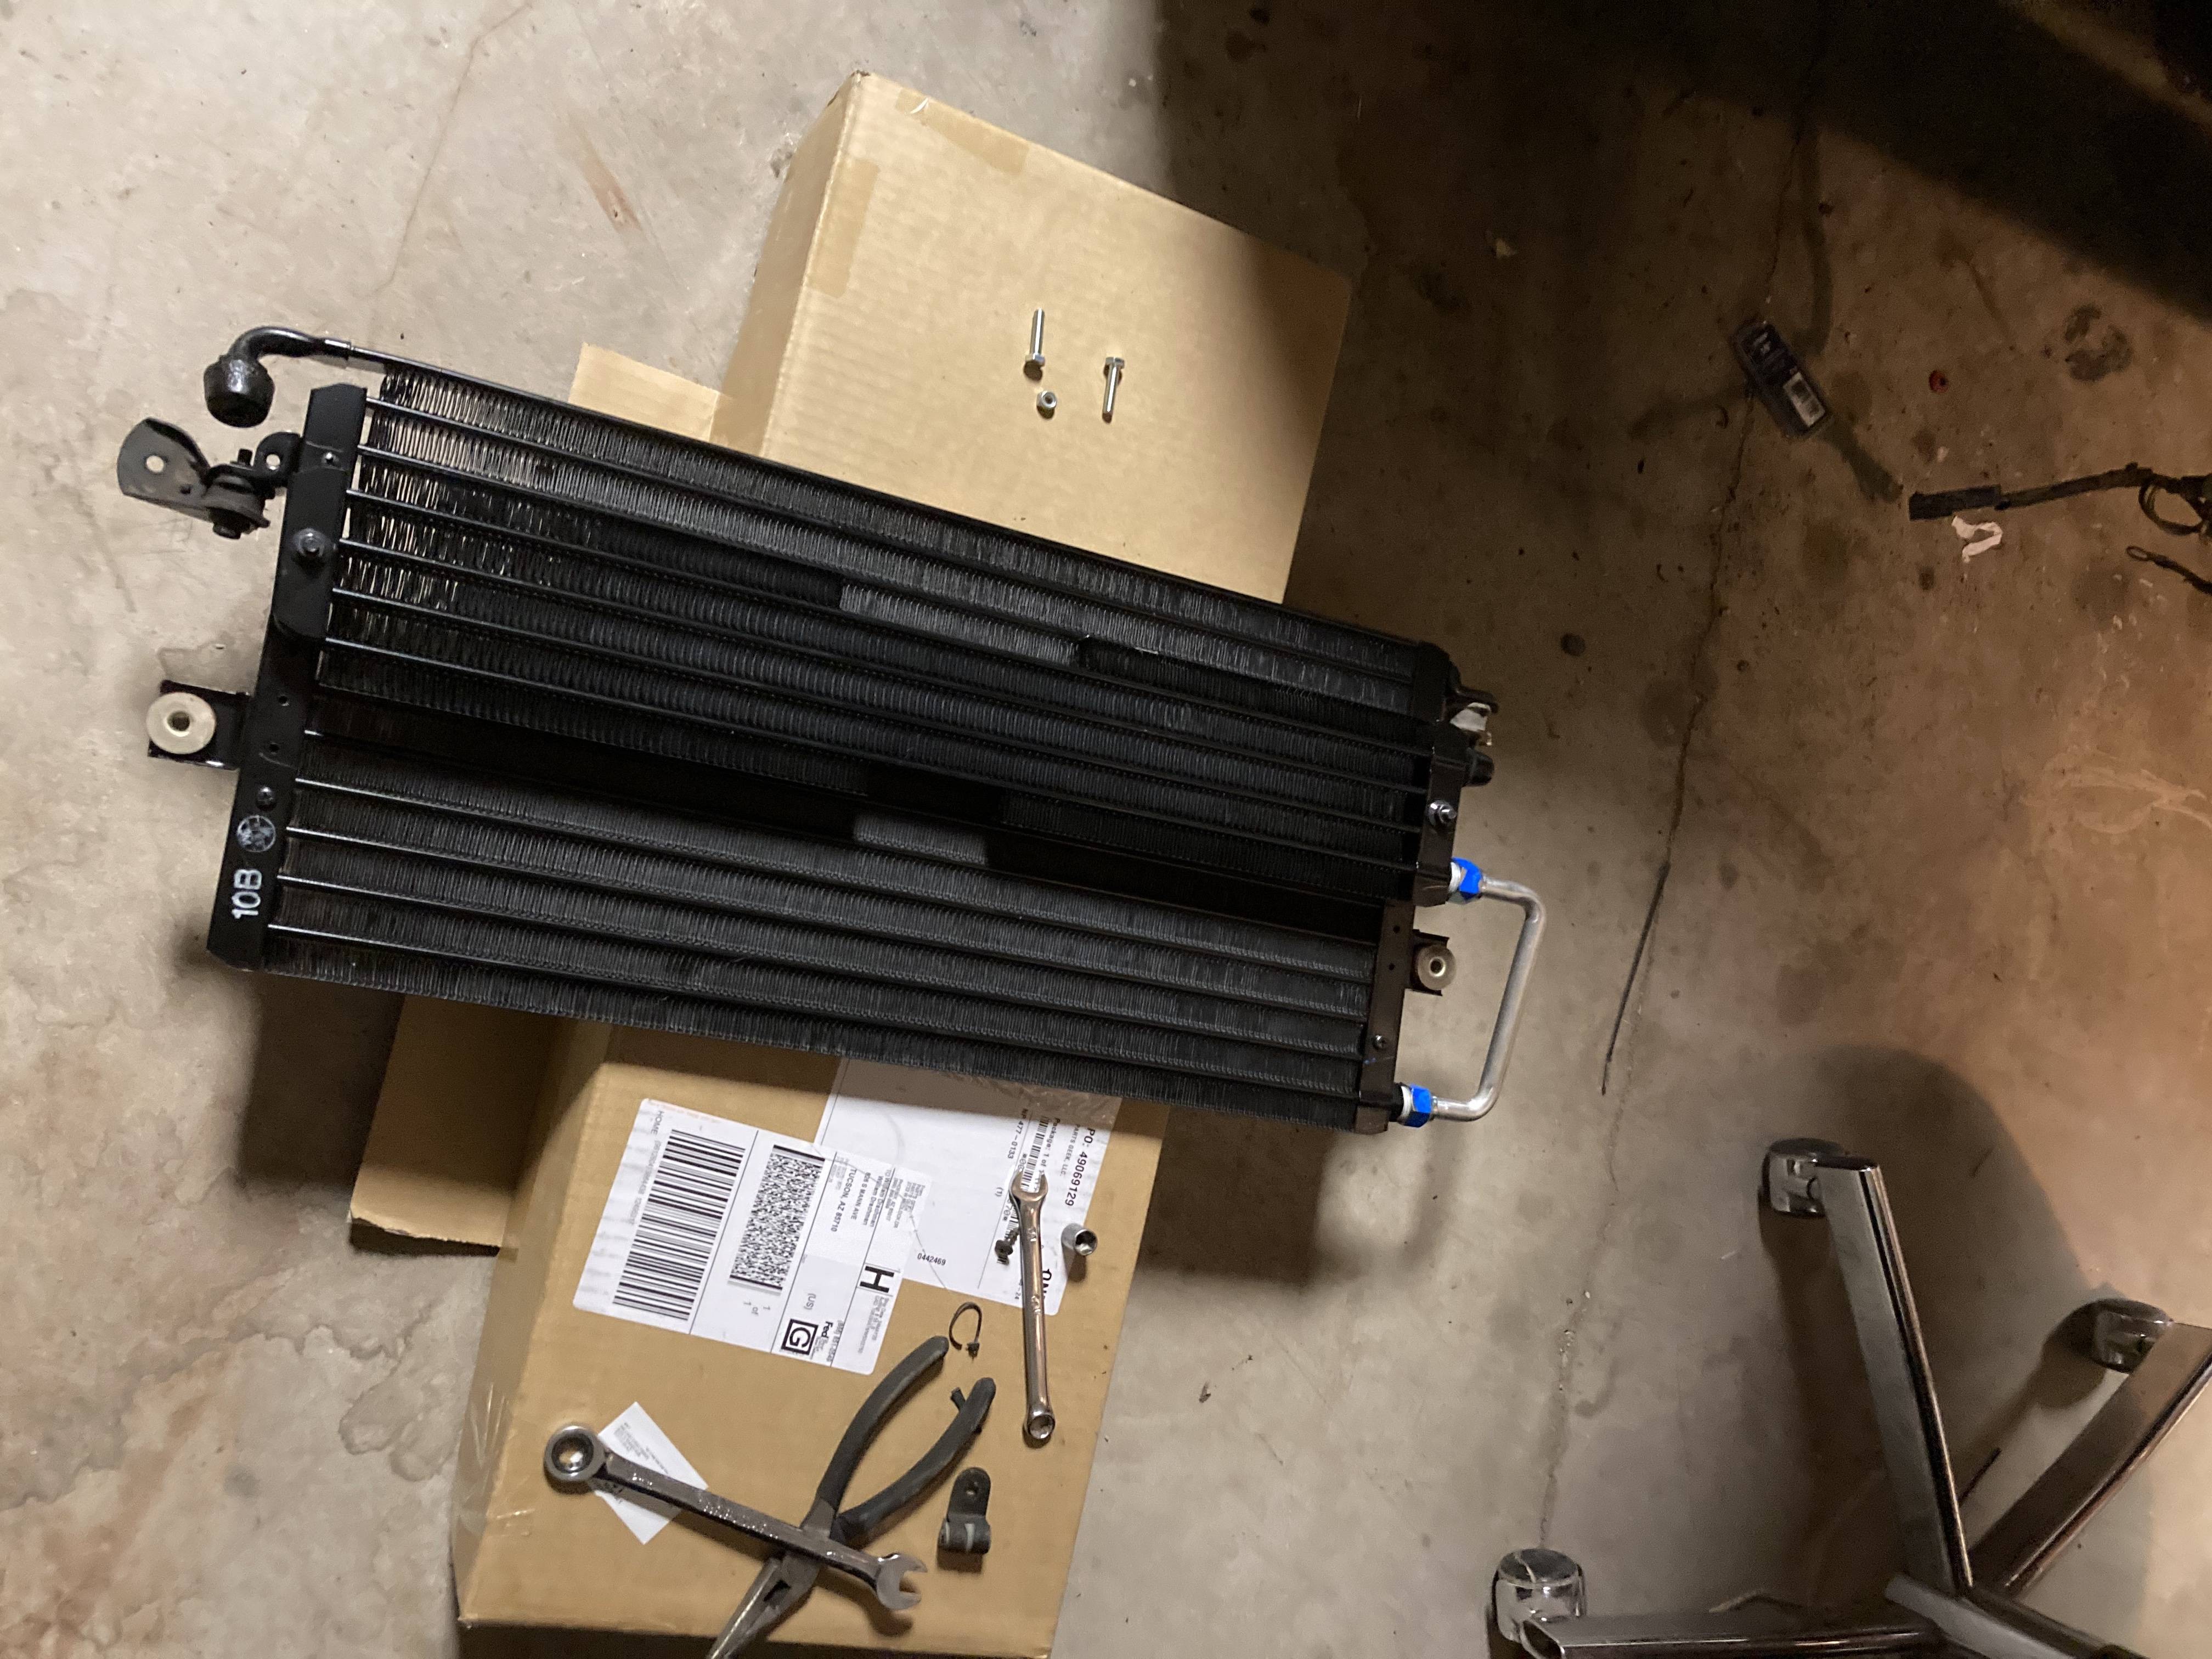
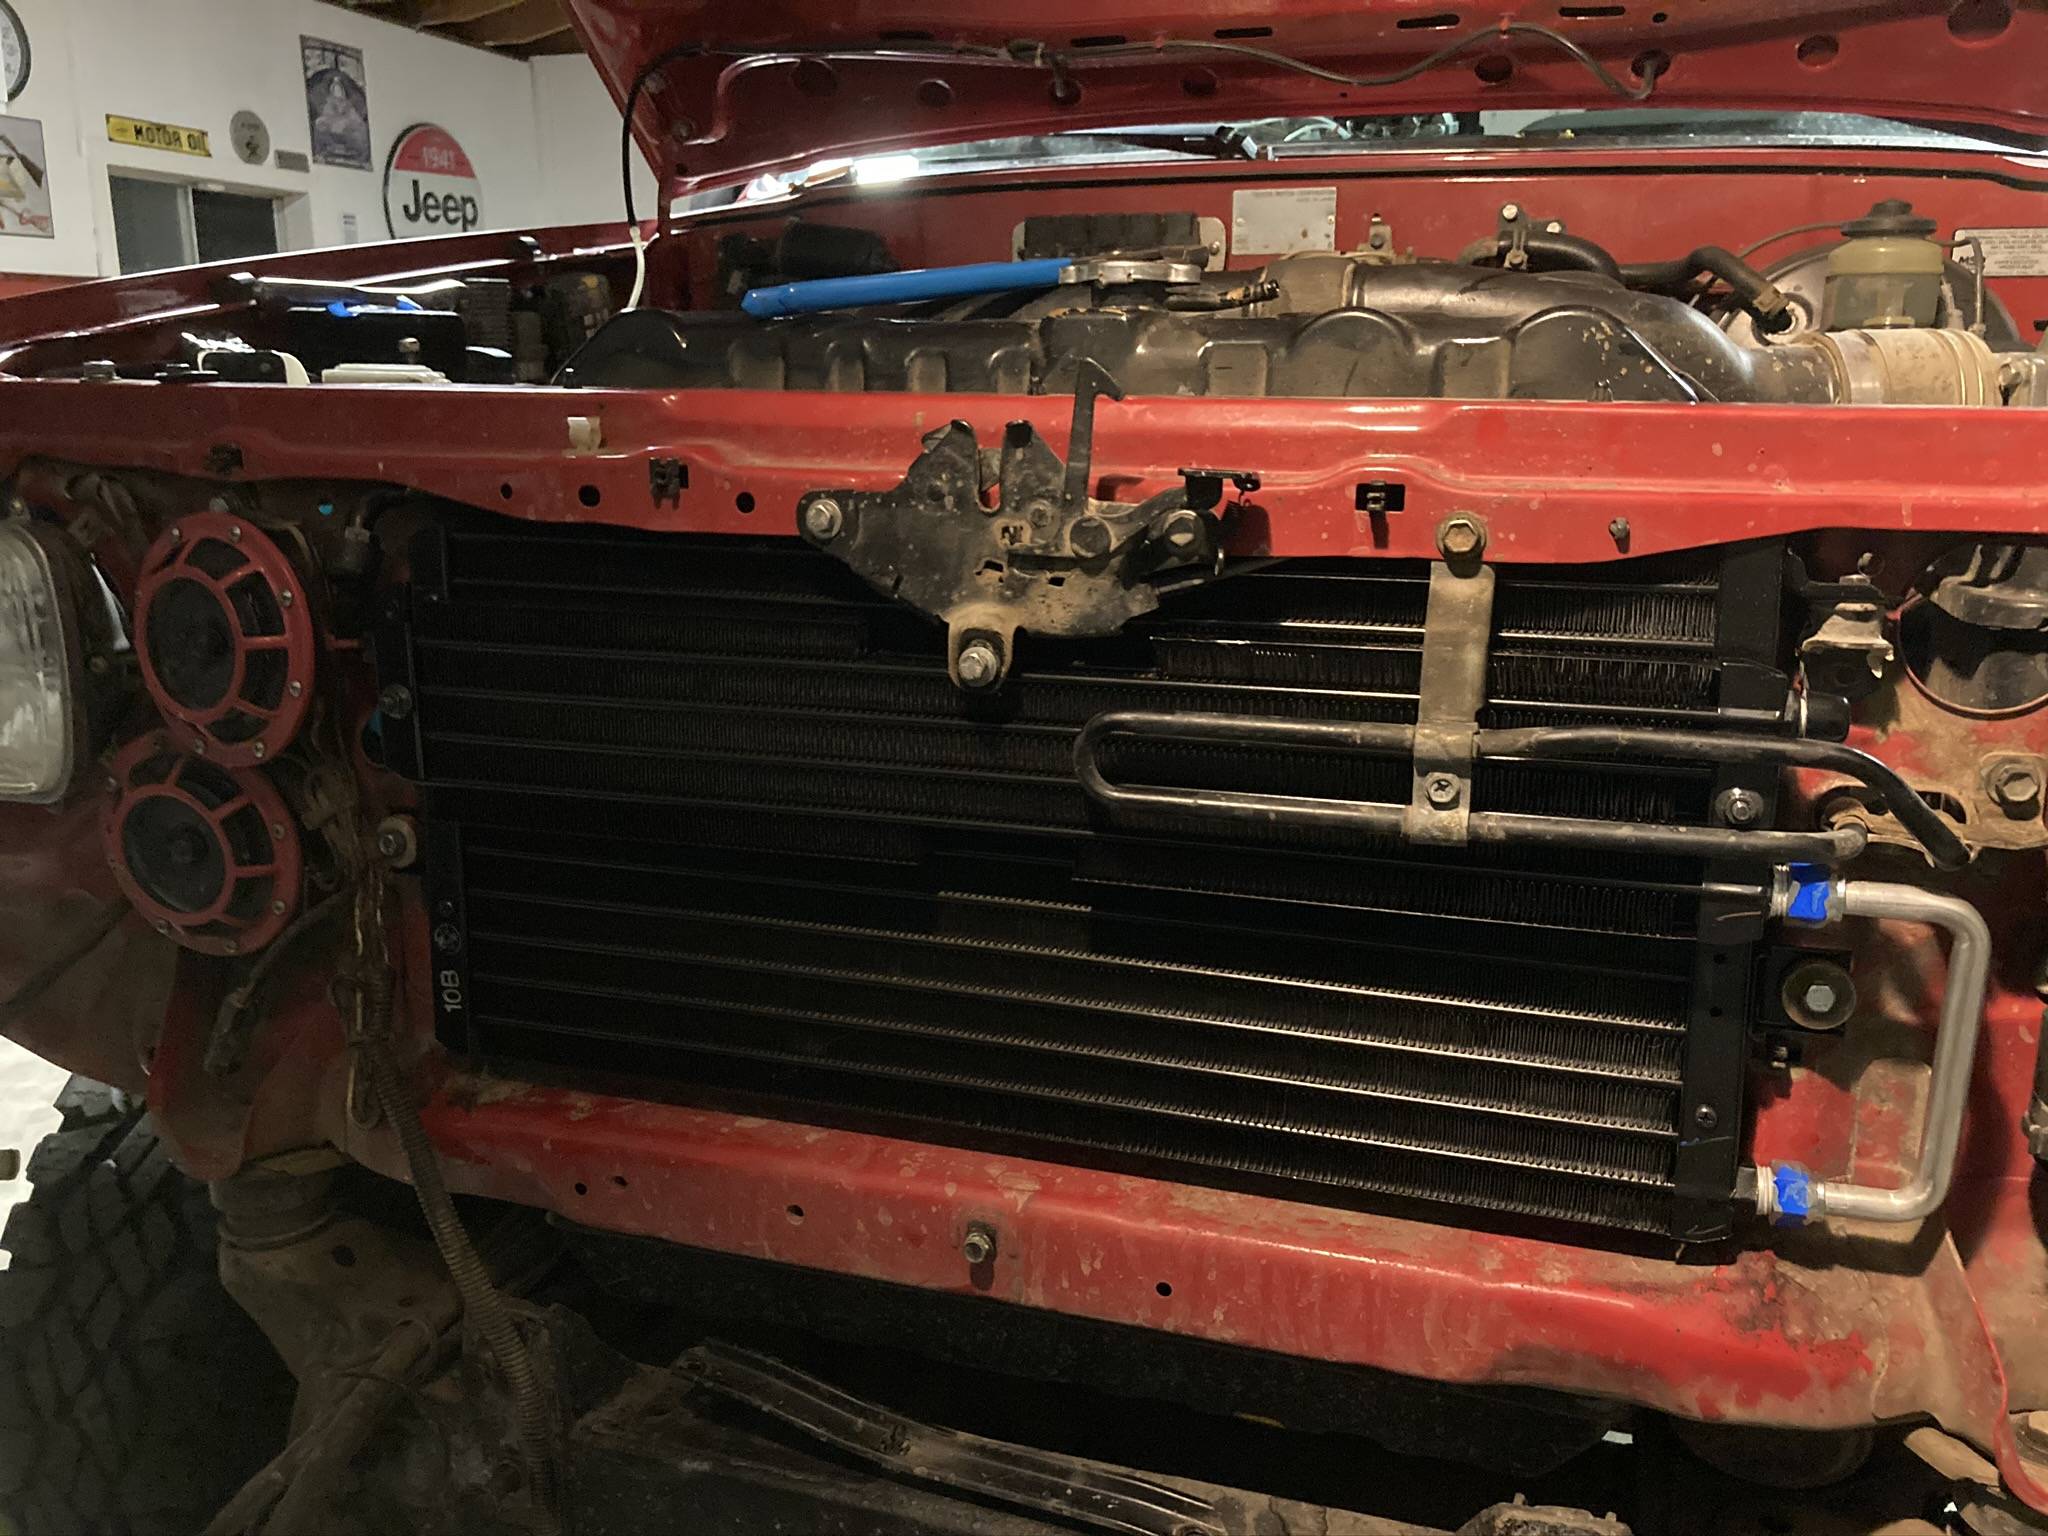
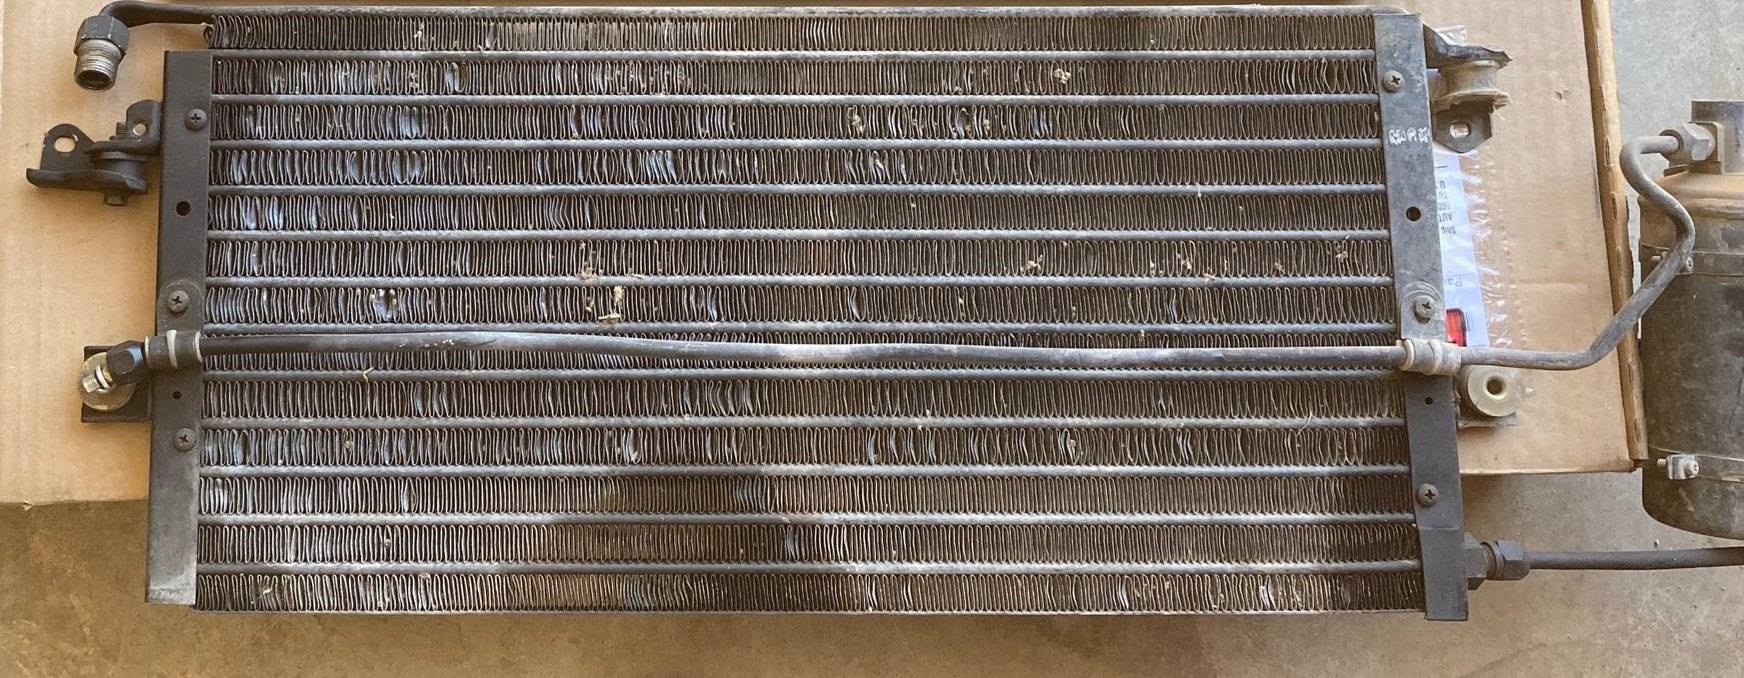
-Condenser
-A/C switch for in cab
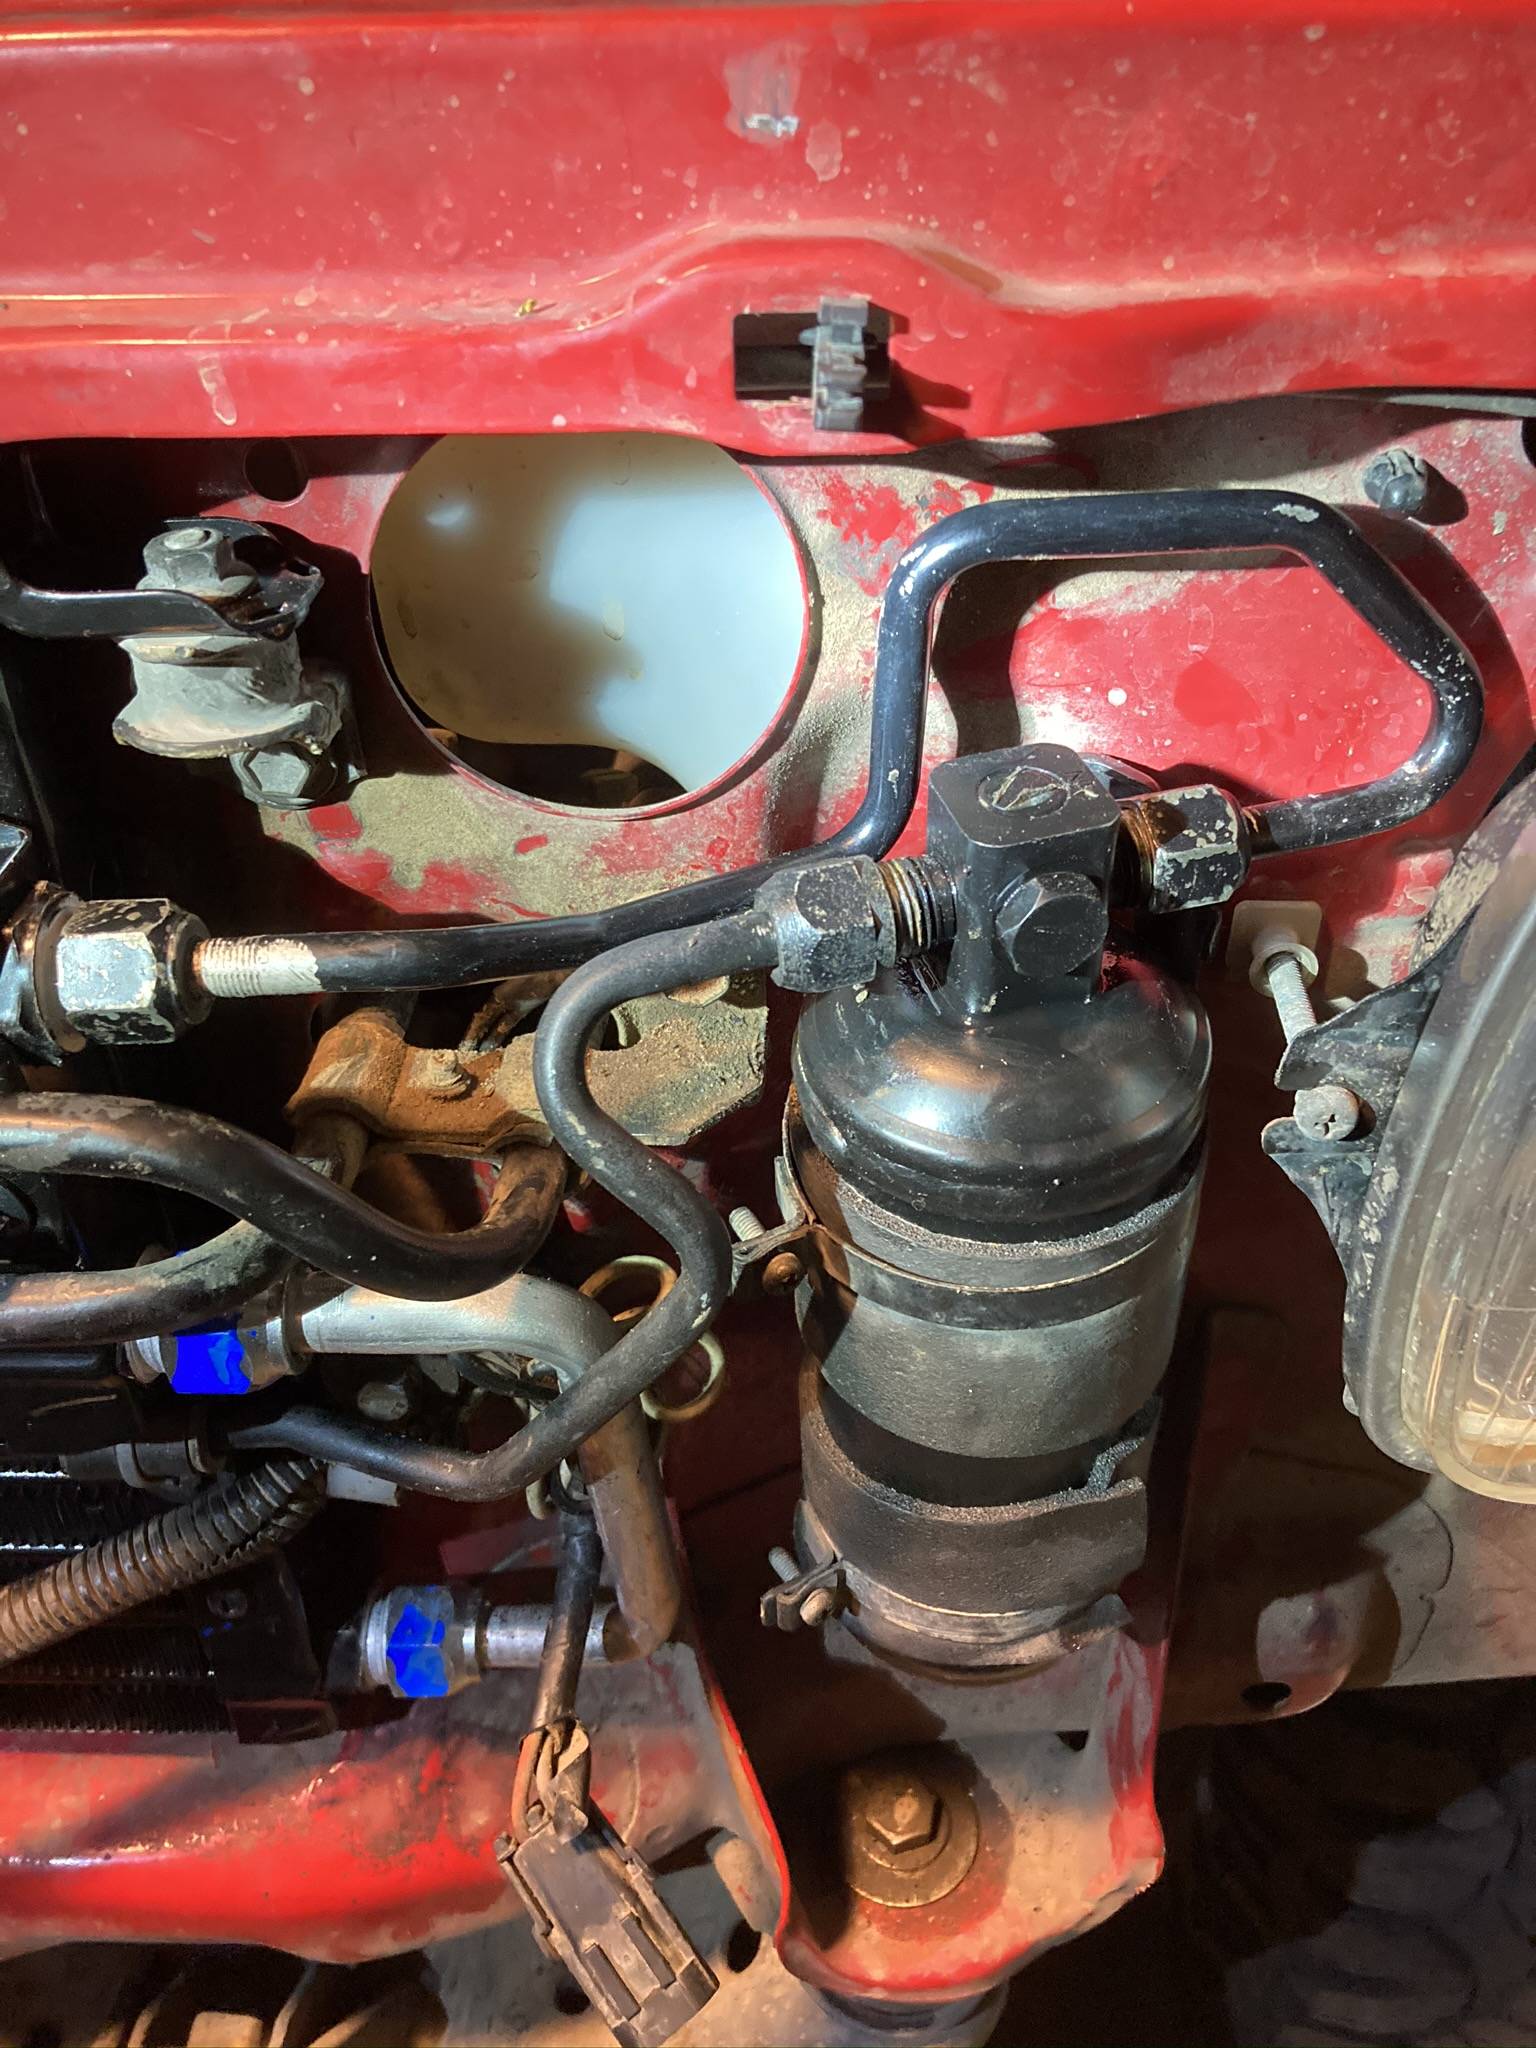
-Drier
-Thermal expansion valve
-Low pressure switch
-Thermistor
-A/C Belt
-Idle up solenoid & VSV
-O-Rings & Pag Oil
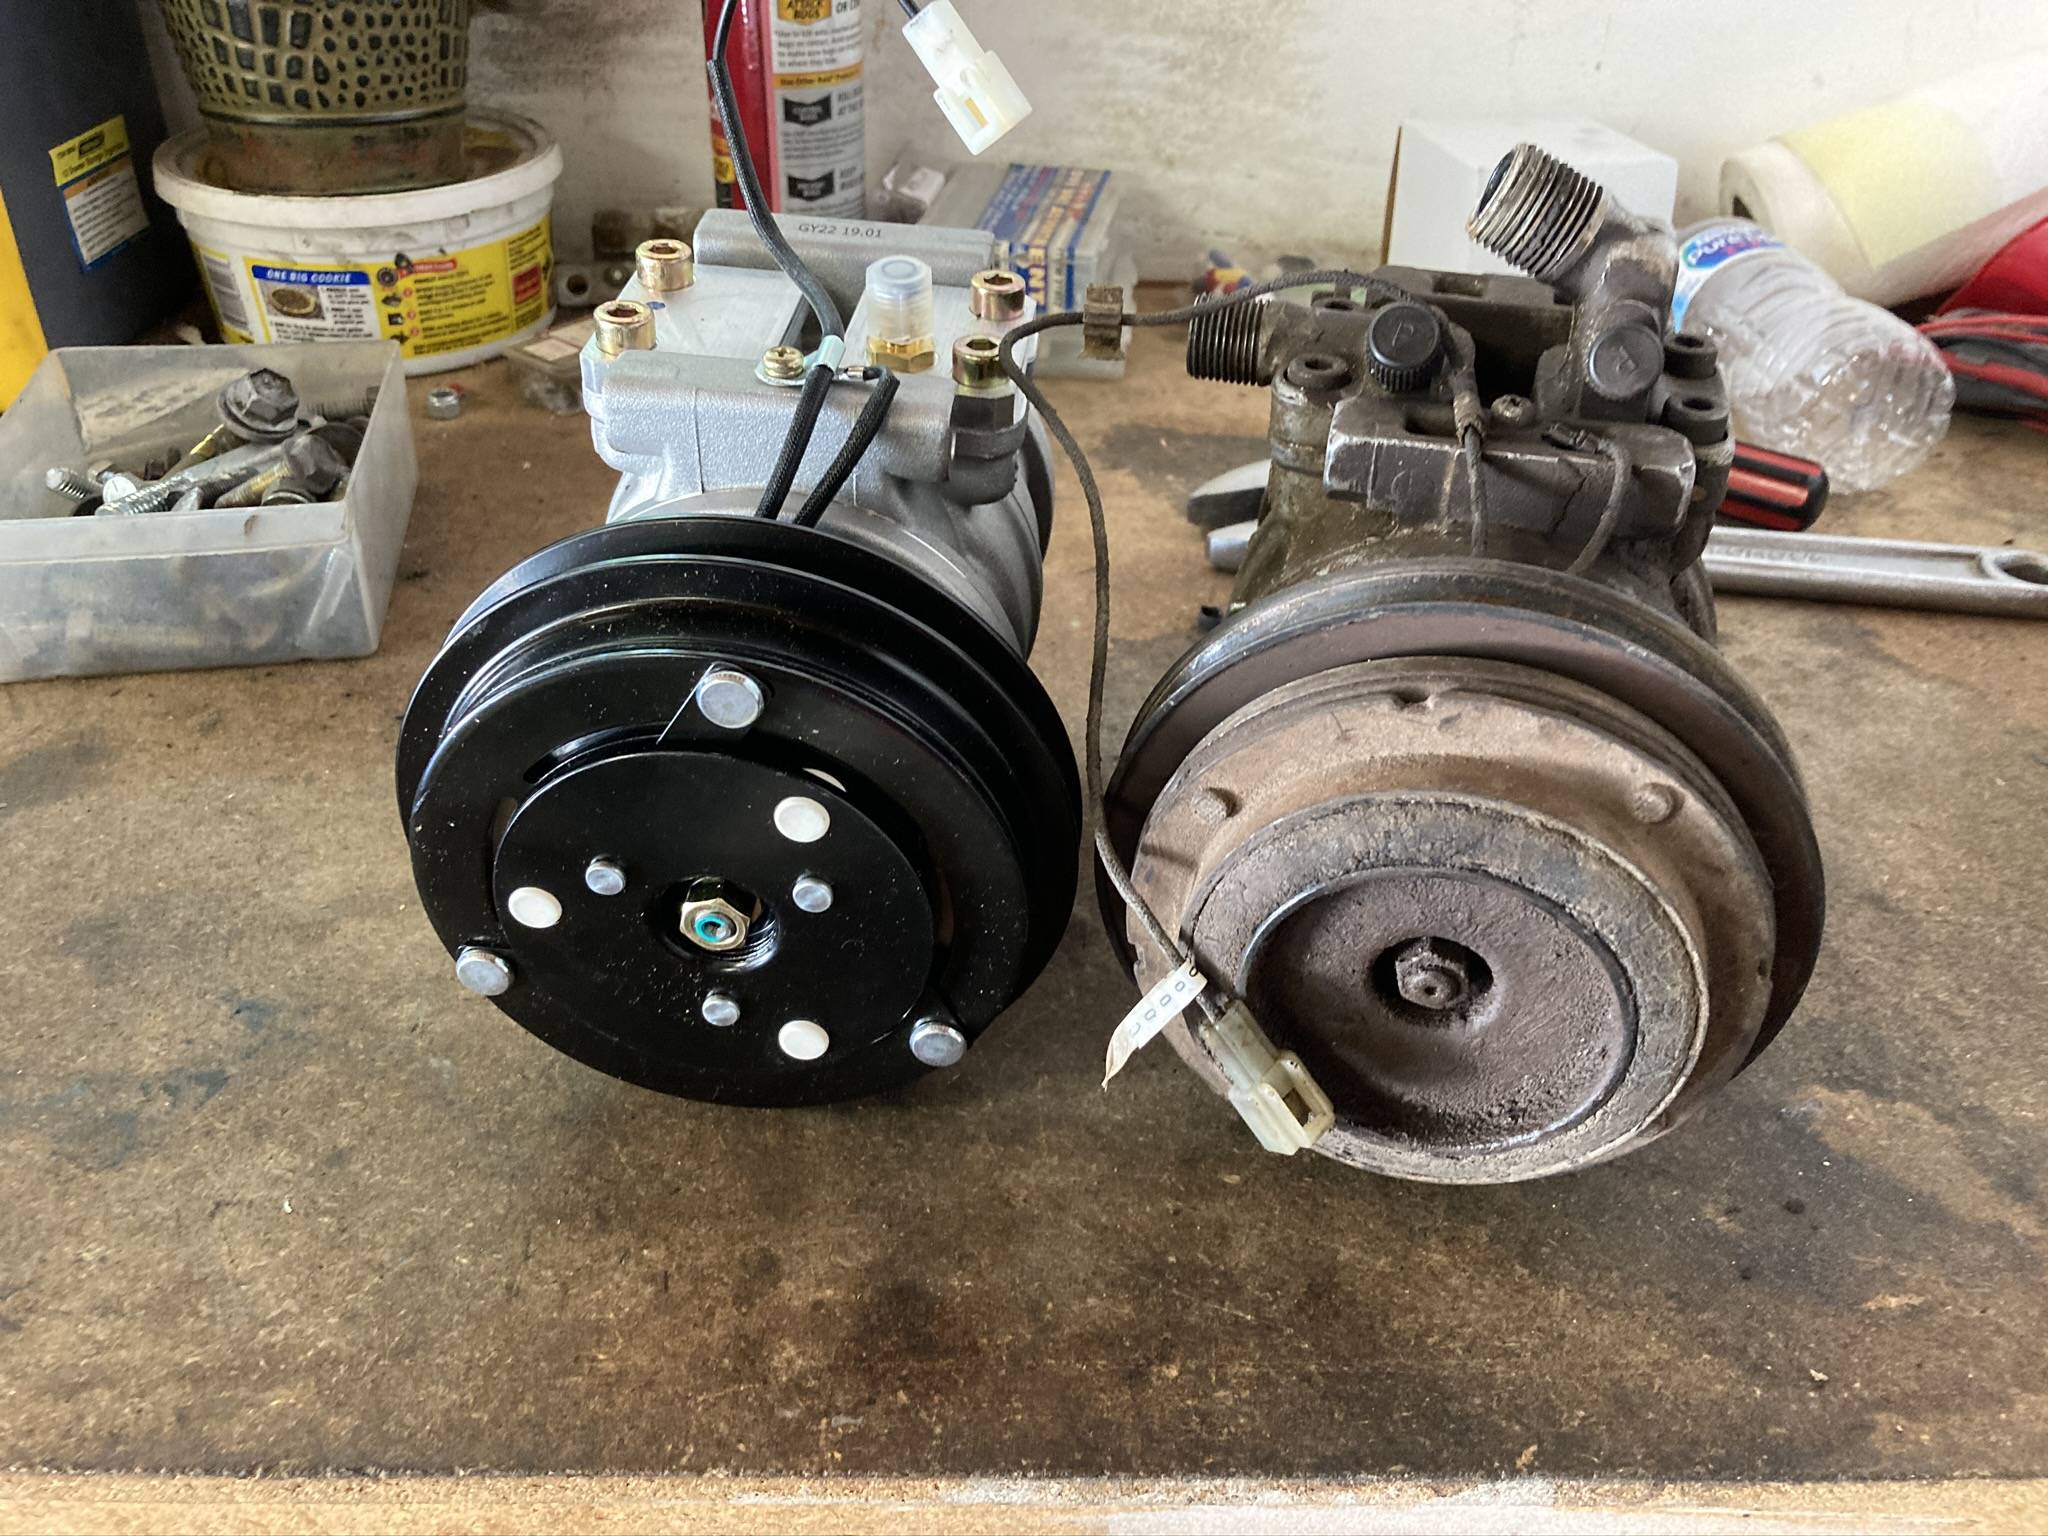
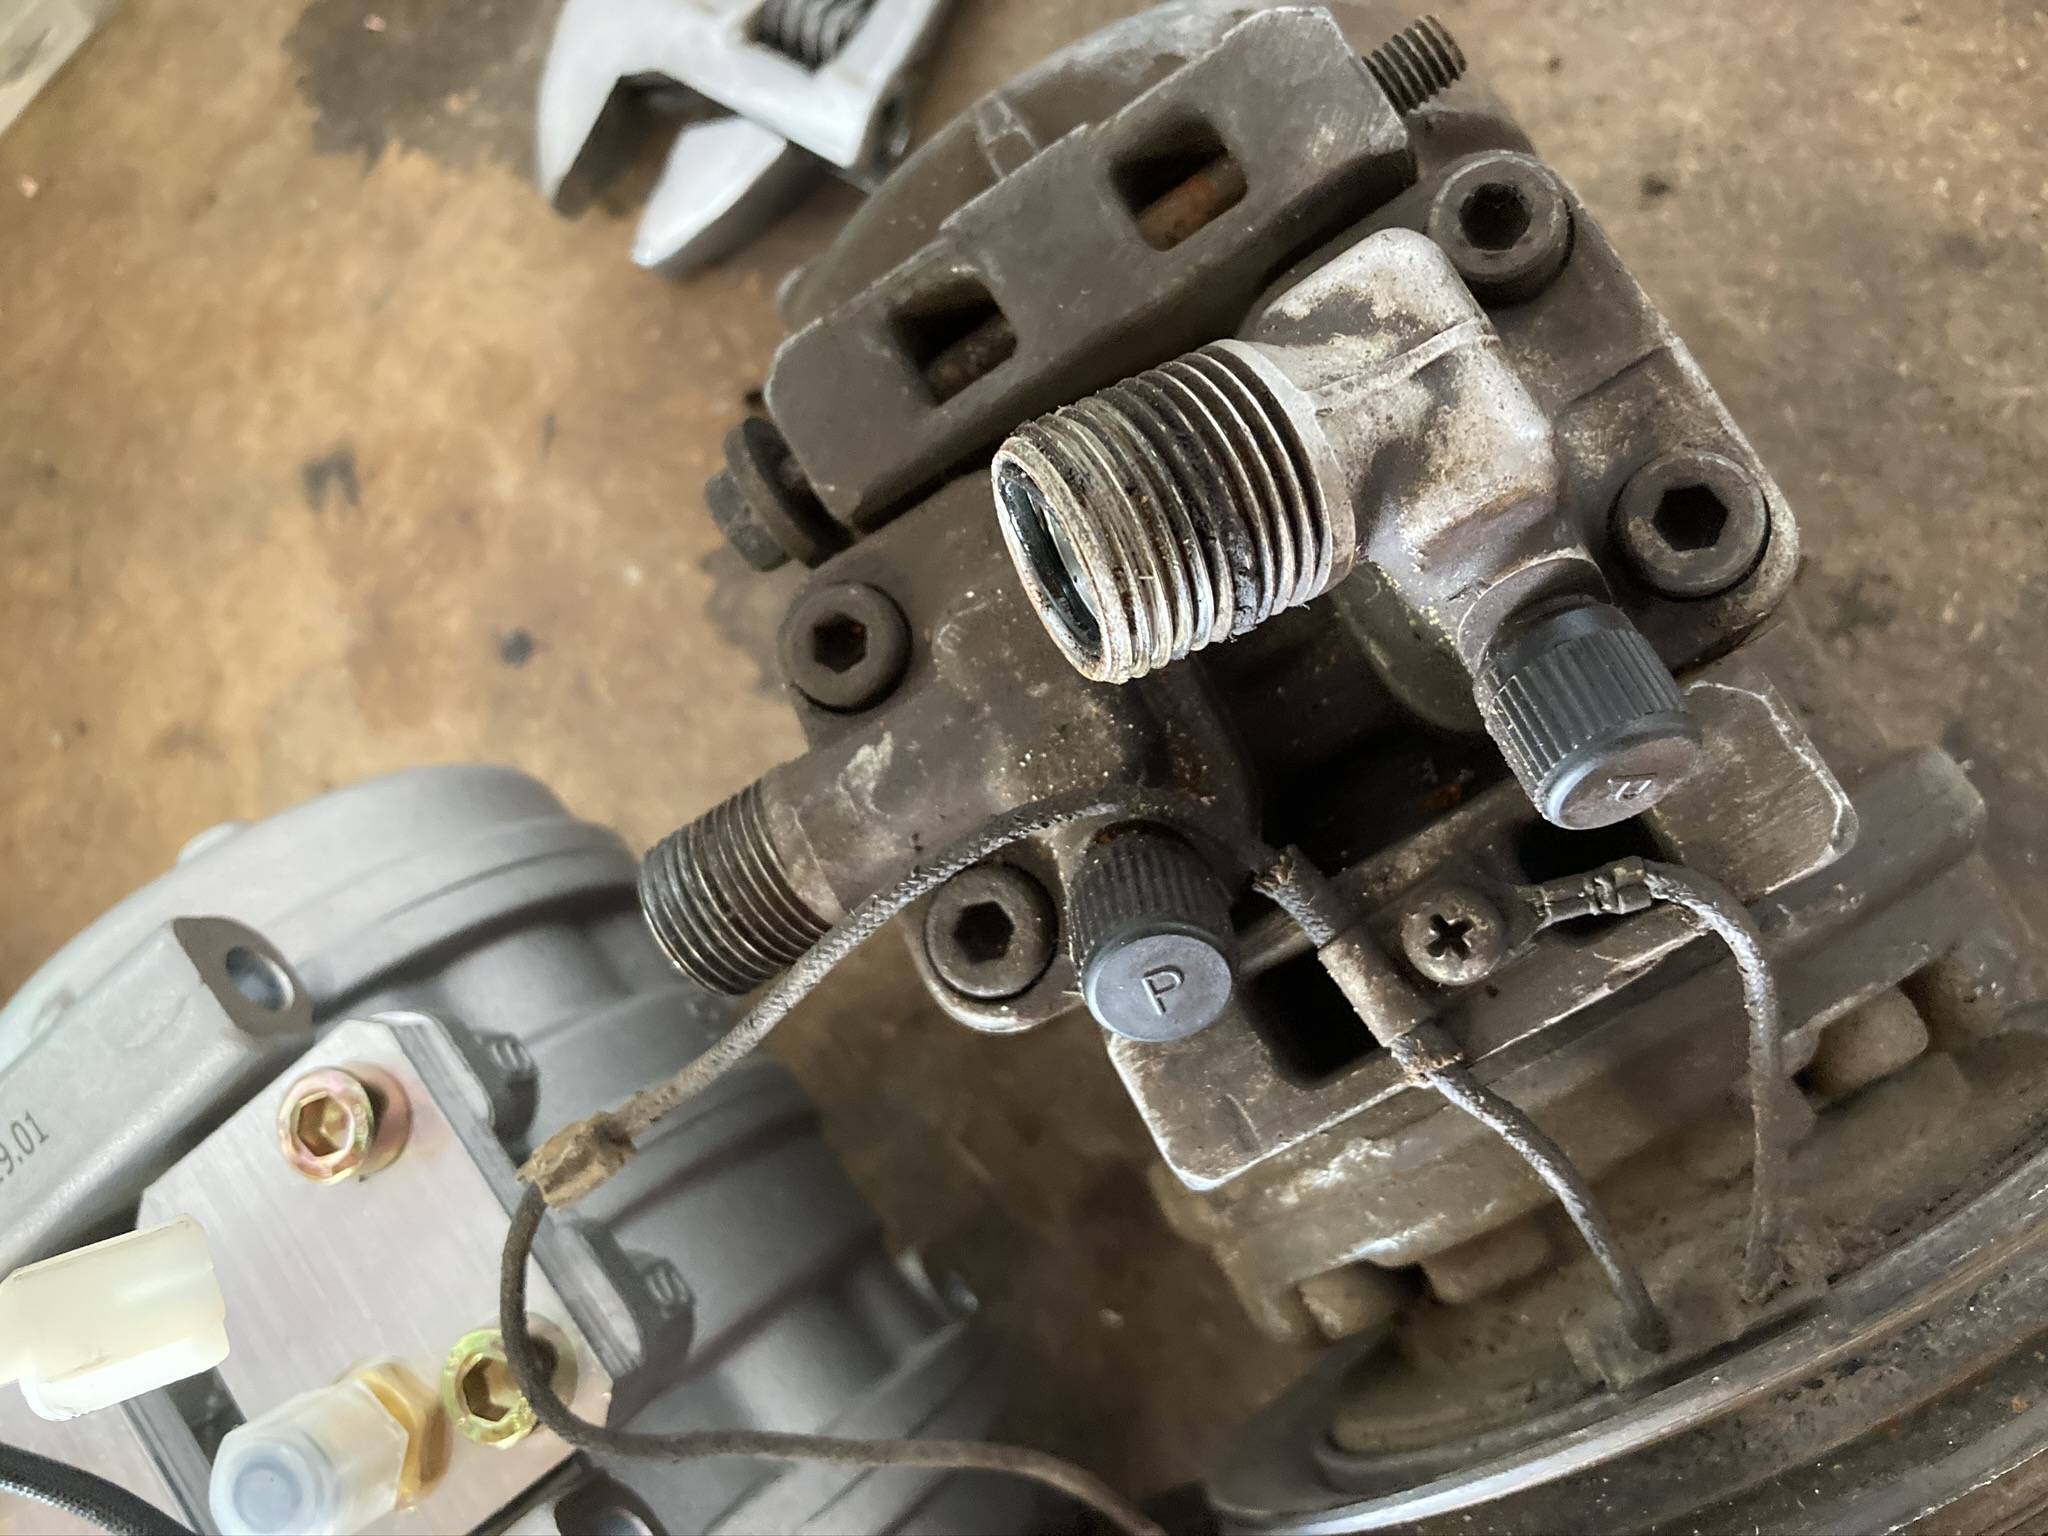
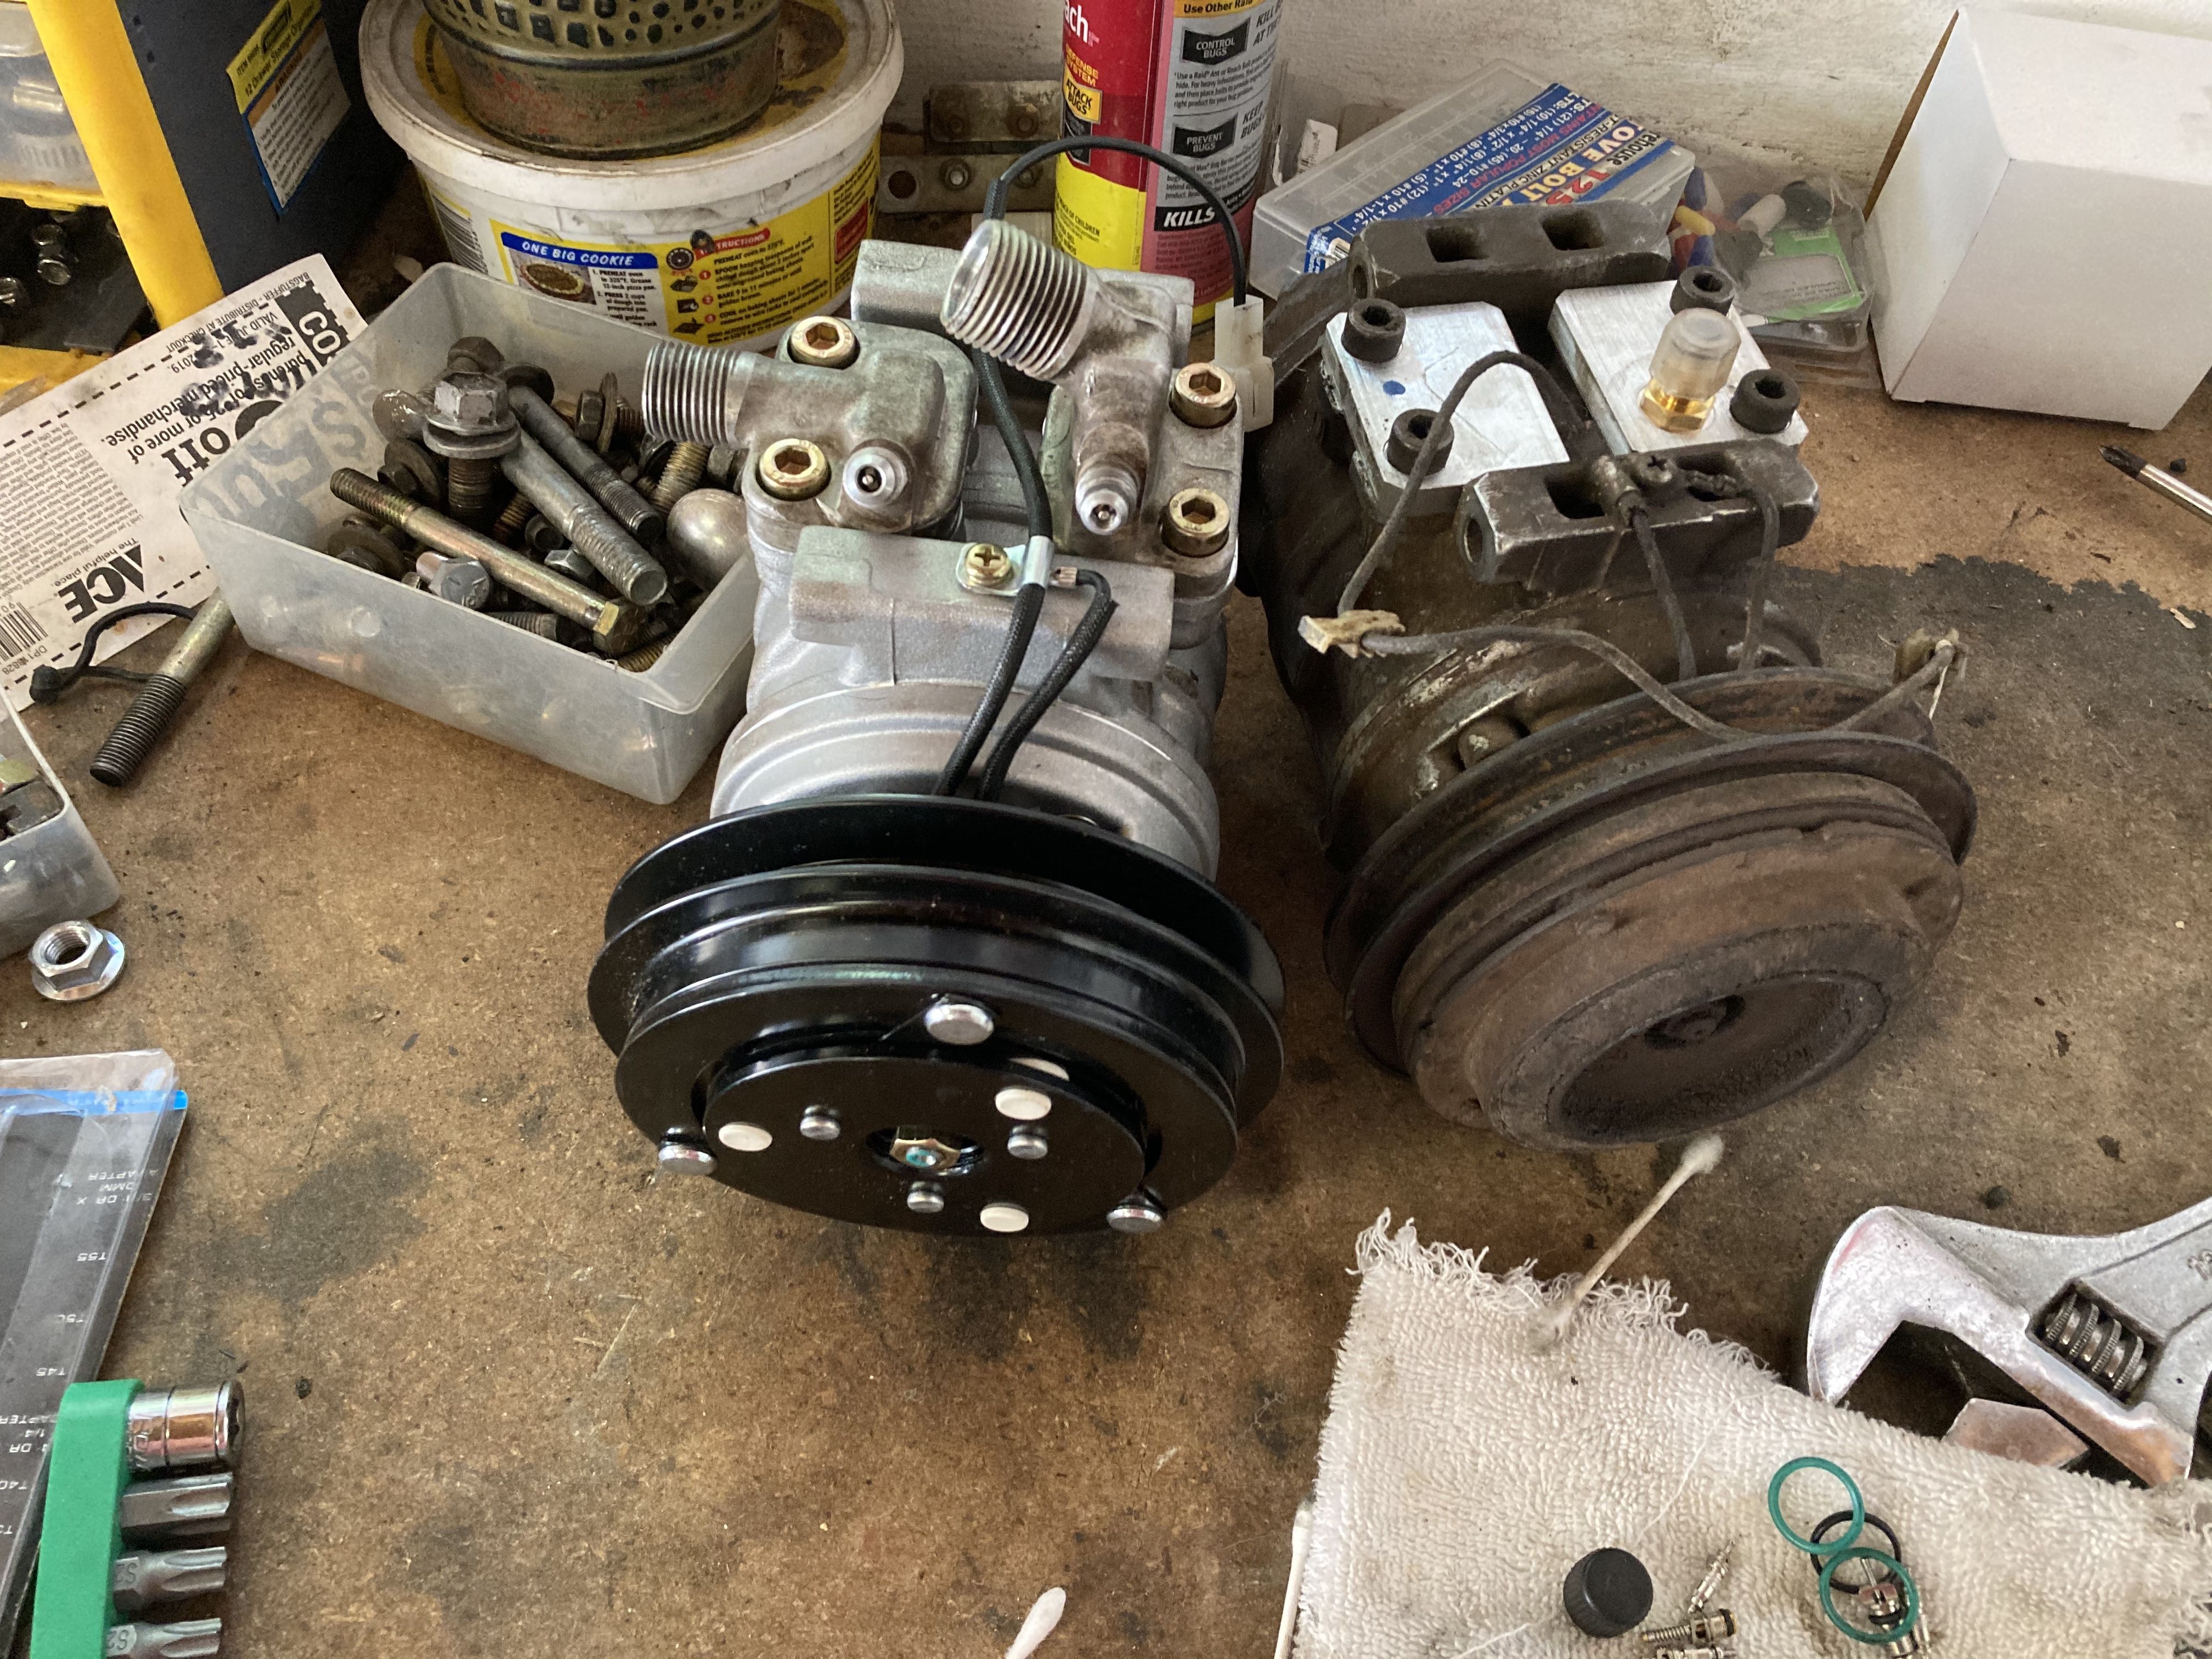
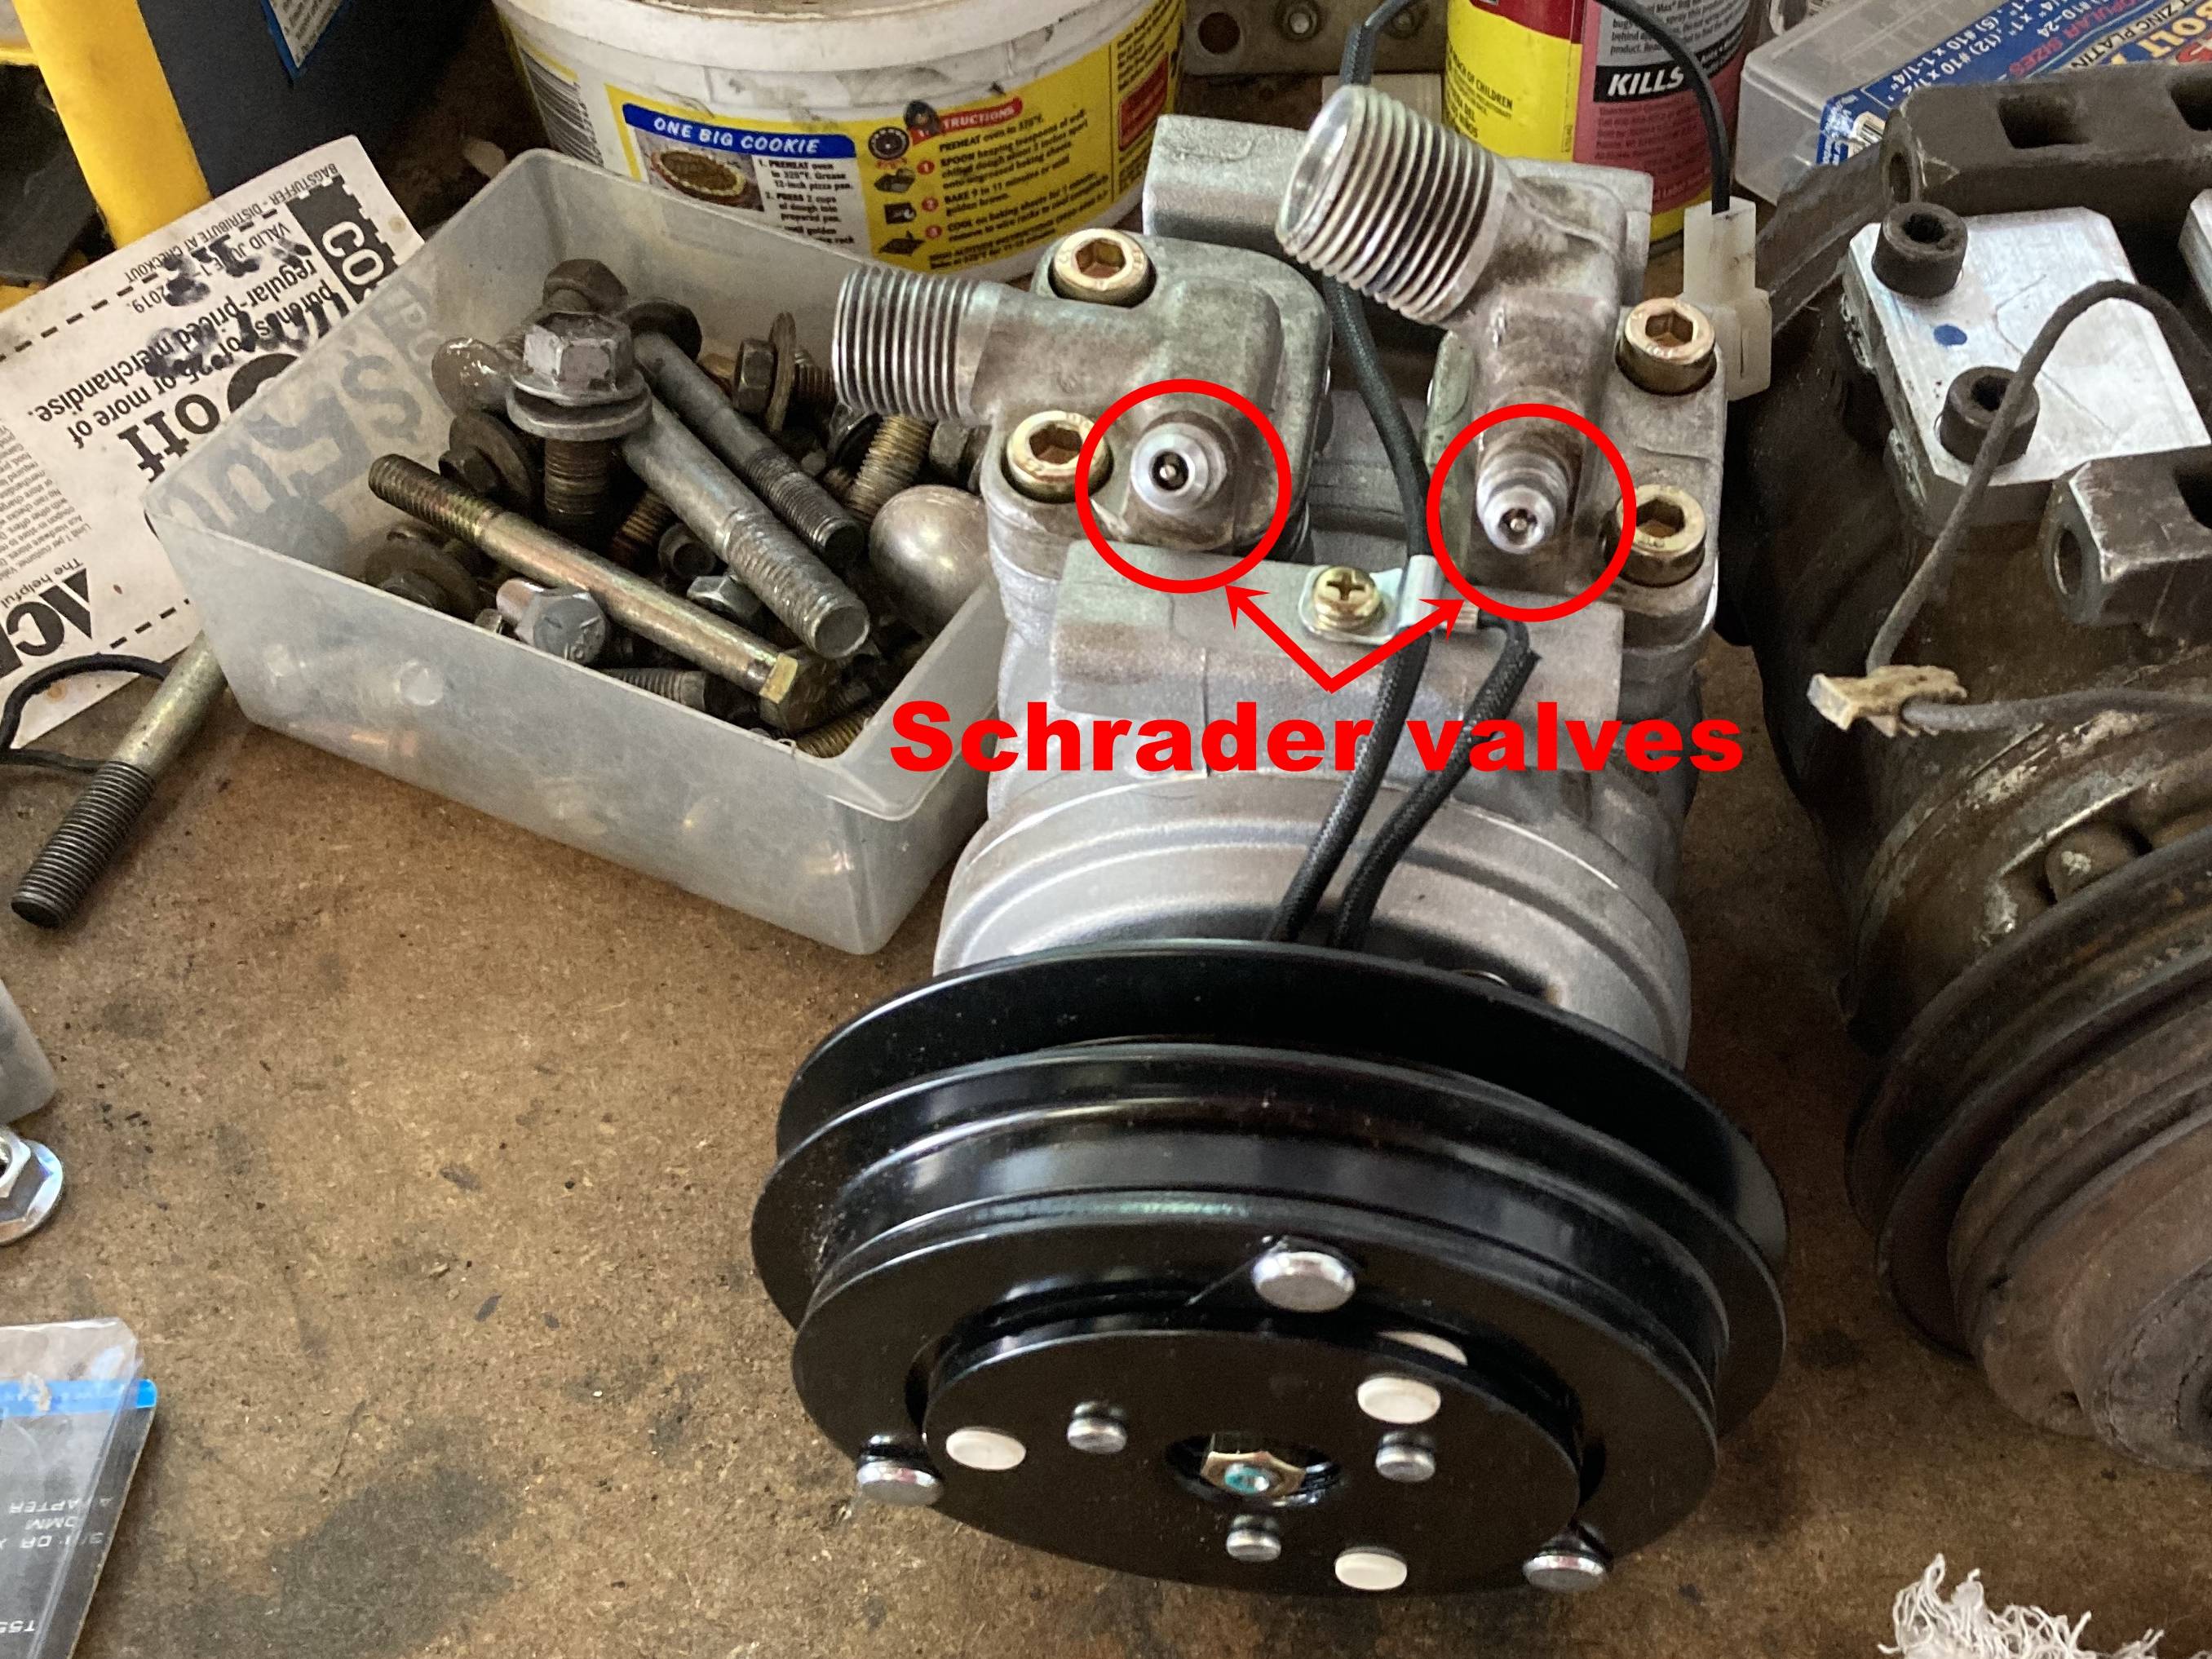
You do have the option to buy many of the main components new, but at the very least you need to buy a new drier & expansion valve before you do your install. I would recommend ponying up the coin to get a new compressor as well since original ones tend to leak from time. Unfortunately finding a lot of the A/C lines can be a pain so if you can find a donor vehicle, all the better.
Evaporator
UPDATE: Do NOT use the Four Seasons Expansion valve (Part #38616). Buy it so you get the lifetime warranty on the compressor but install the Denso one as mentioned in the post below. My brand new Four Seasons Expansion Valve failed right out of the box, blowing an A/C line & requiring it be replaced.
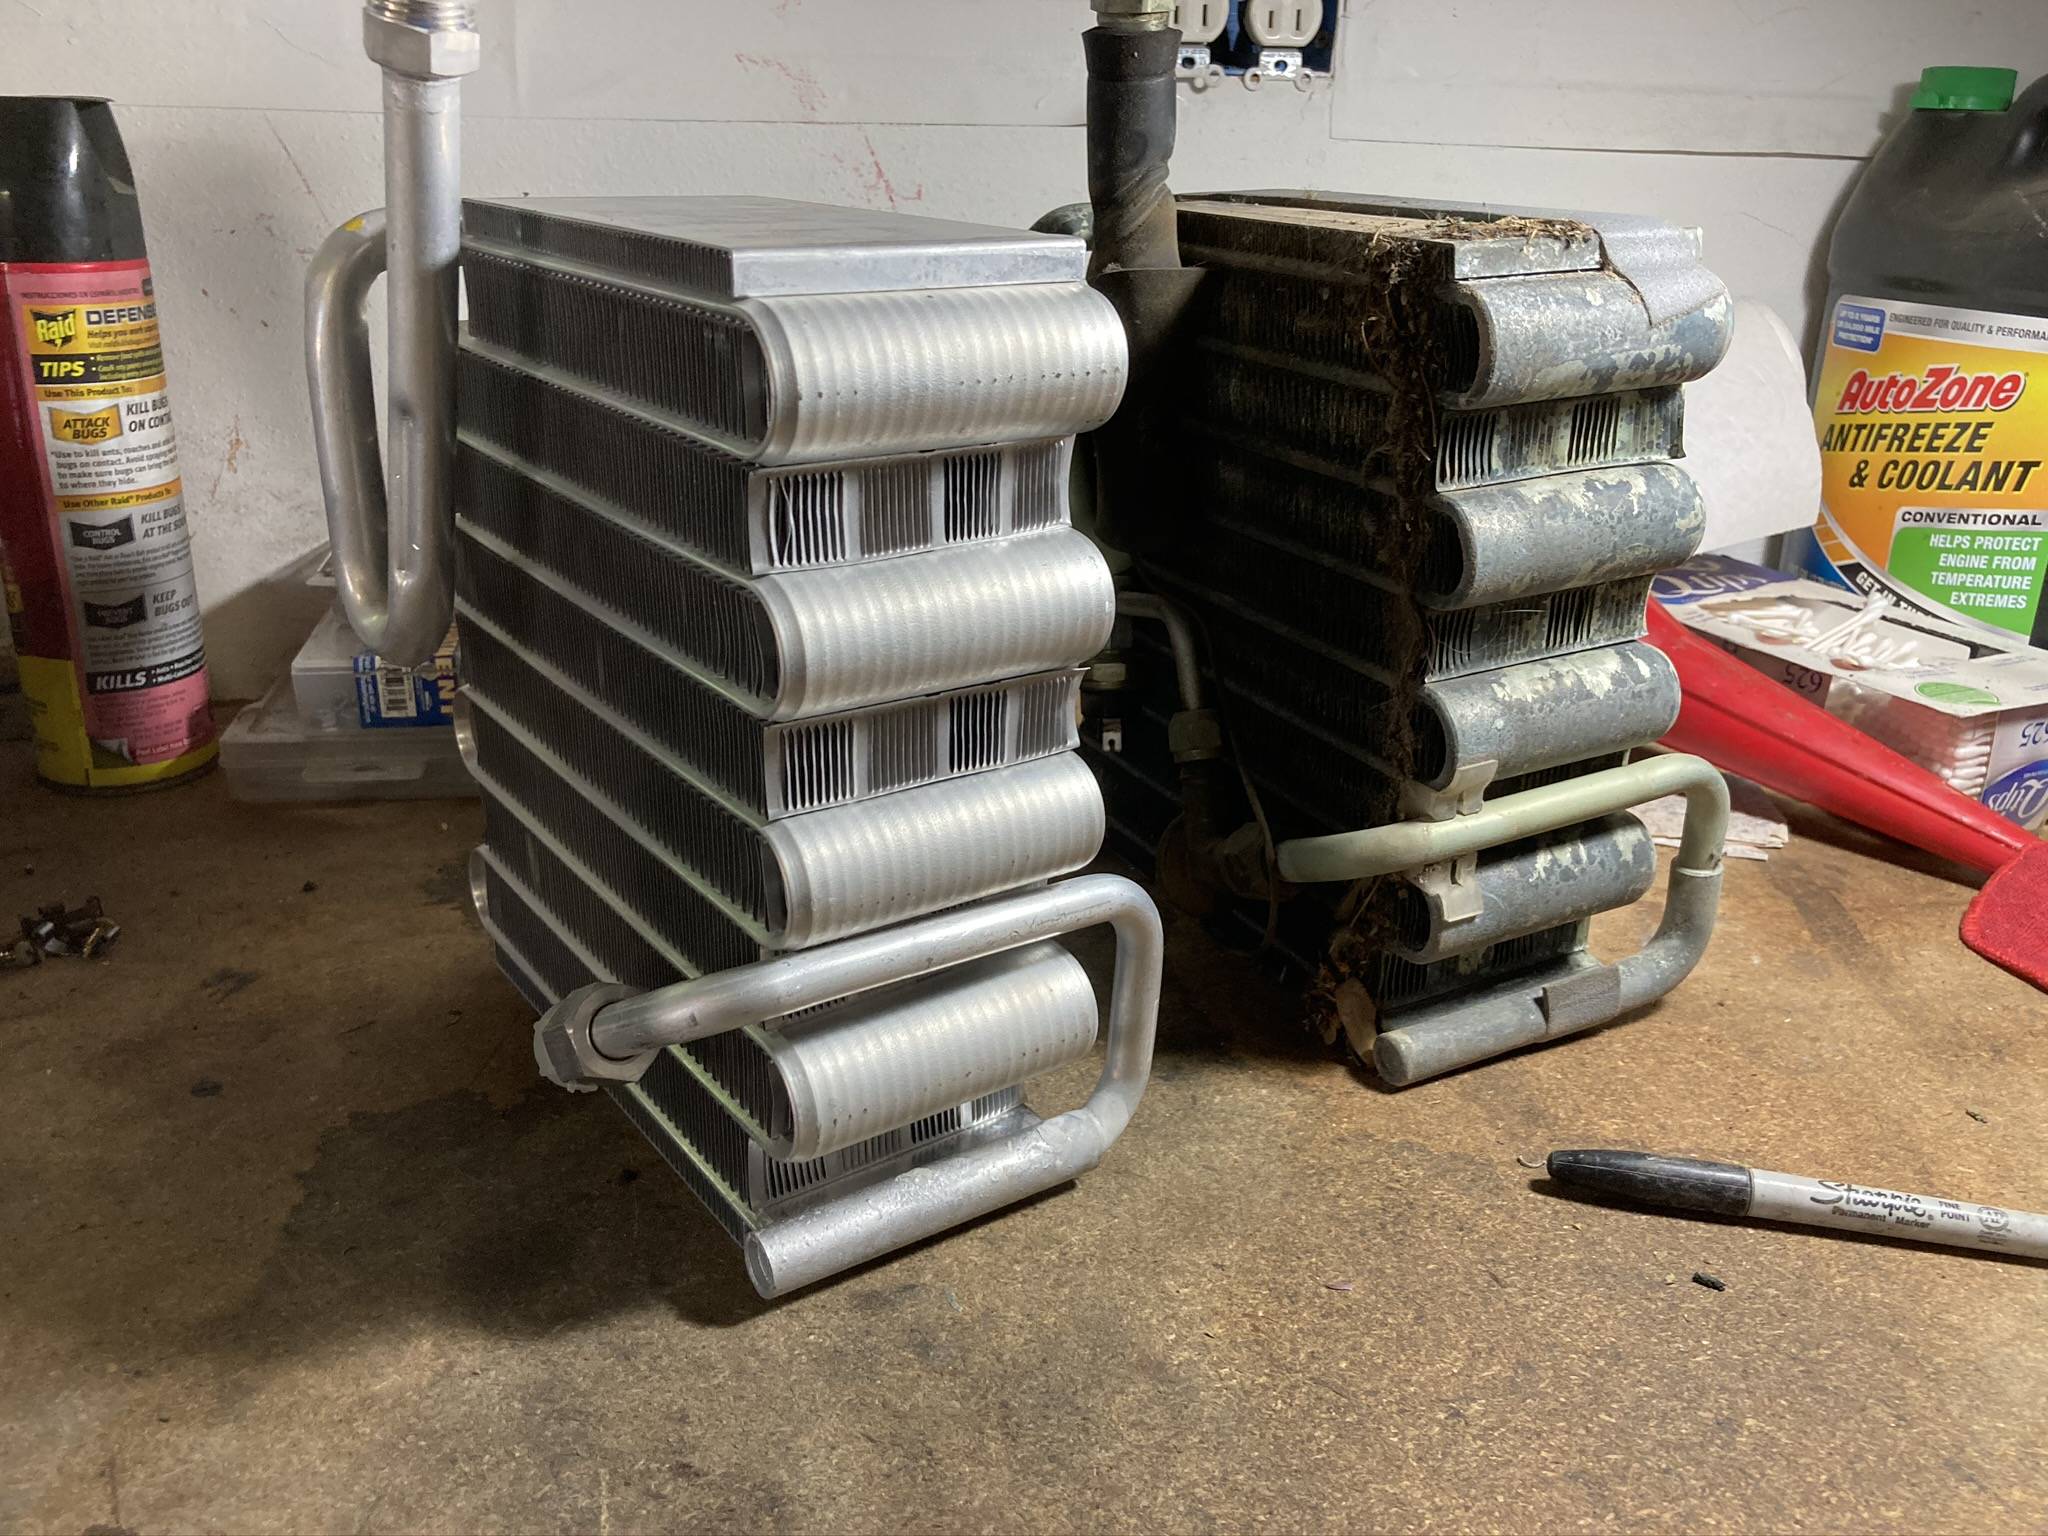
I went ahead and bought all new parts for my truck where I could. I probably didn’t need to replace the evaporator, but I decided that I don’t want to mess with this system for a long time.

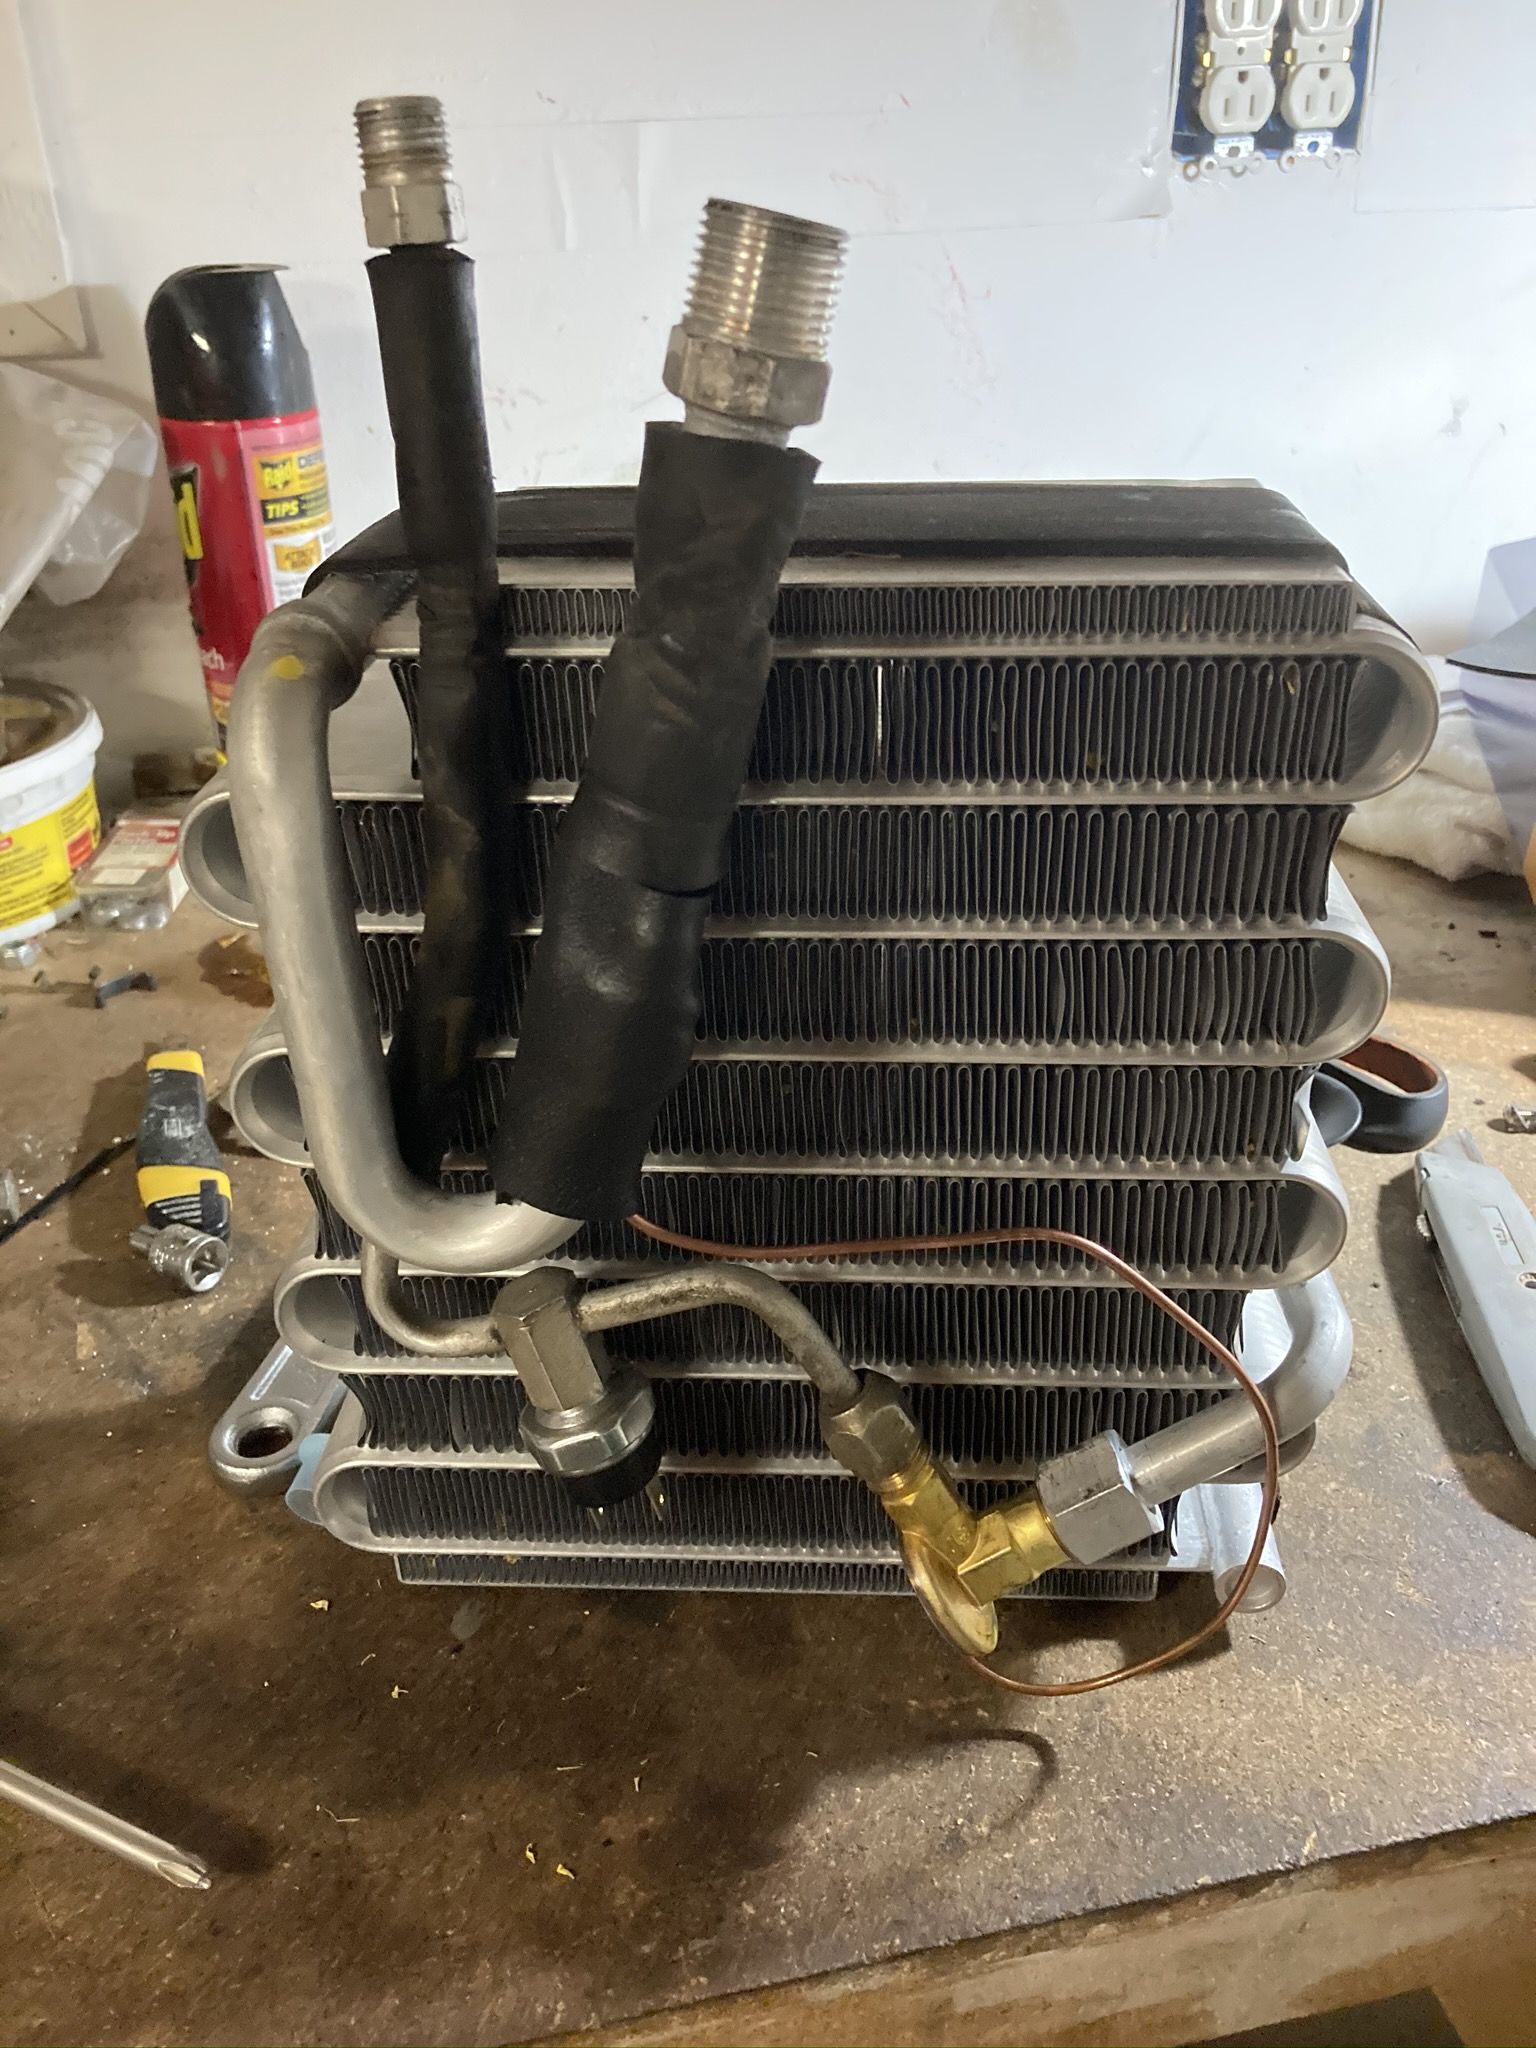
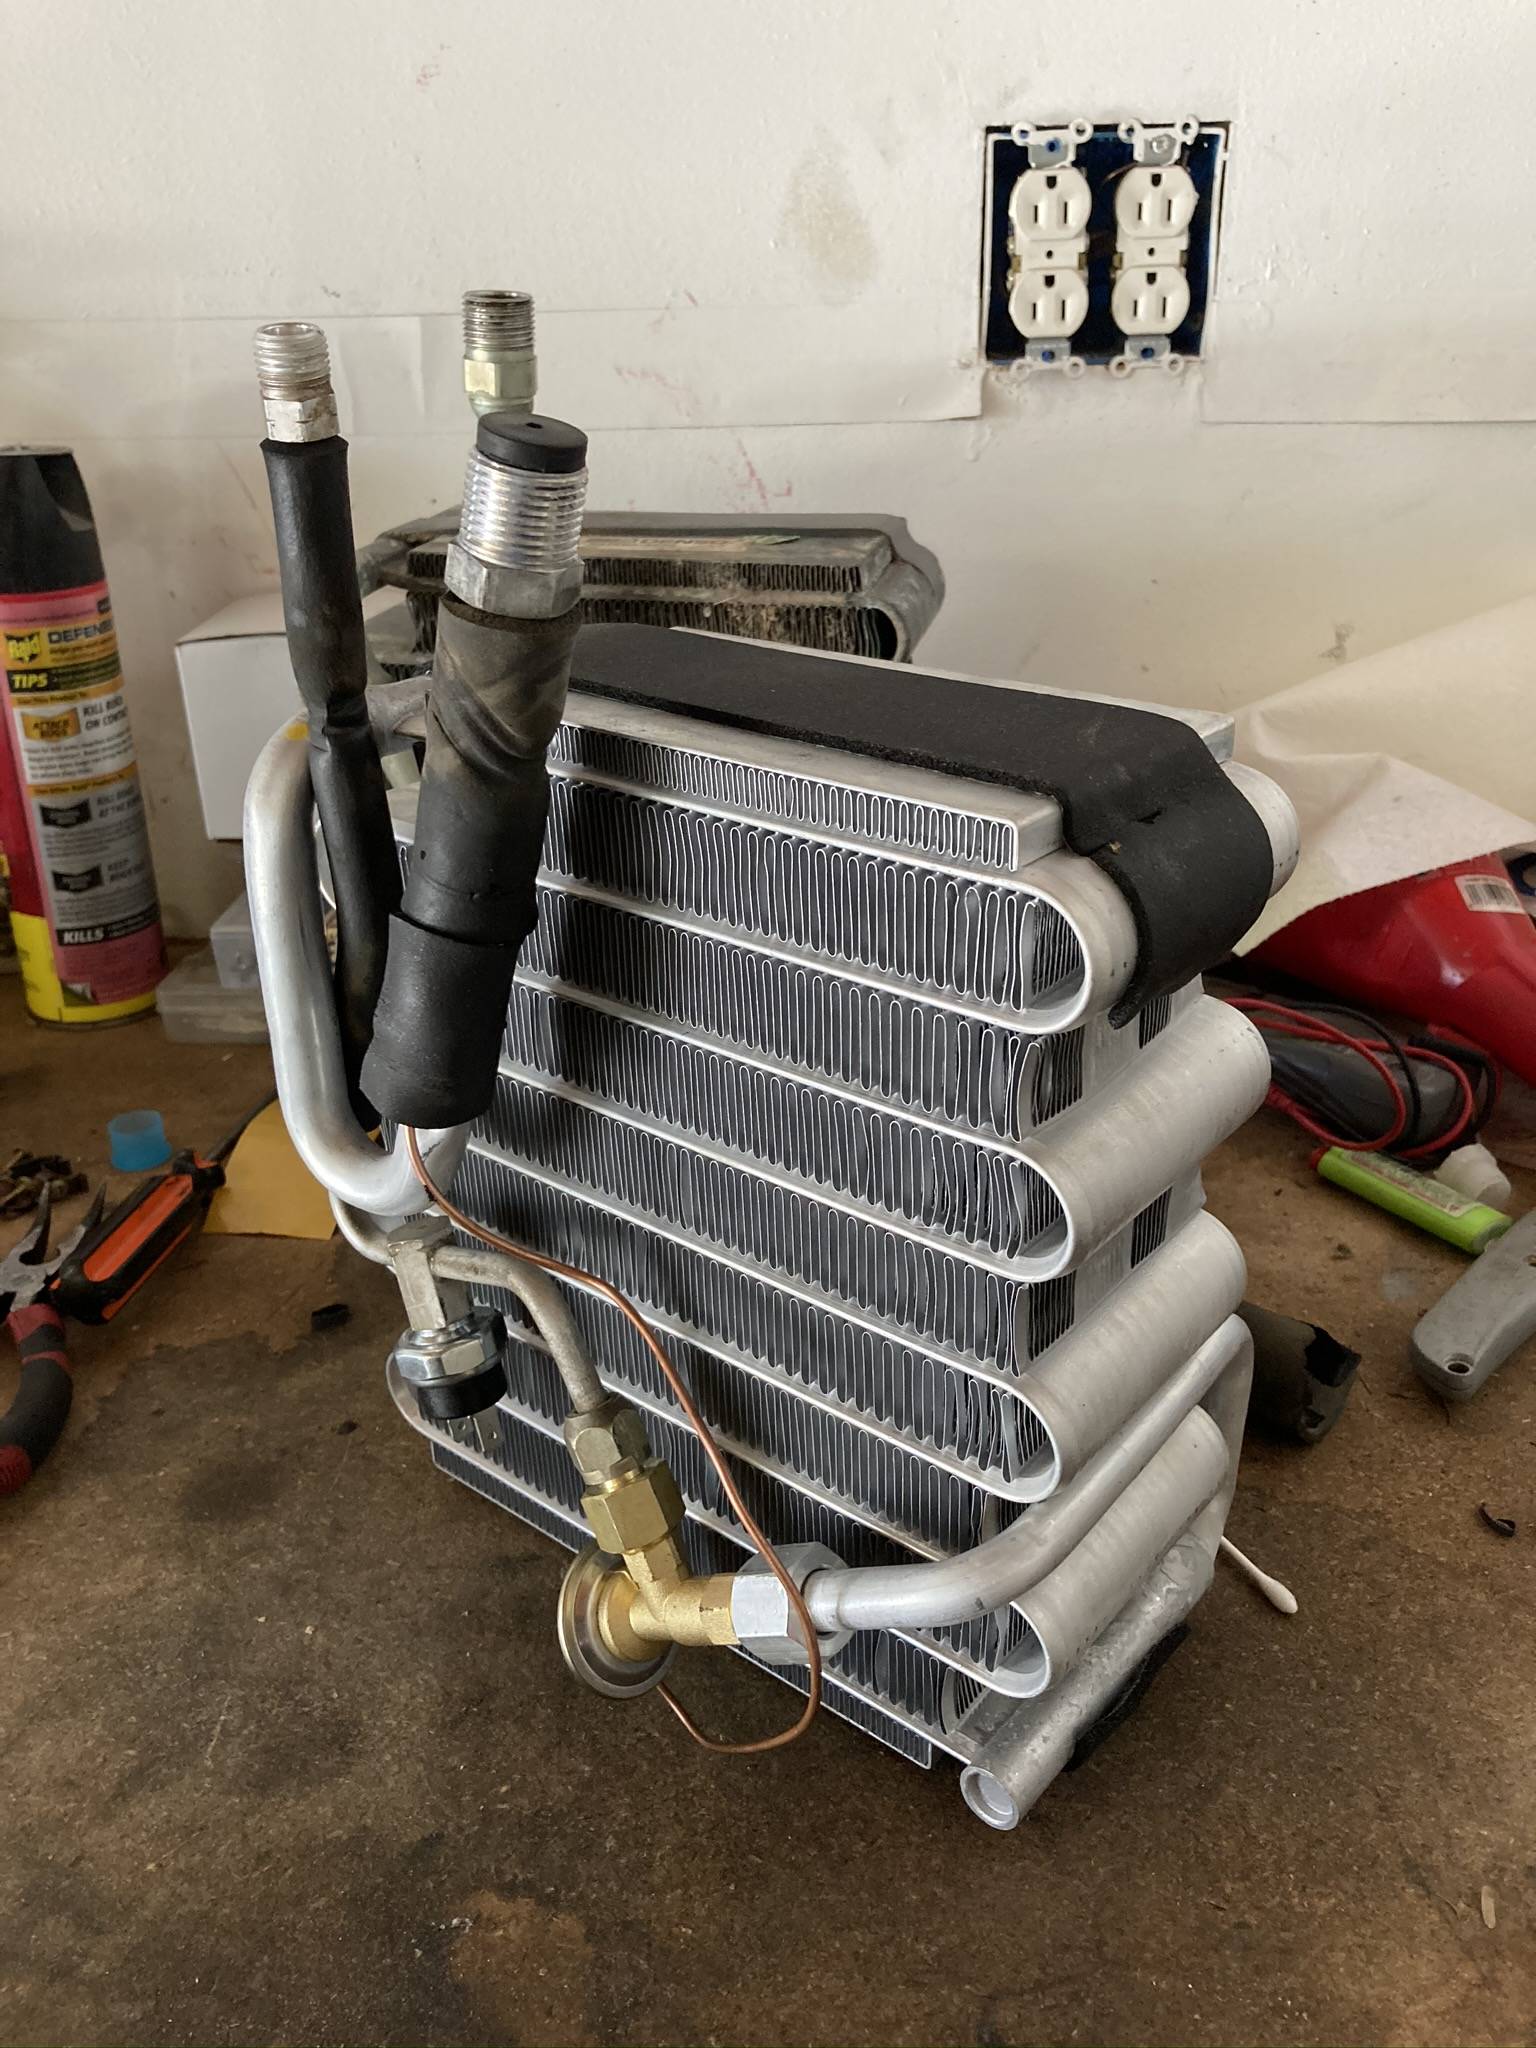
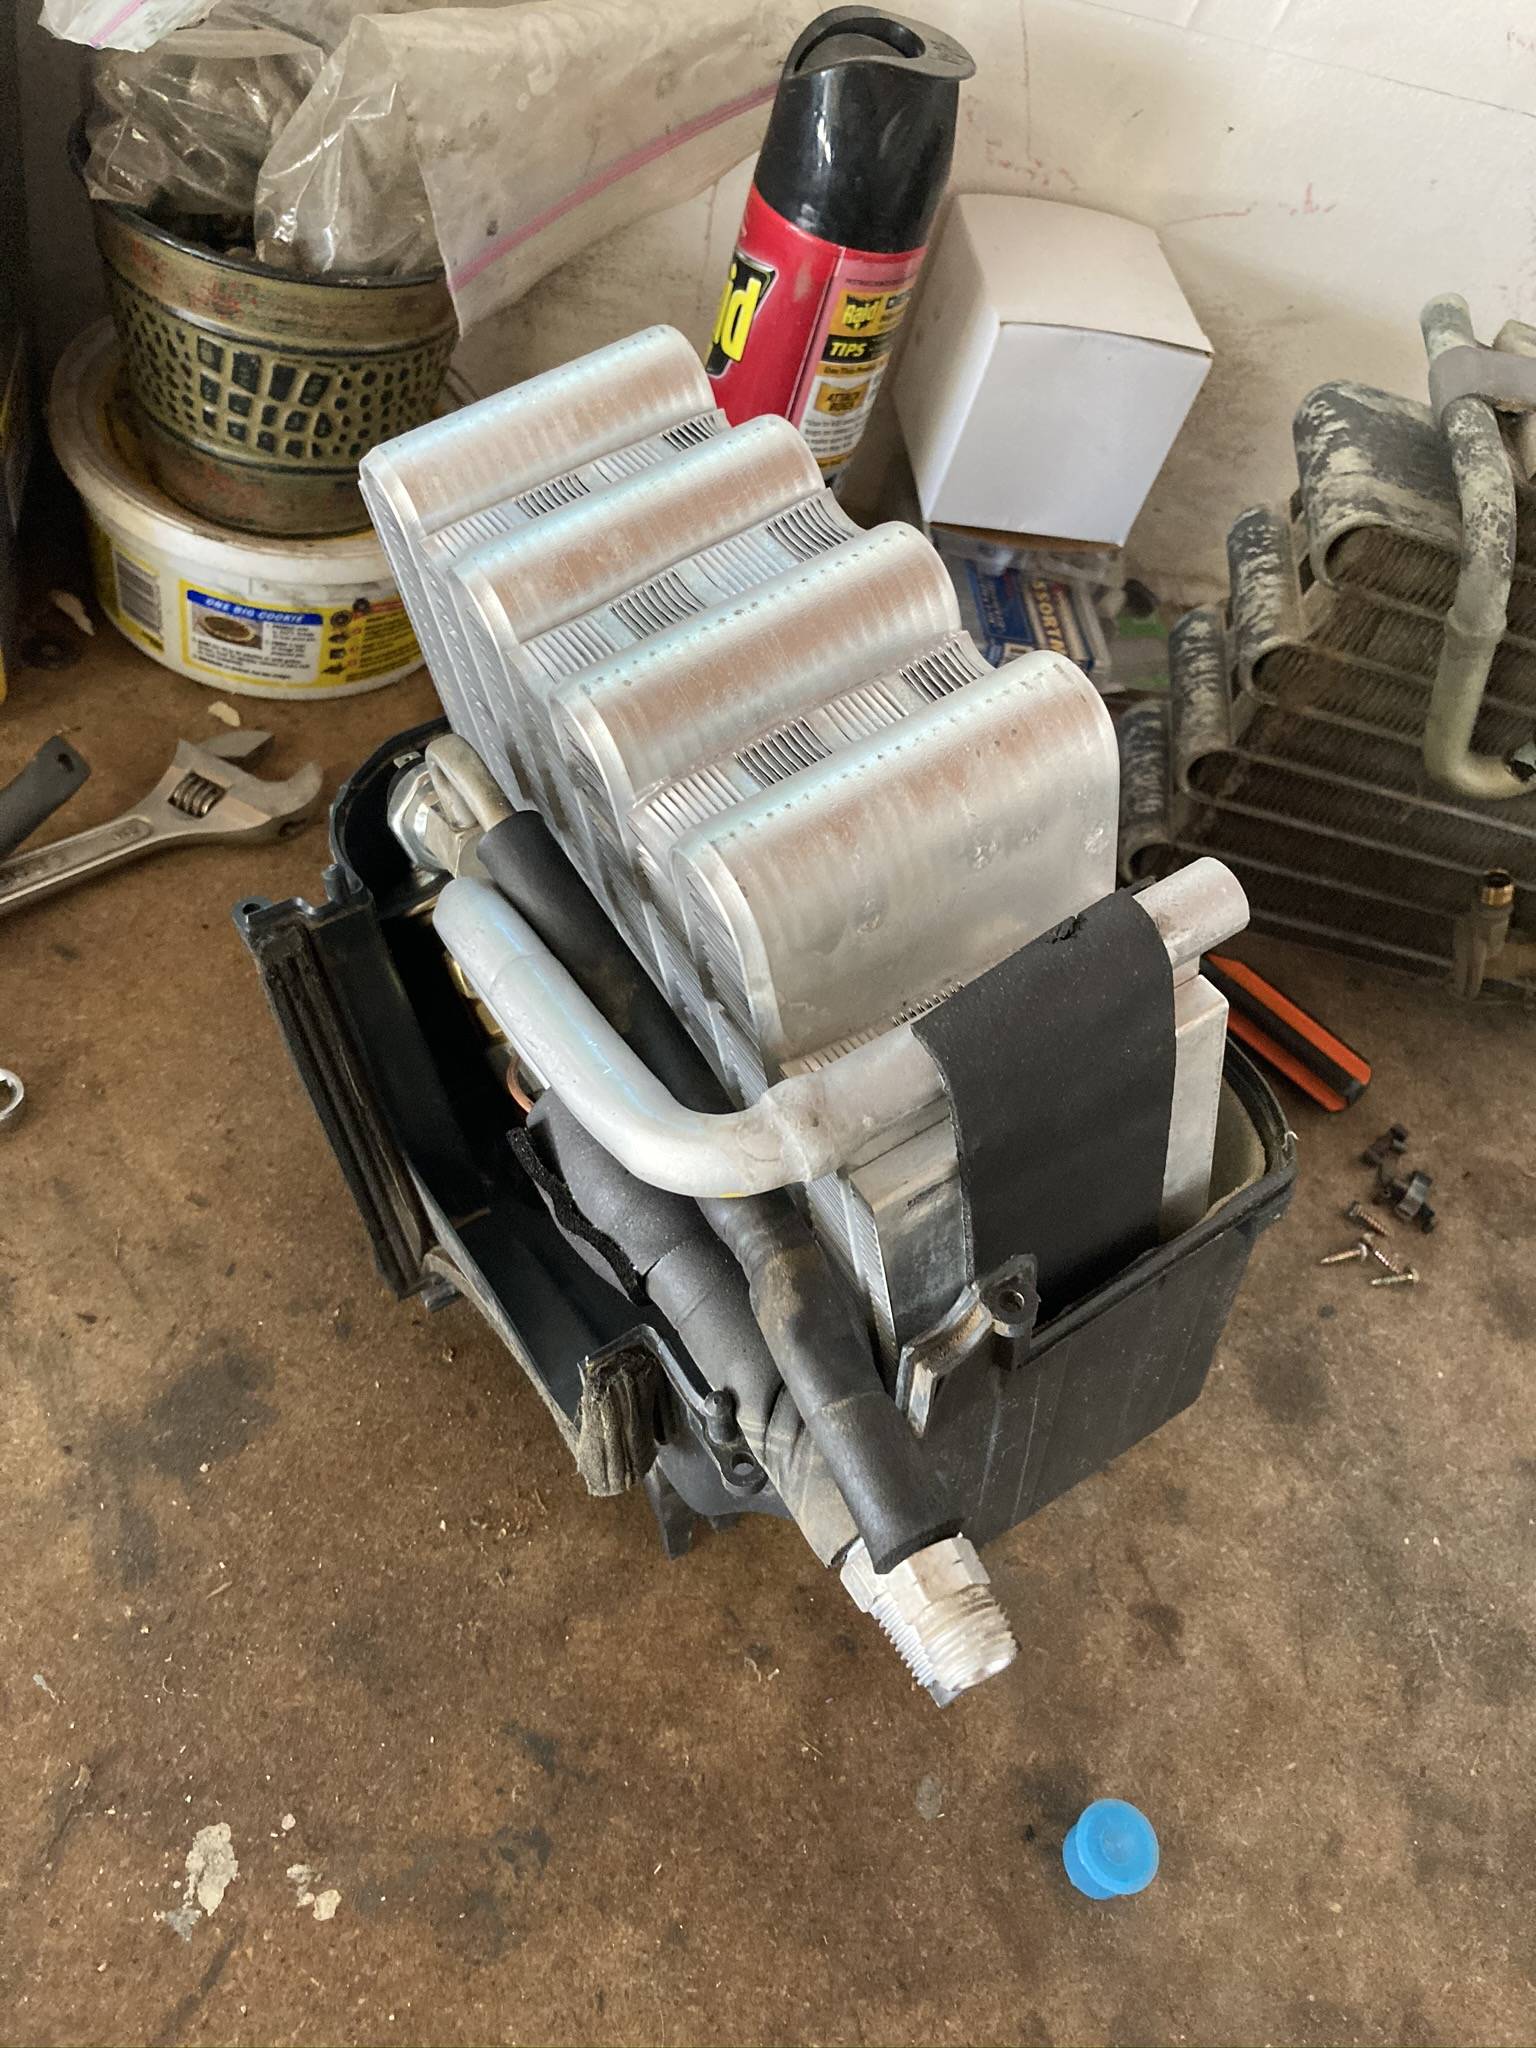
Inside the evaporator box is the evaporator, expansion valve, low pressure switch & thermistor. There is also a small A/C line that goes off the expansion valve and to the outside of the box which you need to have.
The box can be taken apart by removing the 4 screws and clamps on the sides of it. The box will split in half where you will see the evaporator and all it’s components. Compare the old evaporator with your new one to make sure they are the same.
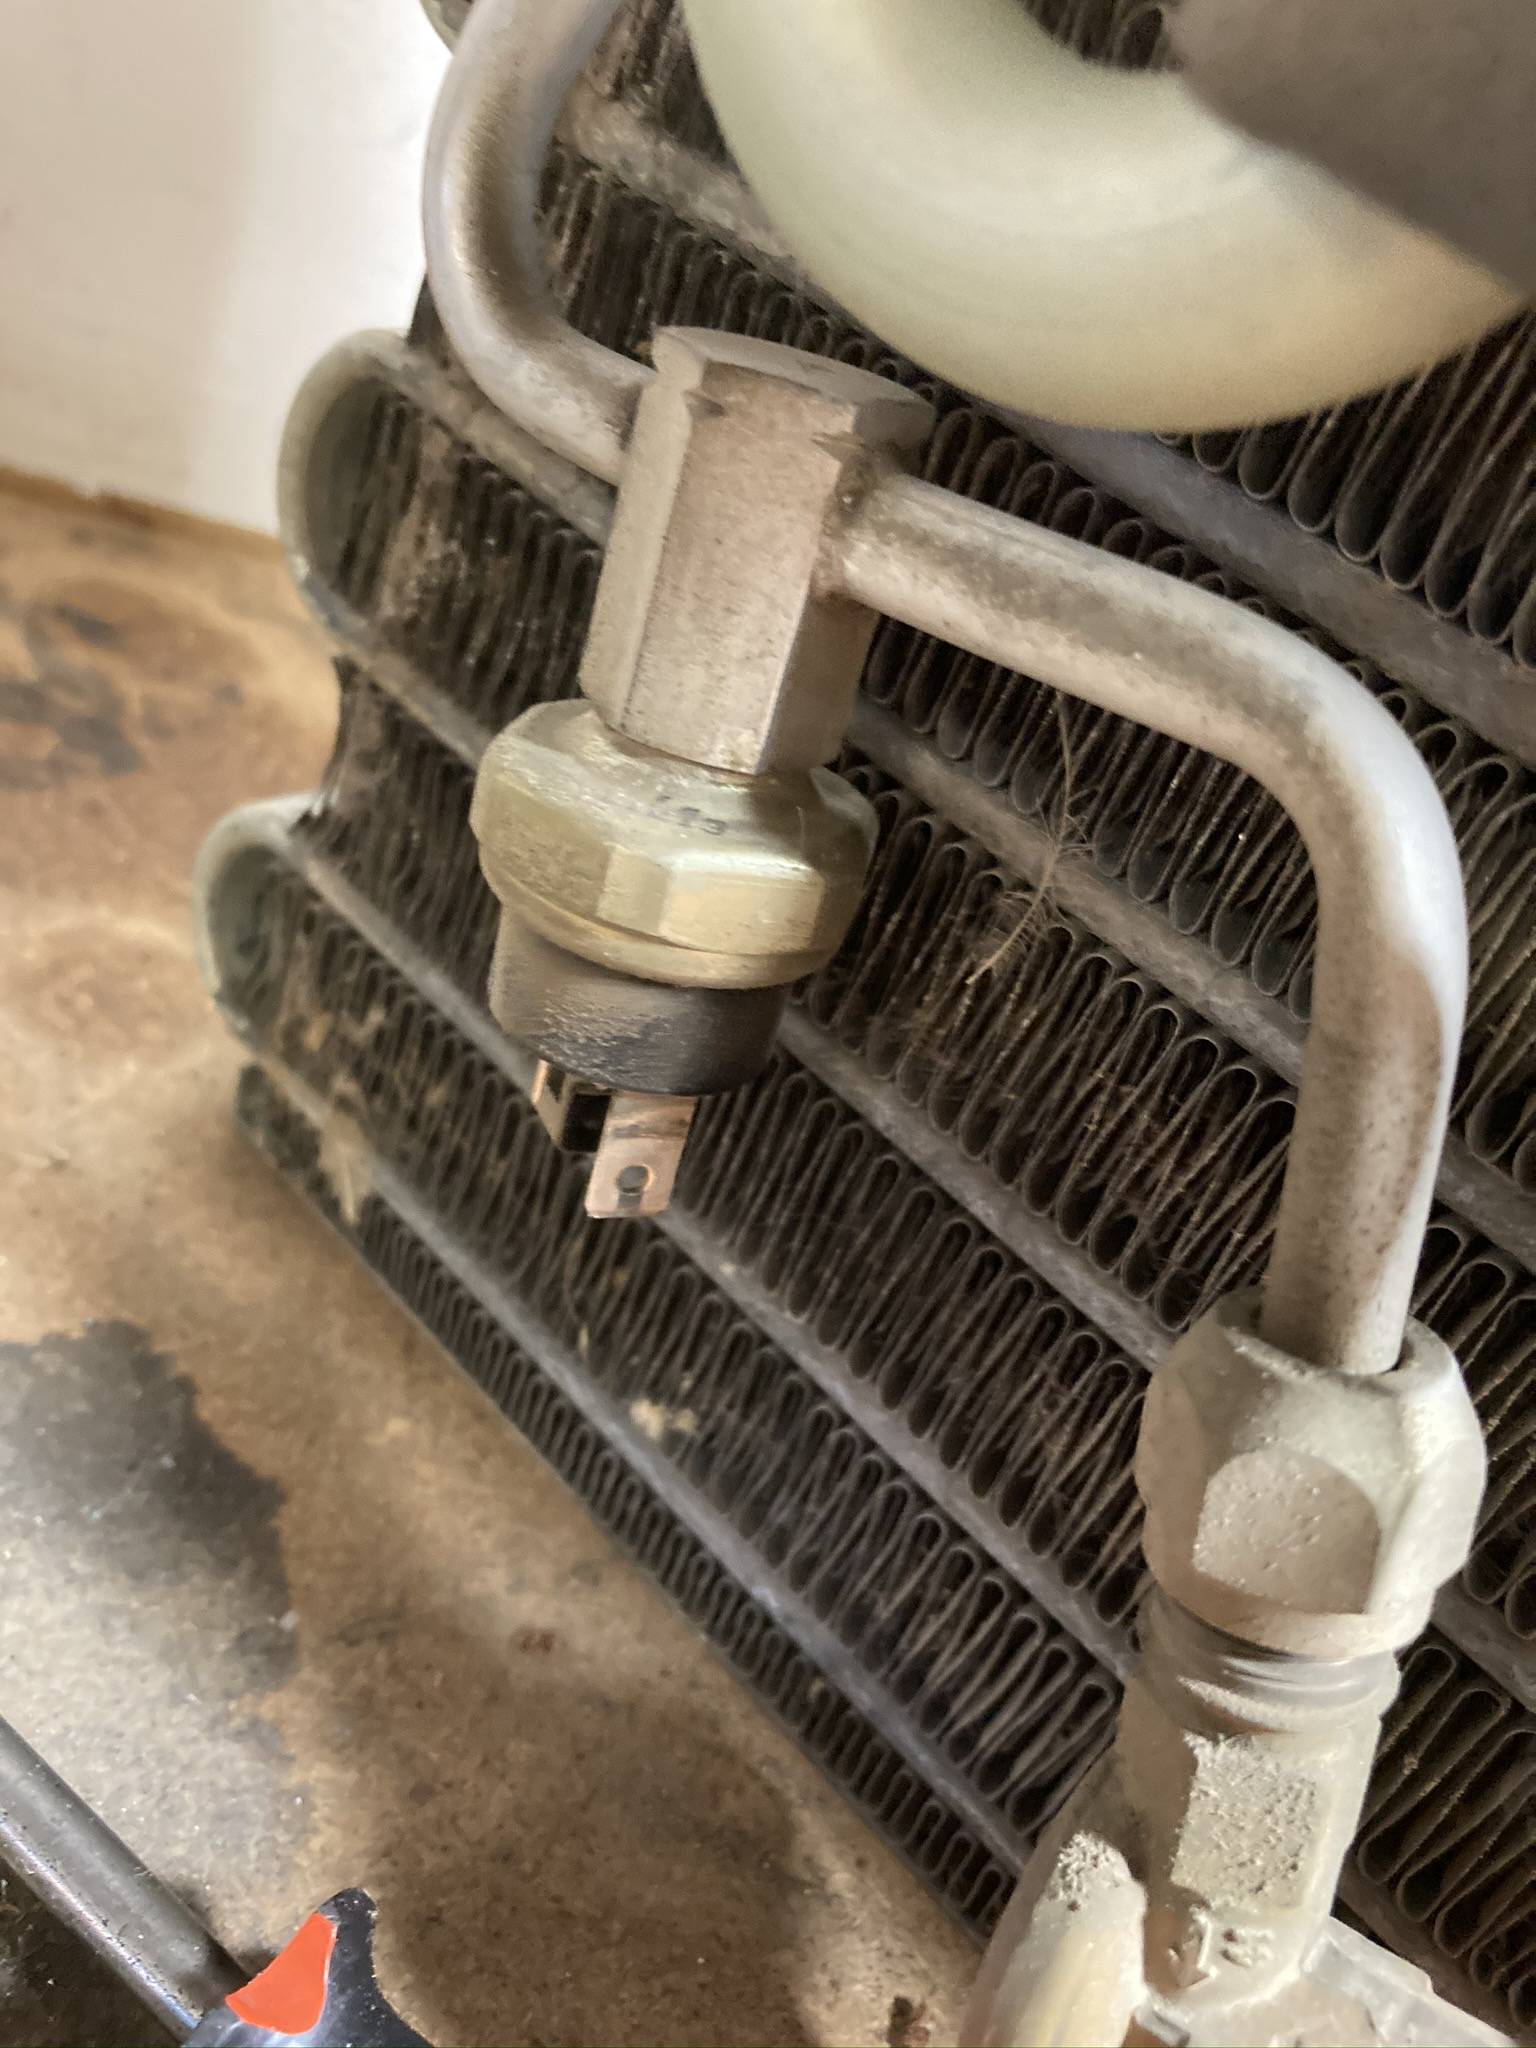
Unplug the low pressure switch & remove the thermistor.
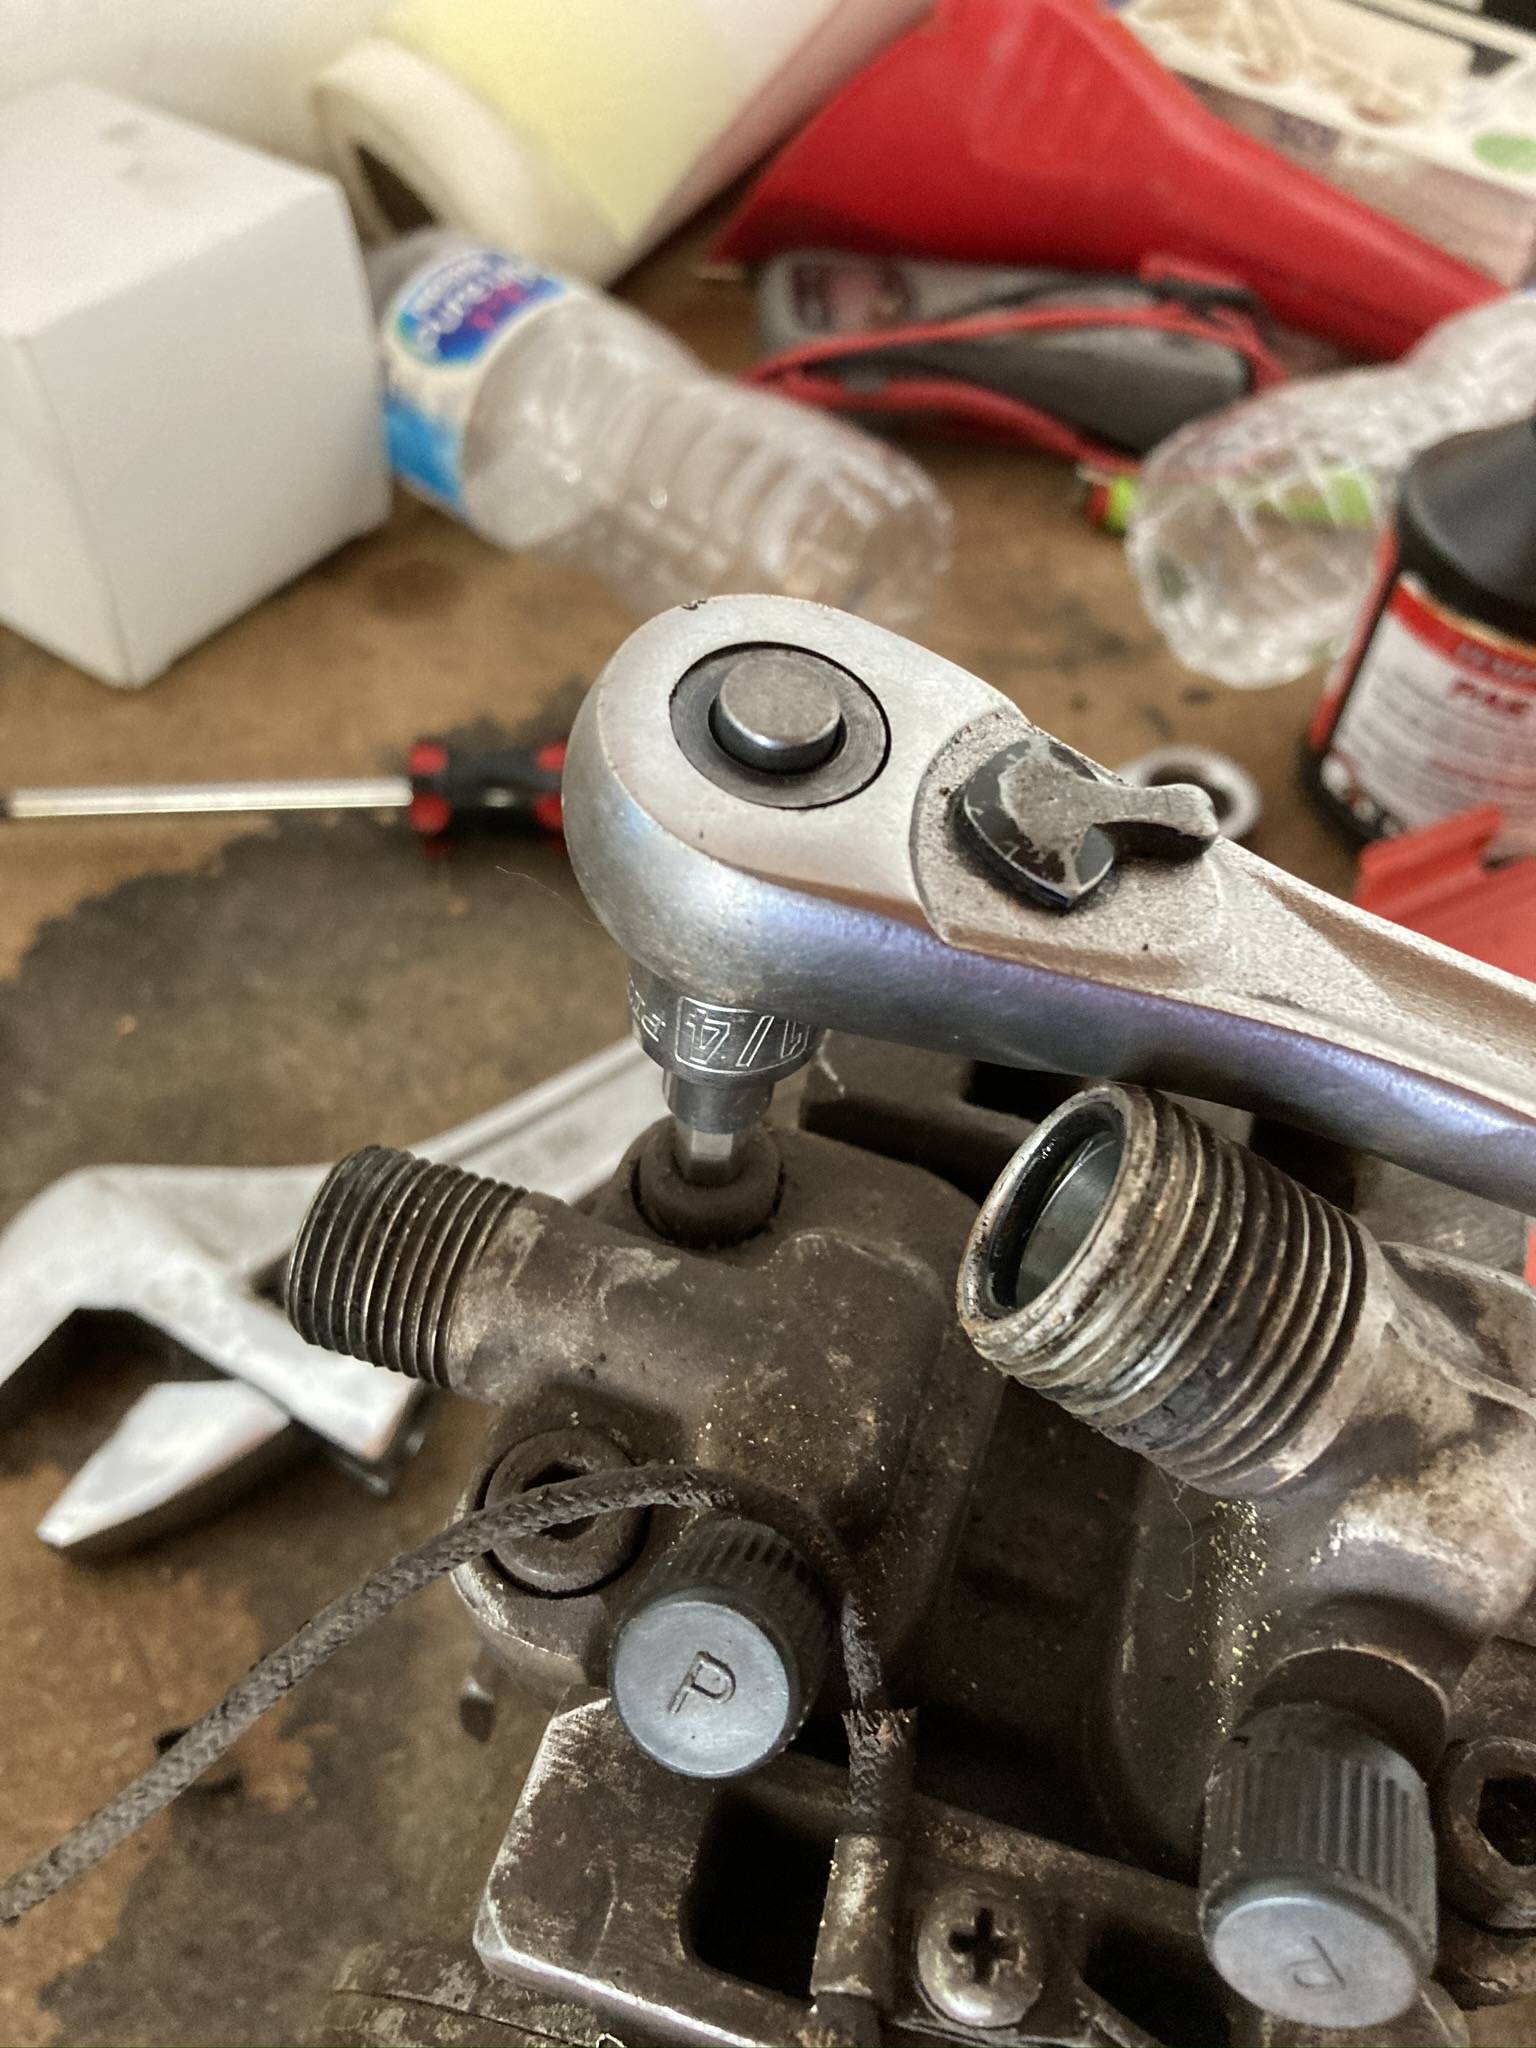
Disconnect the metal hard line from the expansion valve. With the line disconnected you can easily remove the pressure switch.
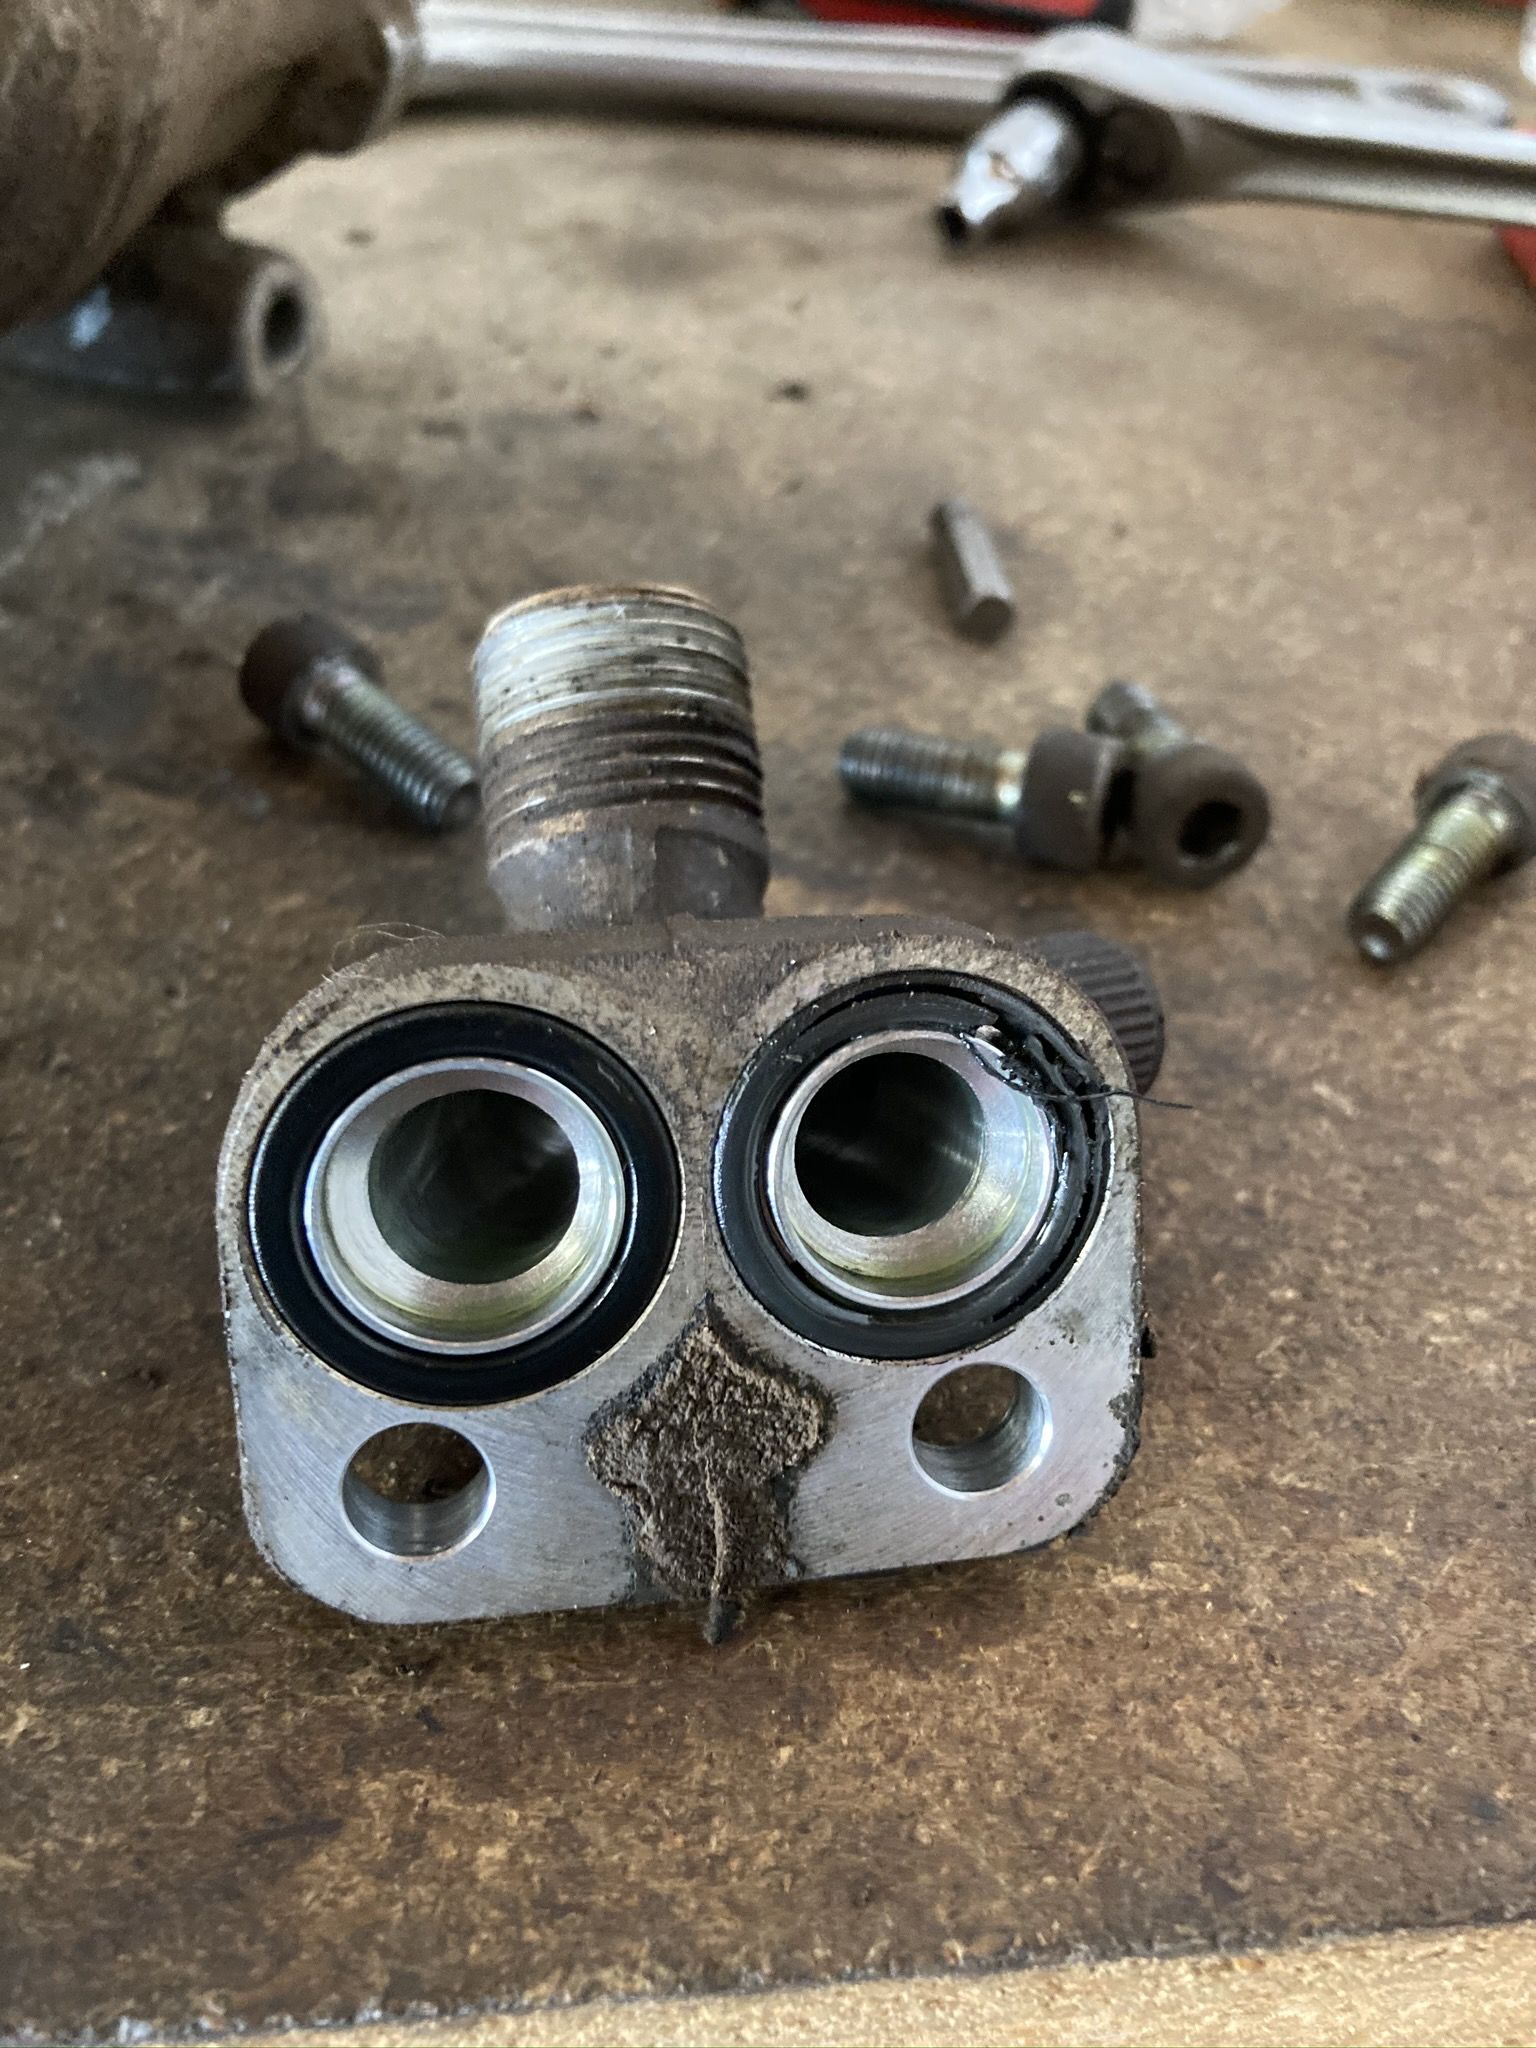
Remove the foam around the larger hard line and remove the clip that holds the probe off of the old expansion valve.
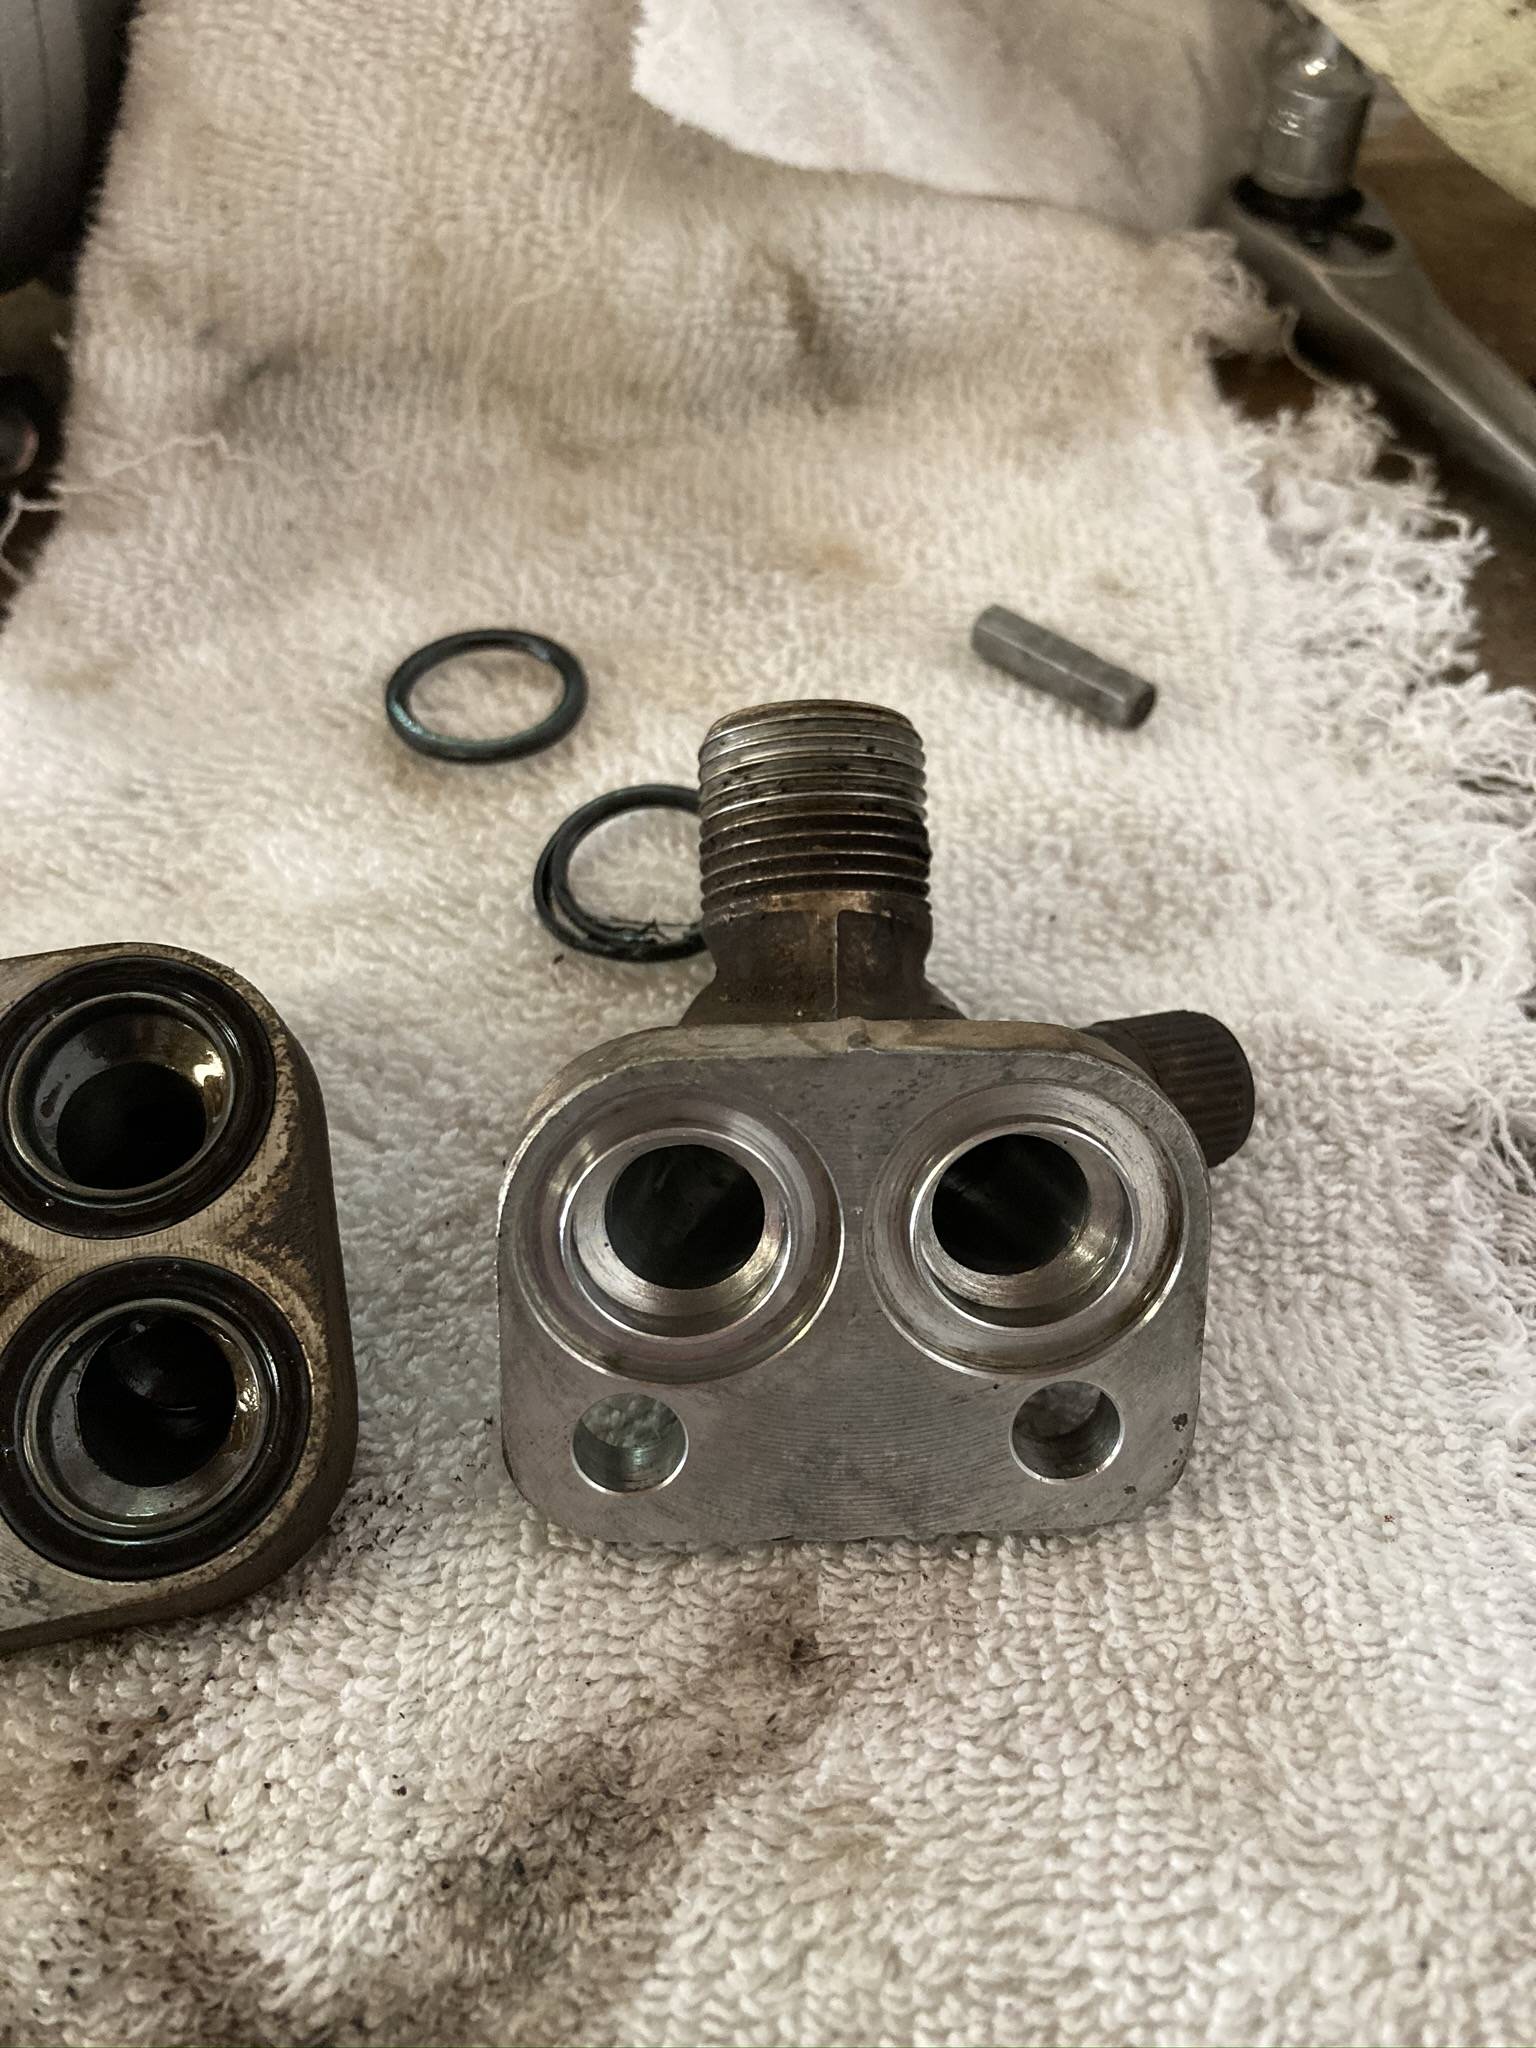
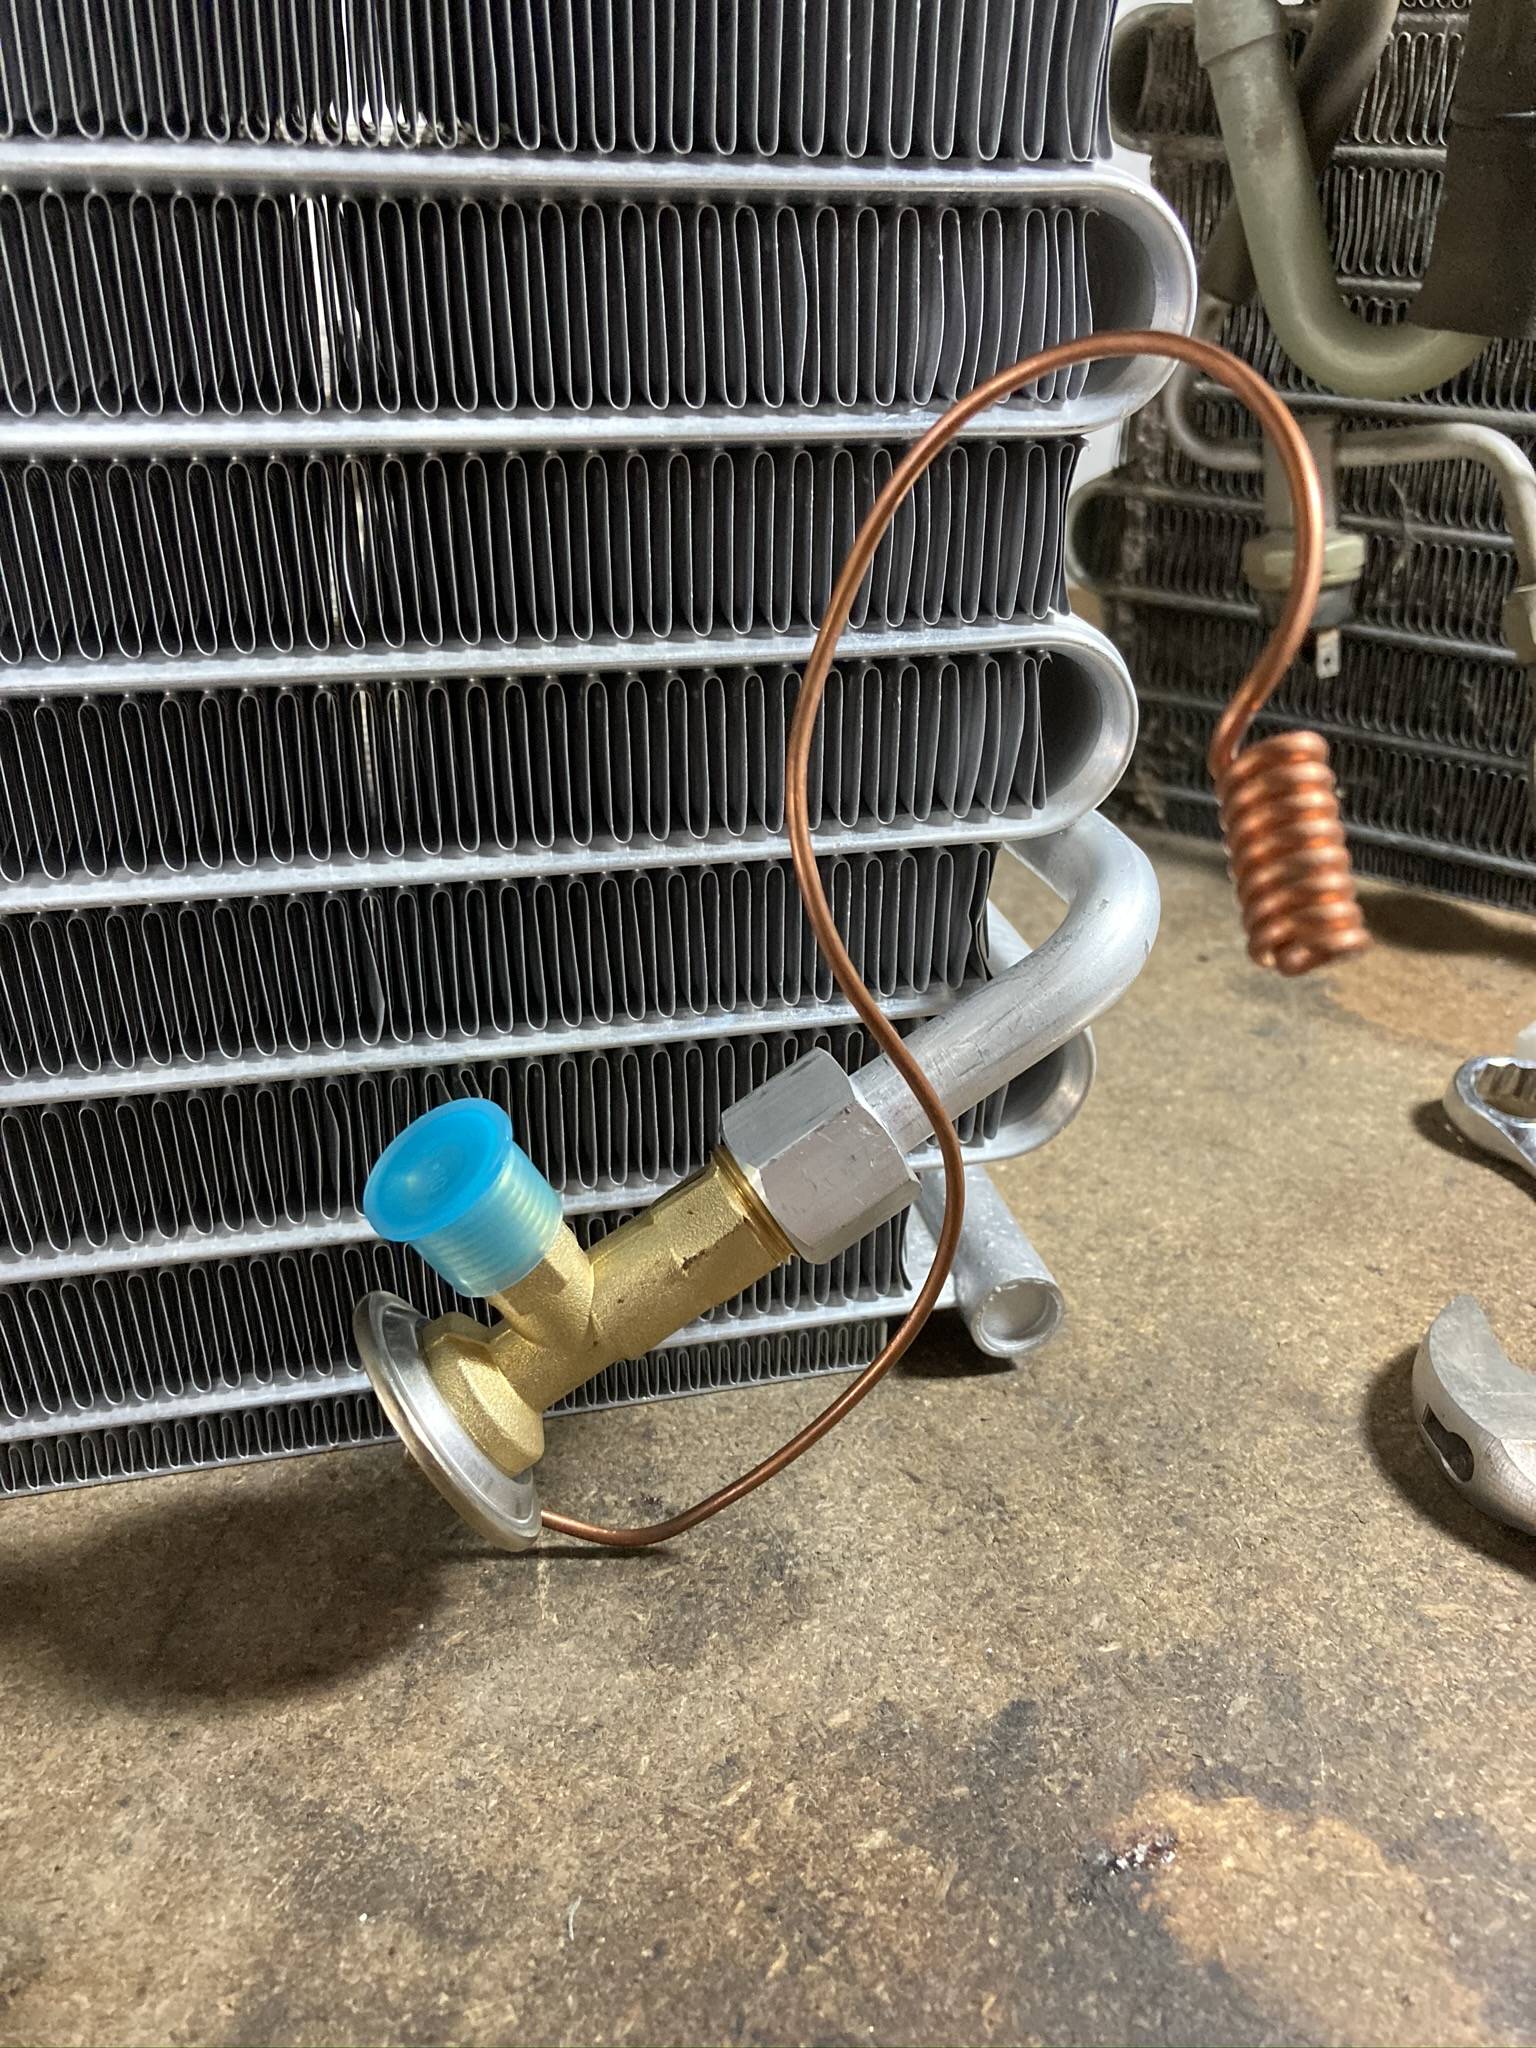
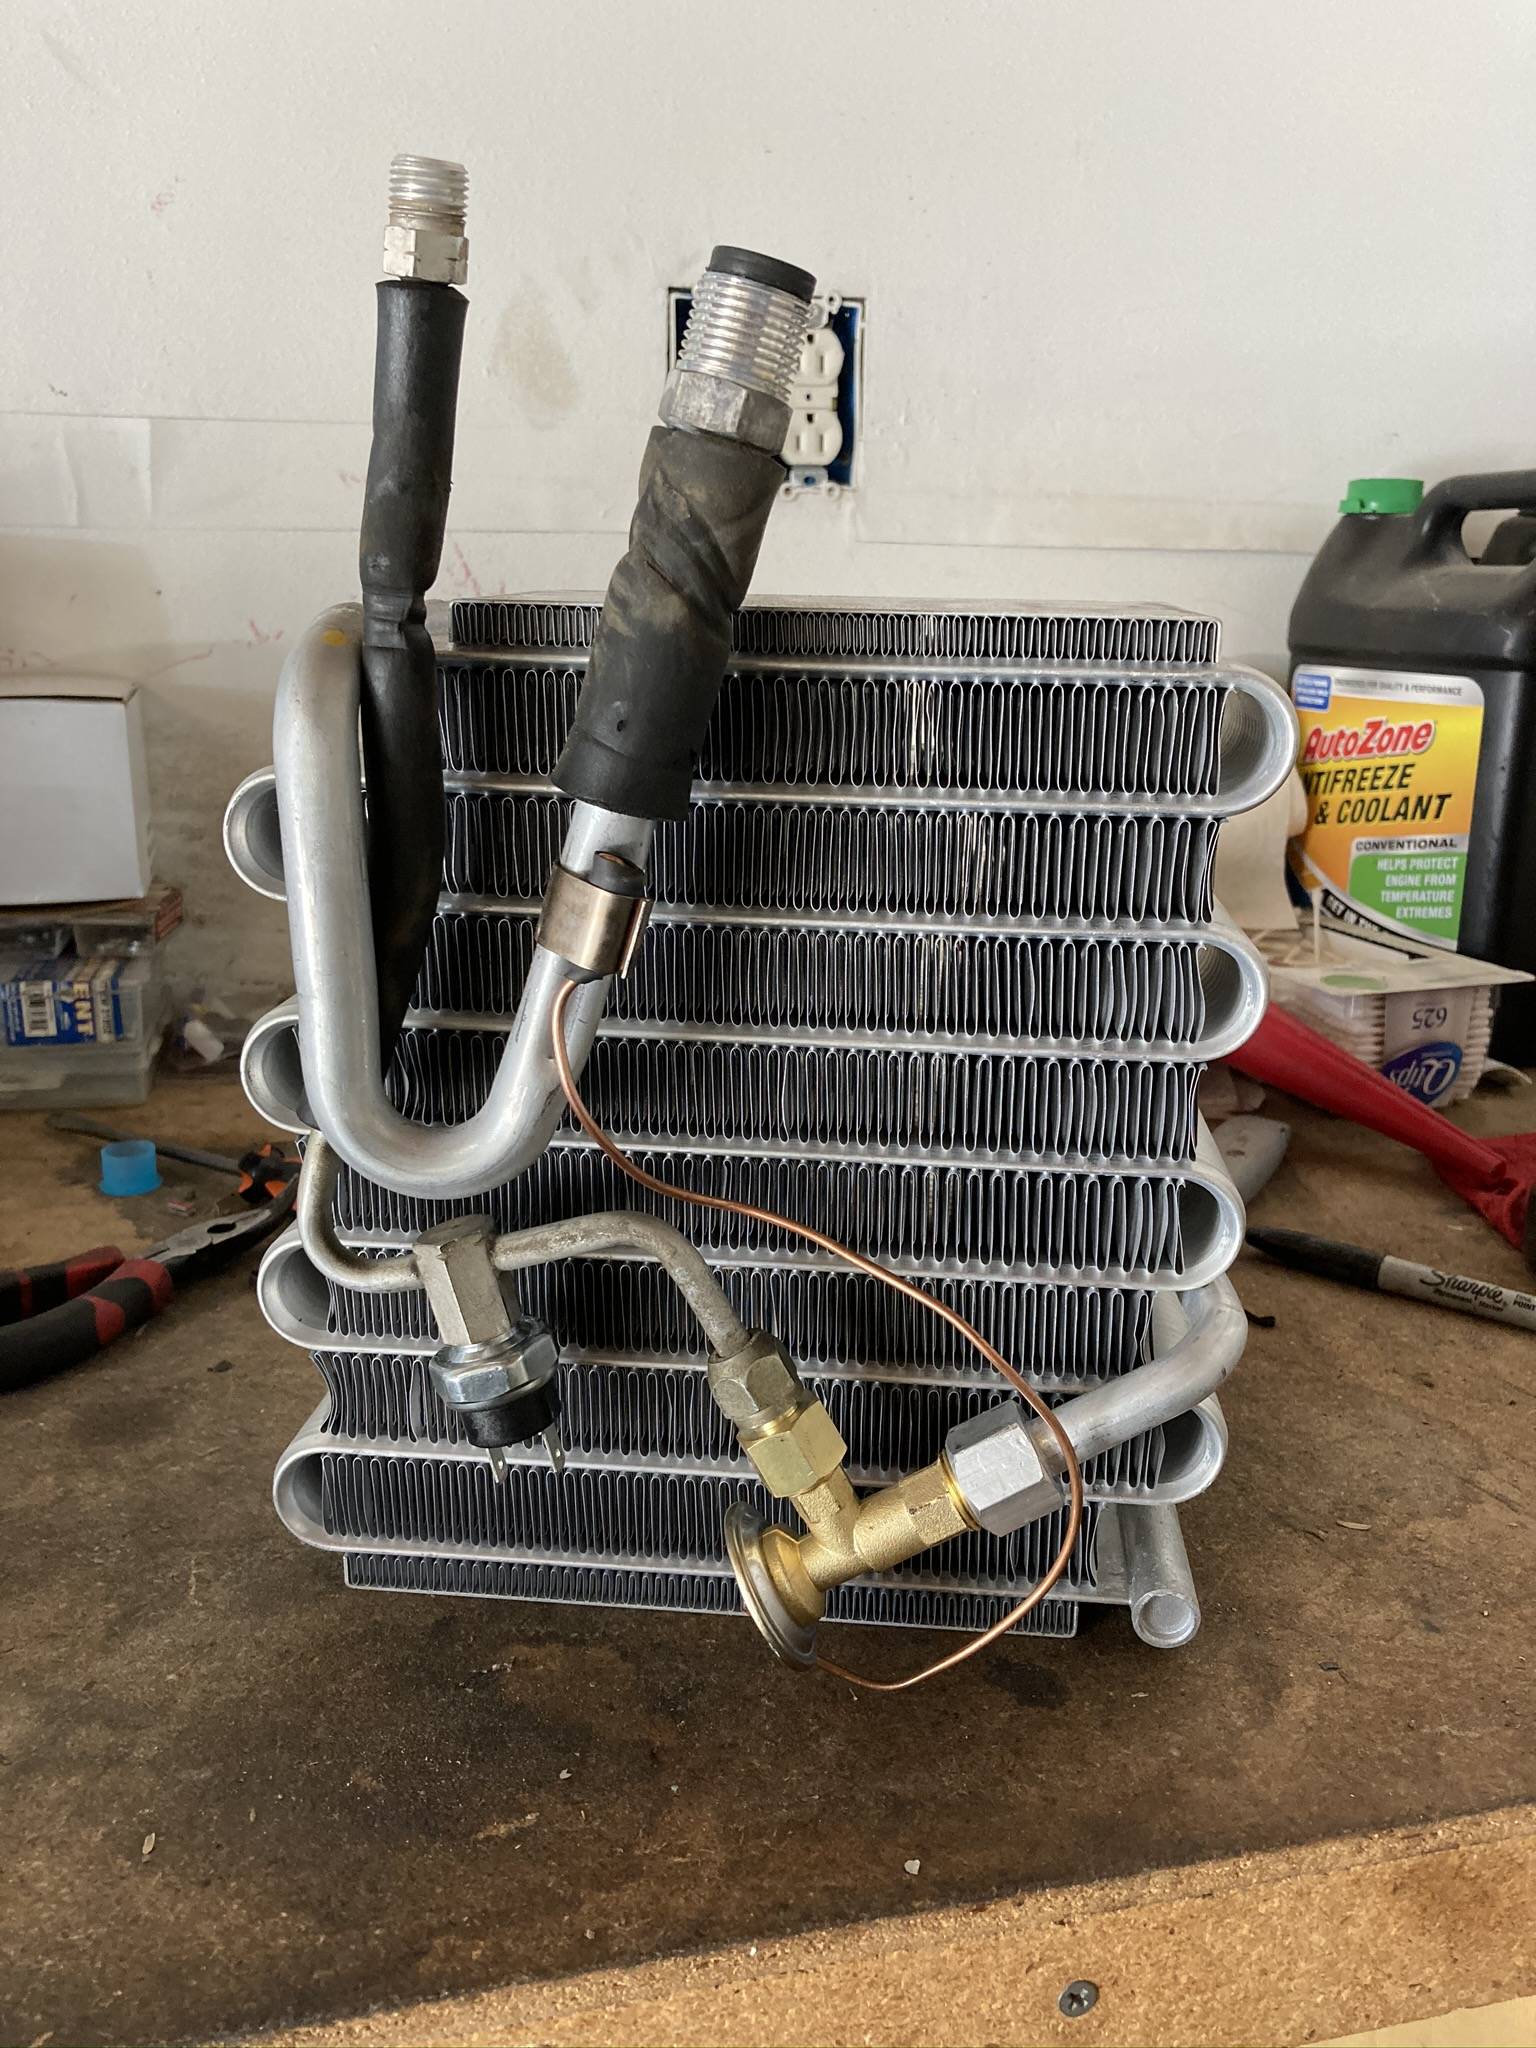
Install the new expansion valve onto the new evaporator and attach the probe to the large hardline of the evaporator.
I also had an adapter that came with the expansion valve to fit onto the small hard line that holds the pressure switch which was also replaced. (You can see it above). Clean the inside of the plastic evaporator box and remove the amplifier on top of the box and check to make sure there is nothing wrong with it.
I put new foam on the top and the bottom of the evaporator and also re-foamed the hard line with the expansion valve probe. From here you just need to put it back together and get it ready to install the truck.
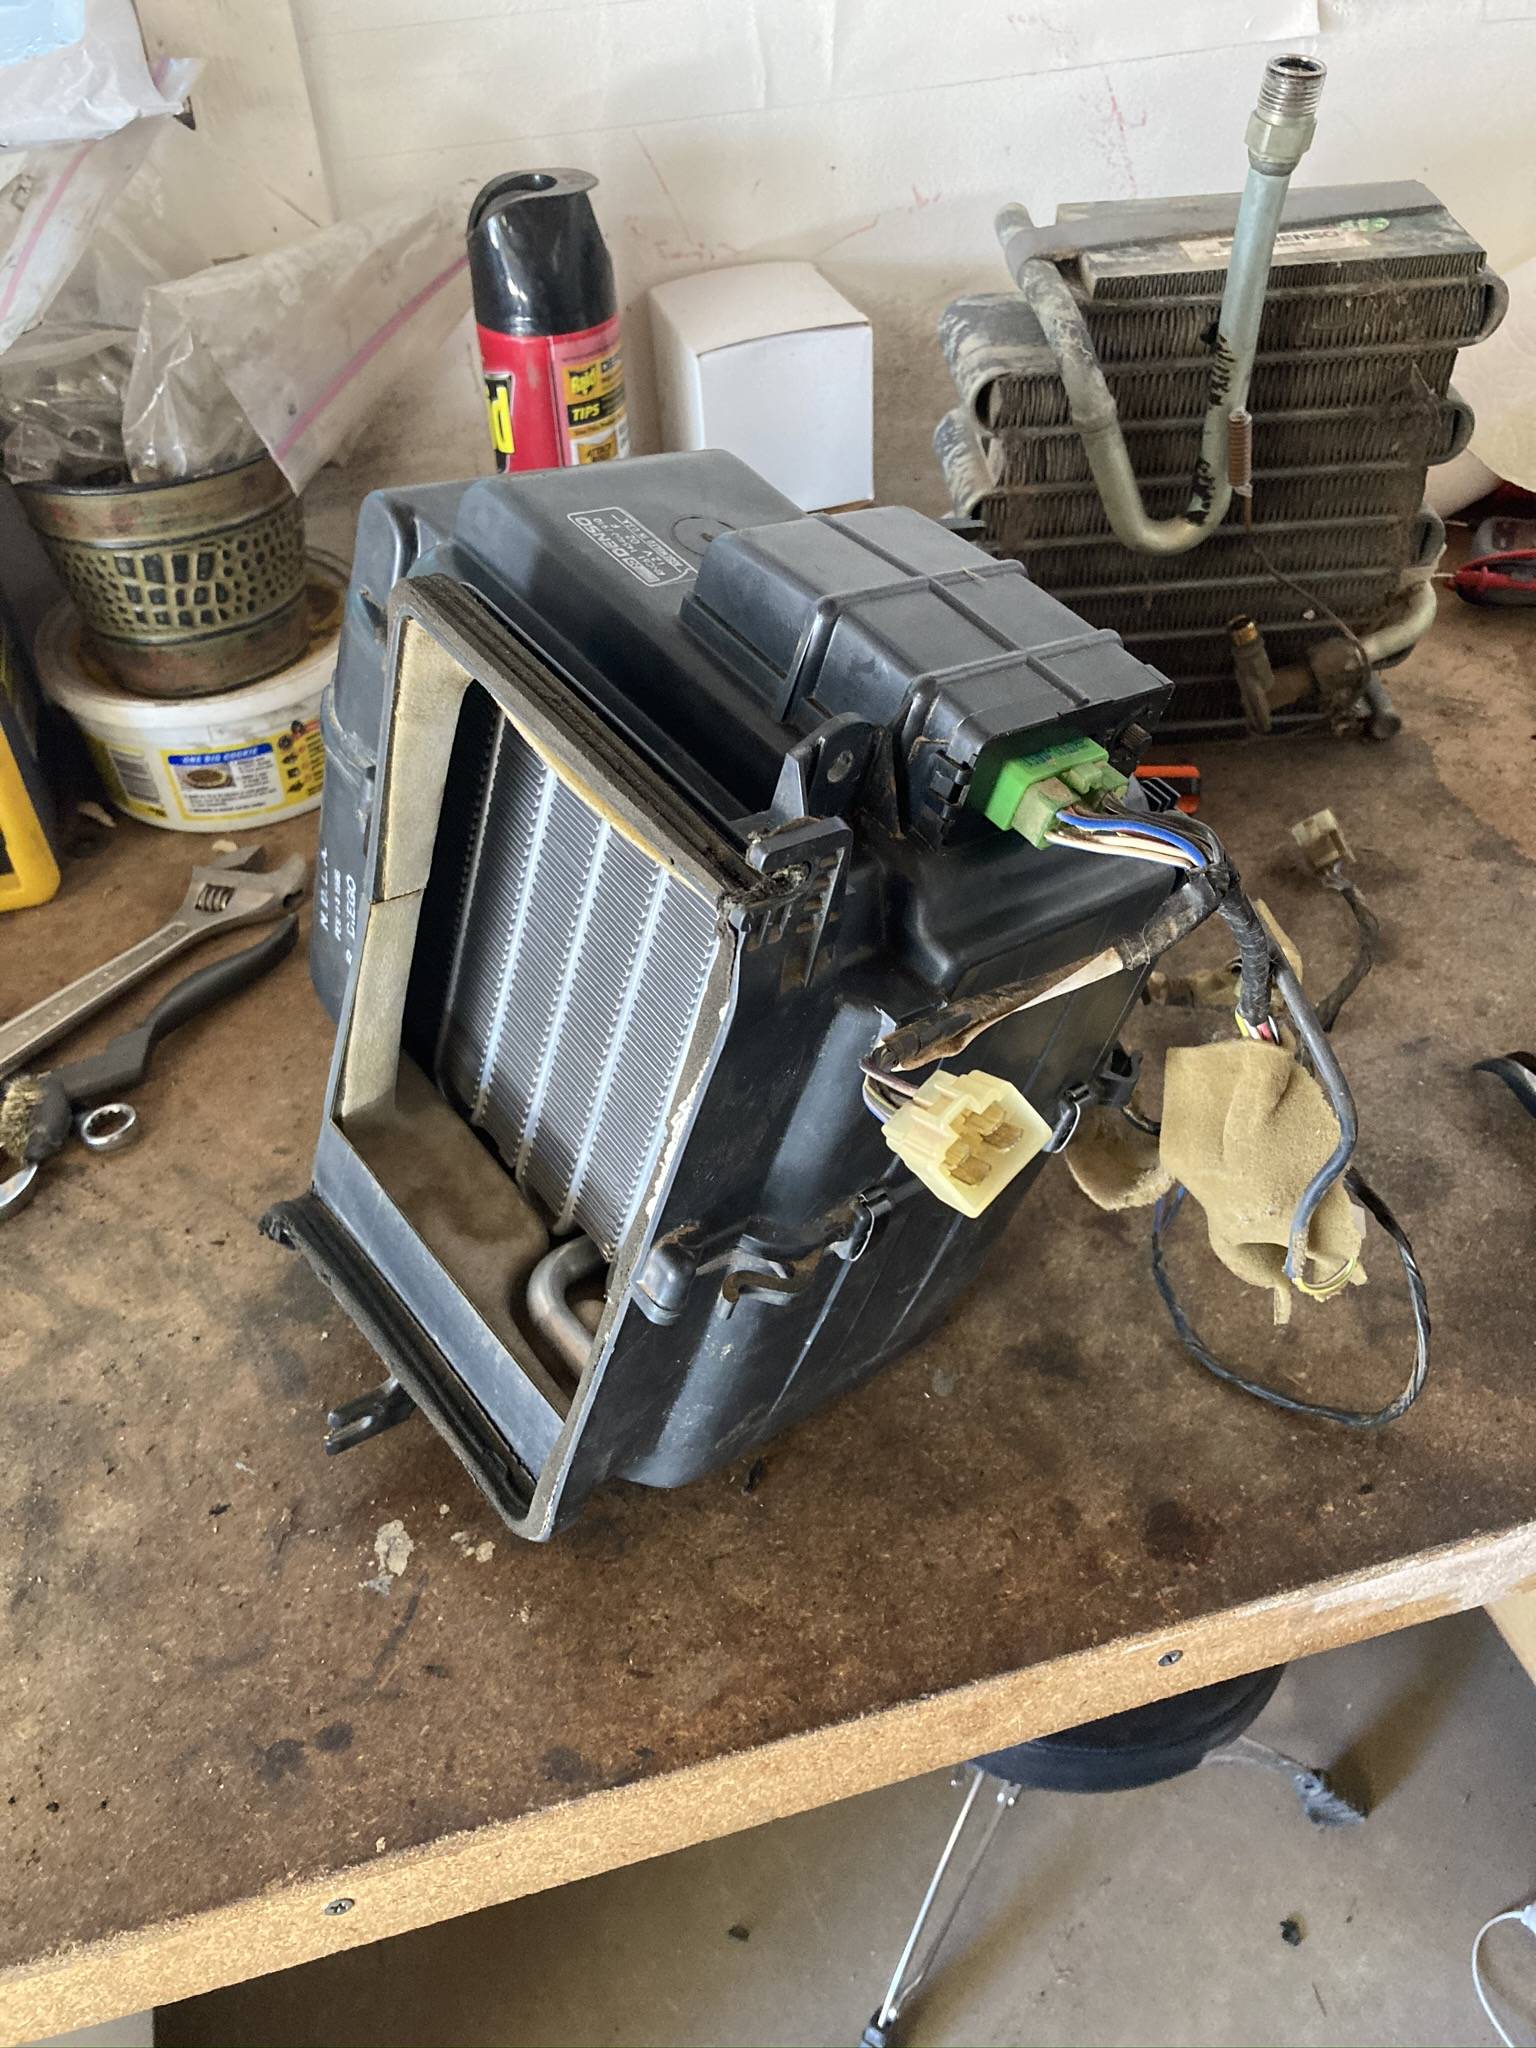
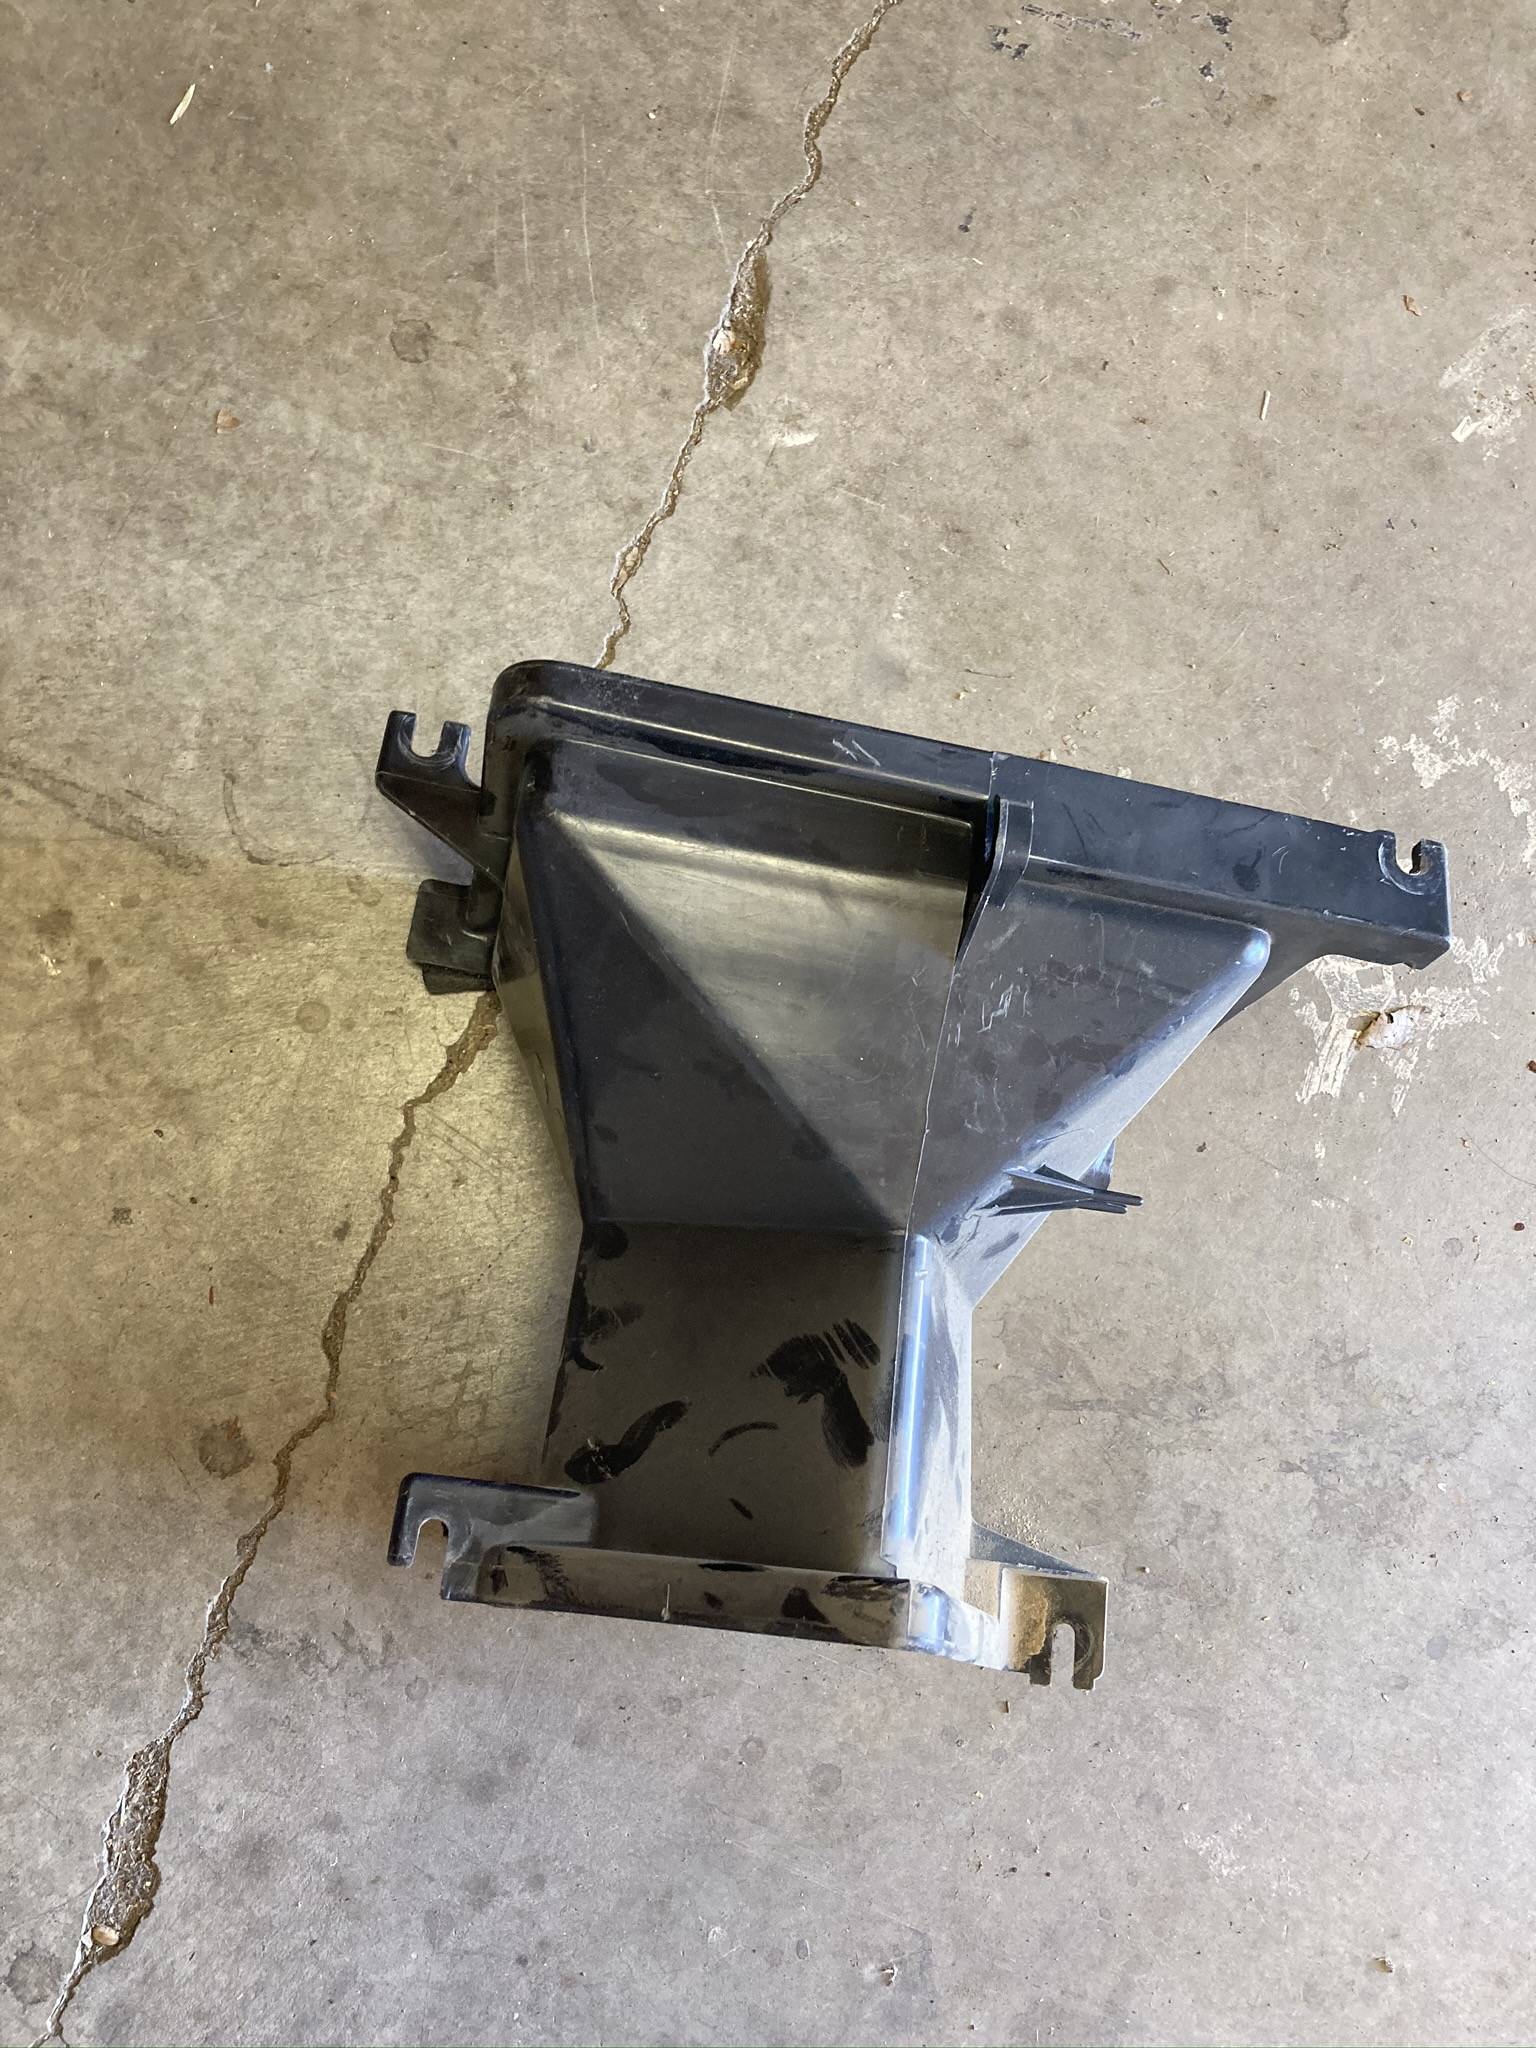
Inside the truck there is a small piece of duct work that connects the blower motor and the heater core. The new evaporator will replace that piece and sit inbetween the two.
To get to this ductwork the glovebox & glovebox support needs to be removed.
Remove the ductwork with 4 screws. It should look like this when out of the truck.
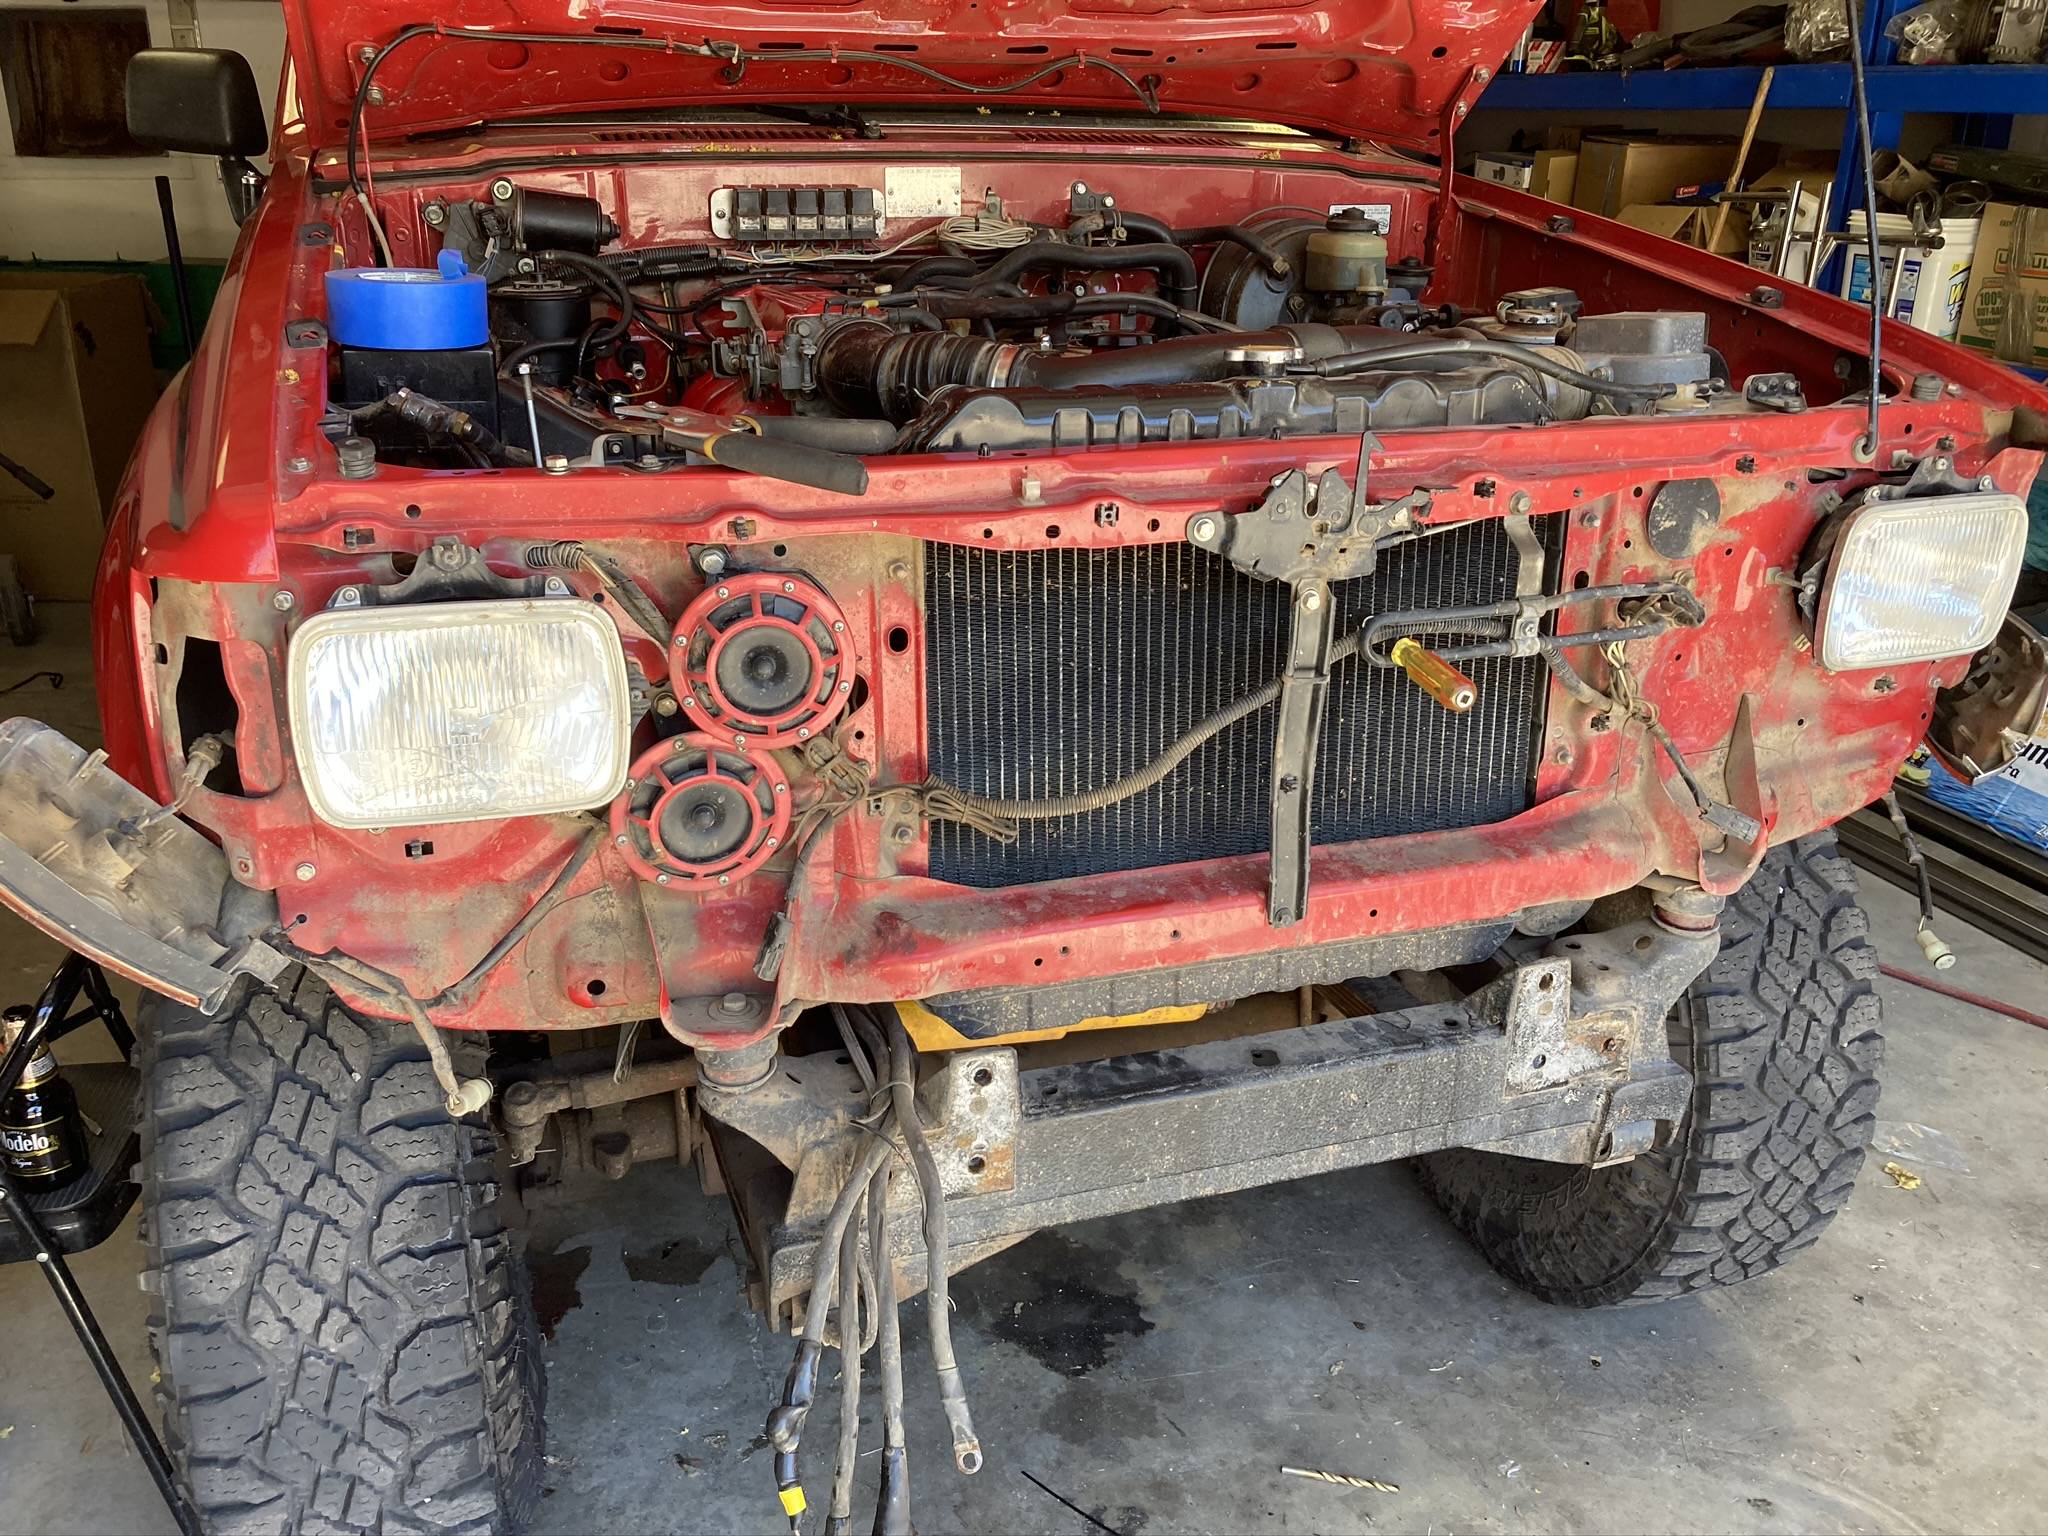
My truck used to have AC but was removed with the idea of an on board air system in it’s place. If your truck never had A/C you’re going to need to drill three holes – two for the evaporator & one for the condensate drain. There are factory dimples in all locations so you can center your hole drill. From the installation manual attached the hole should all be 32mm (1 ¼”).
Install the evaporator through your new holes & attach the condensate drain. Install grommets to keep everything sealed. I had to re-route all of the mechanical gauges since they were installed through the original evaporator hole. Unless this has been done on your truck too, then you can skip this step.
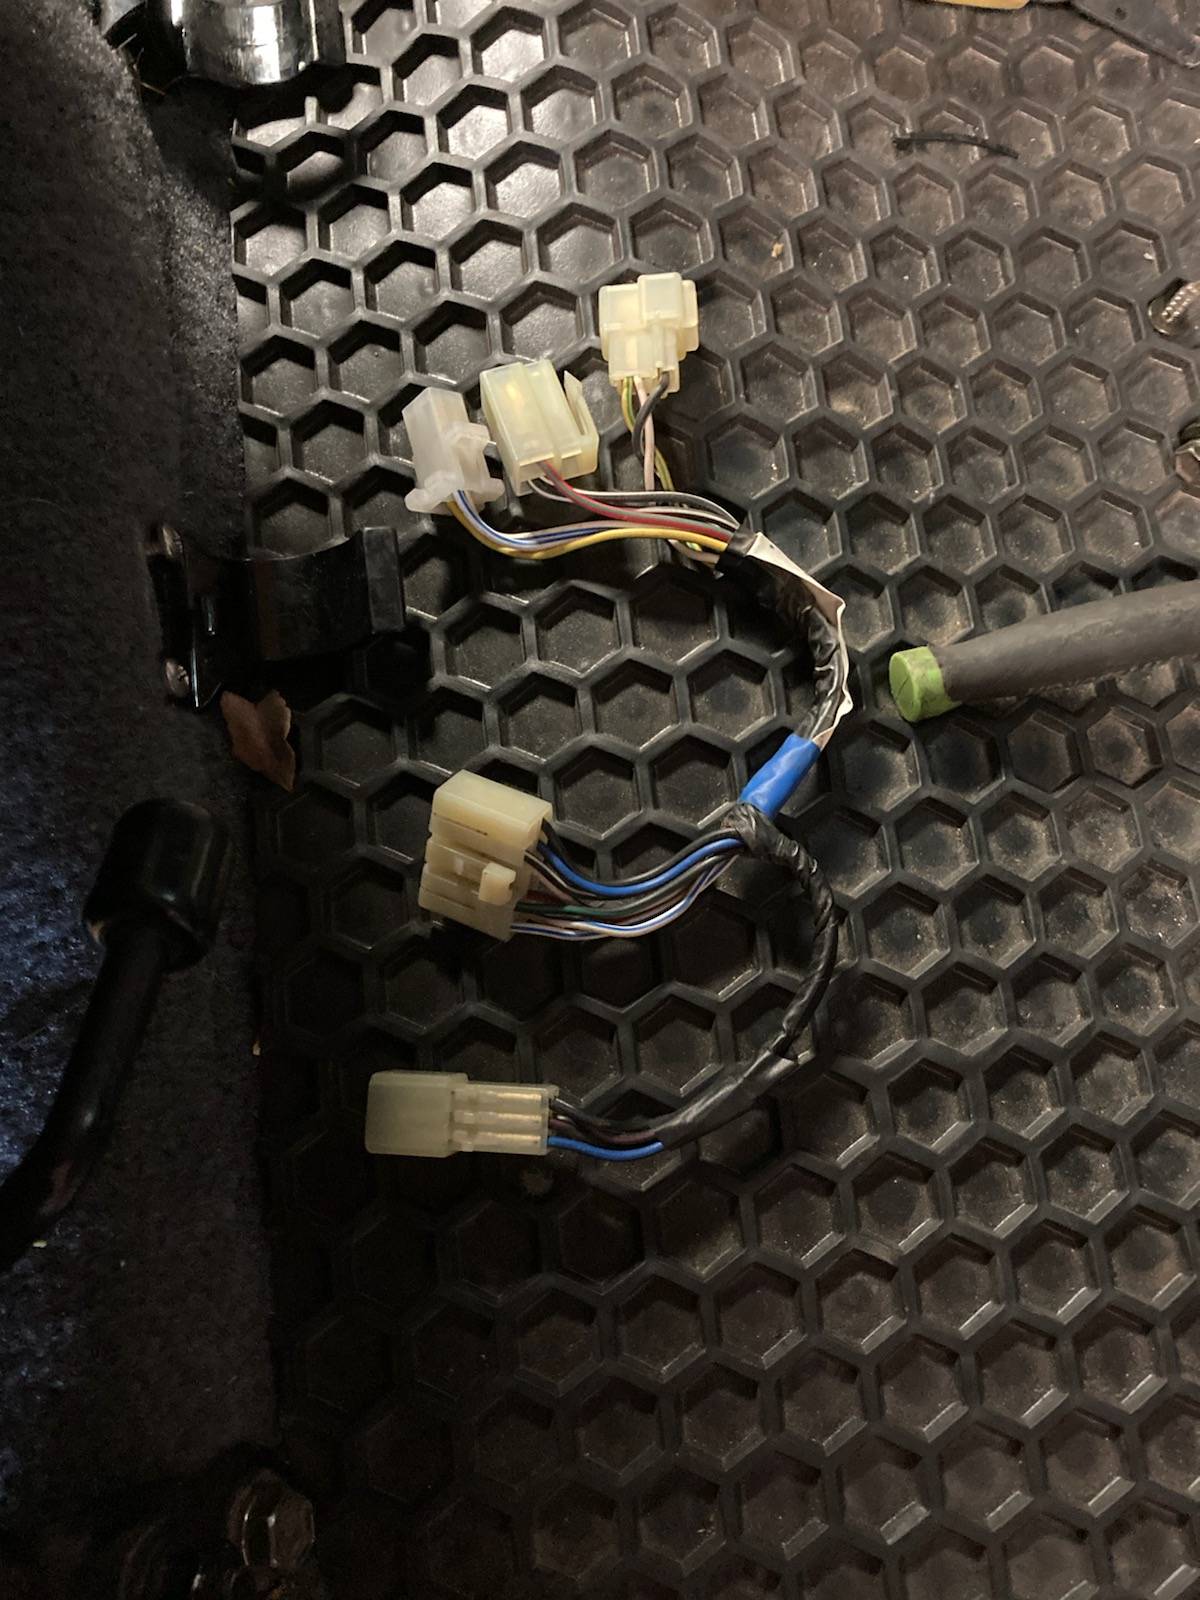
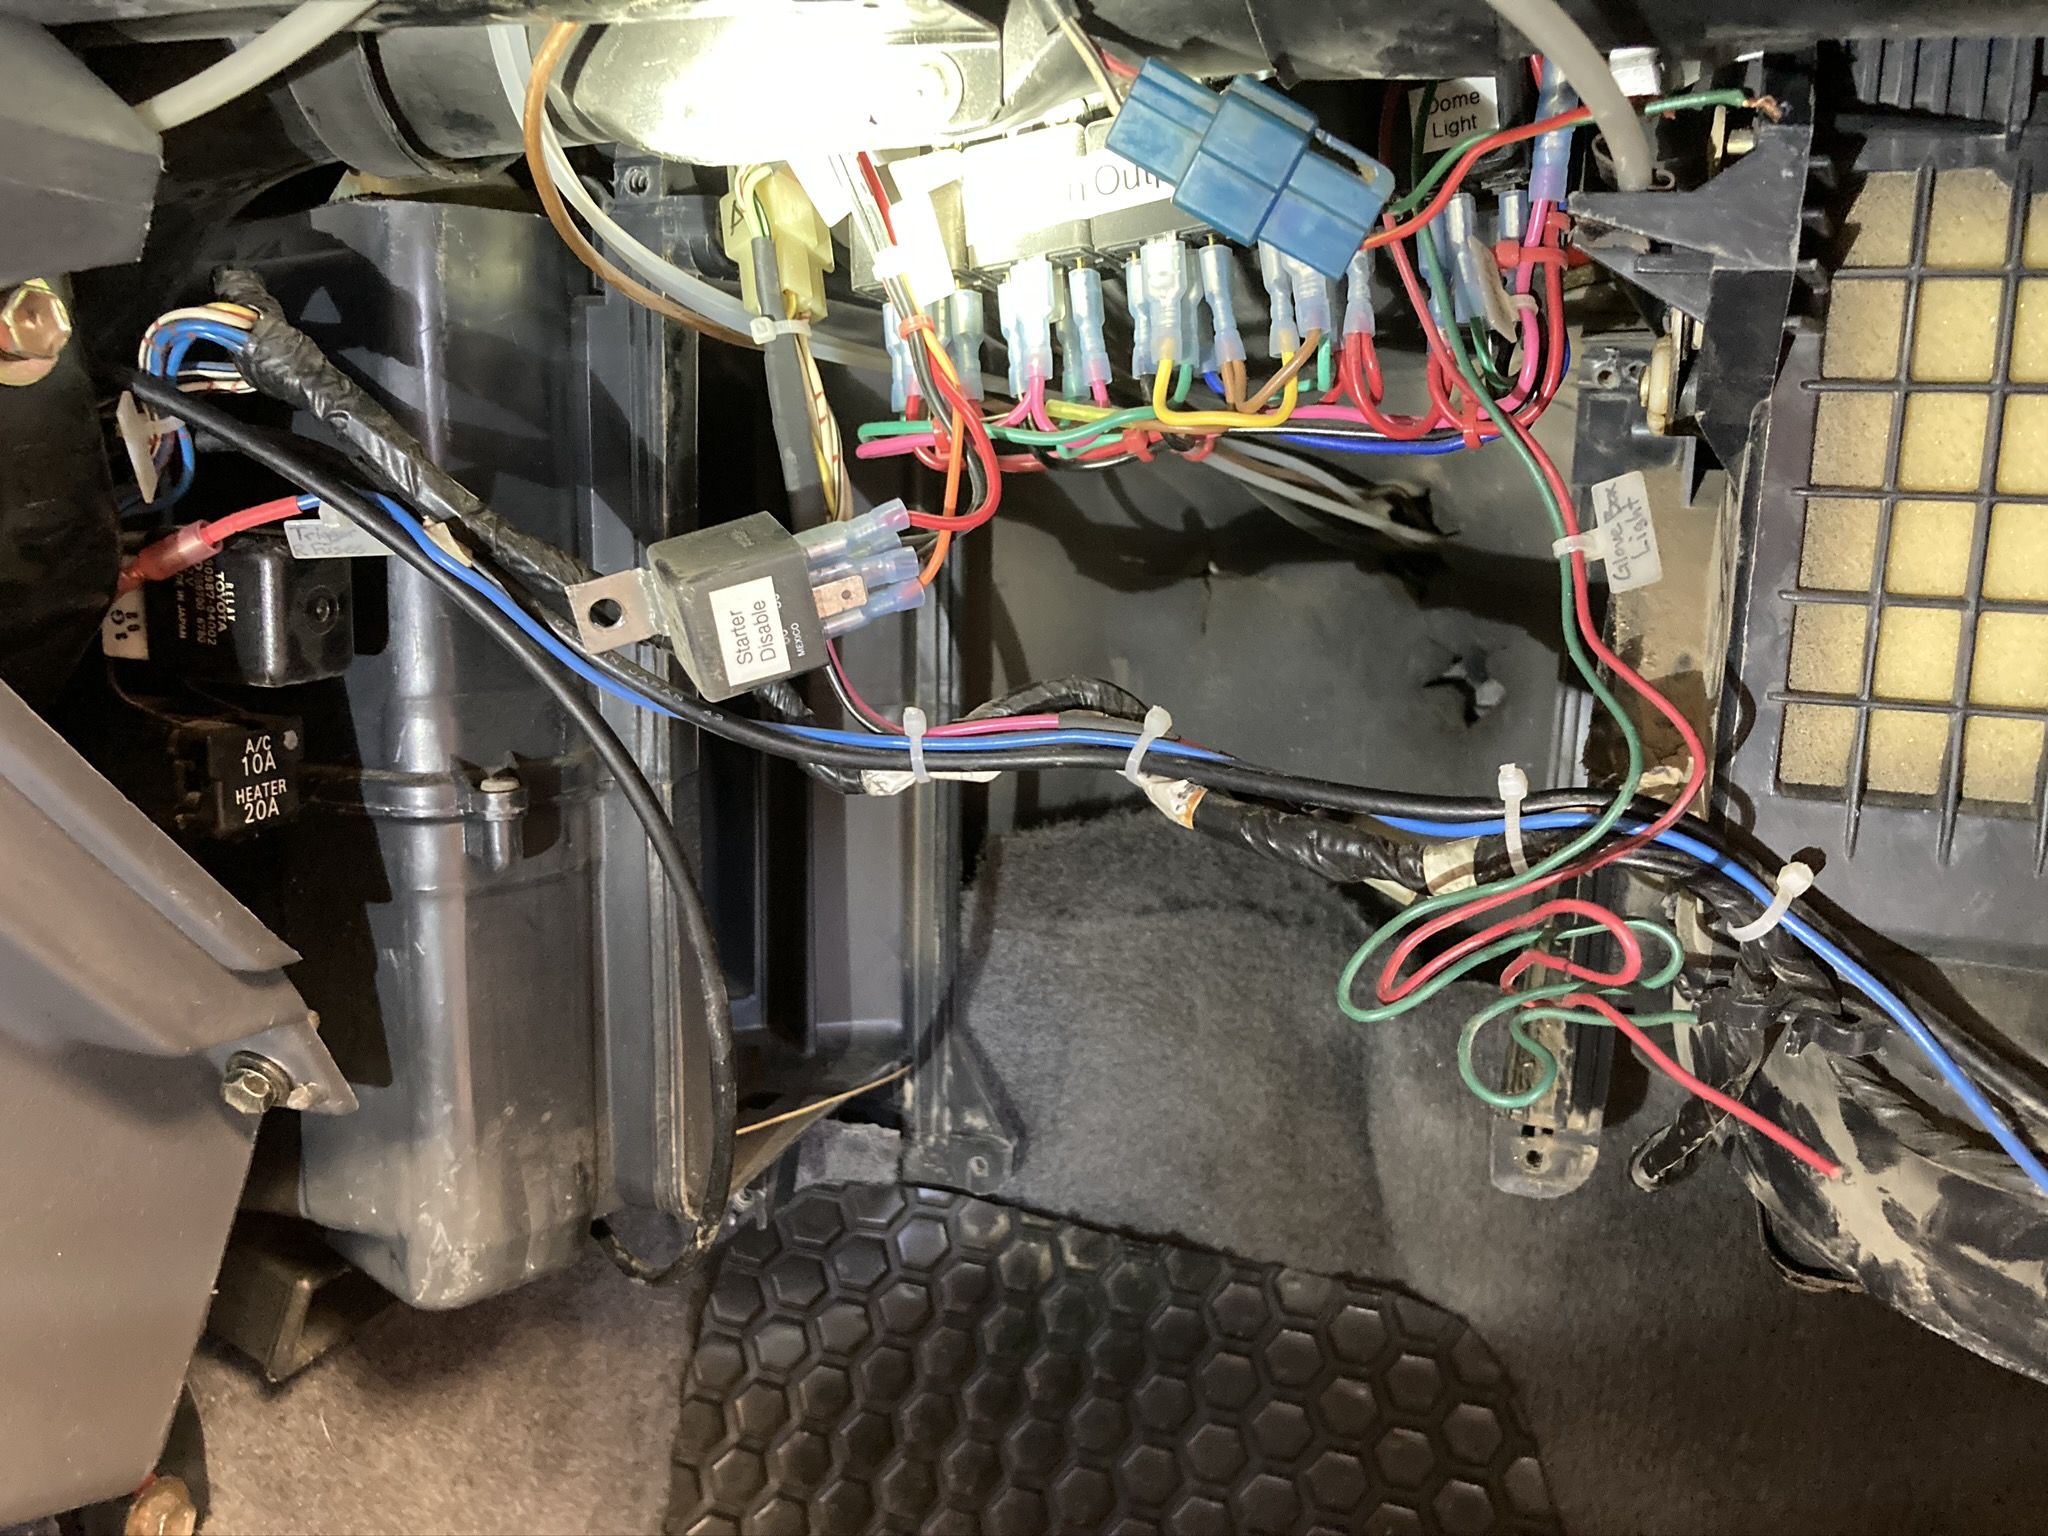
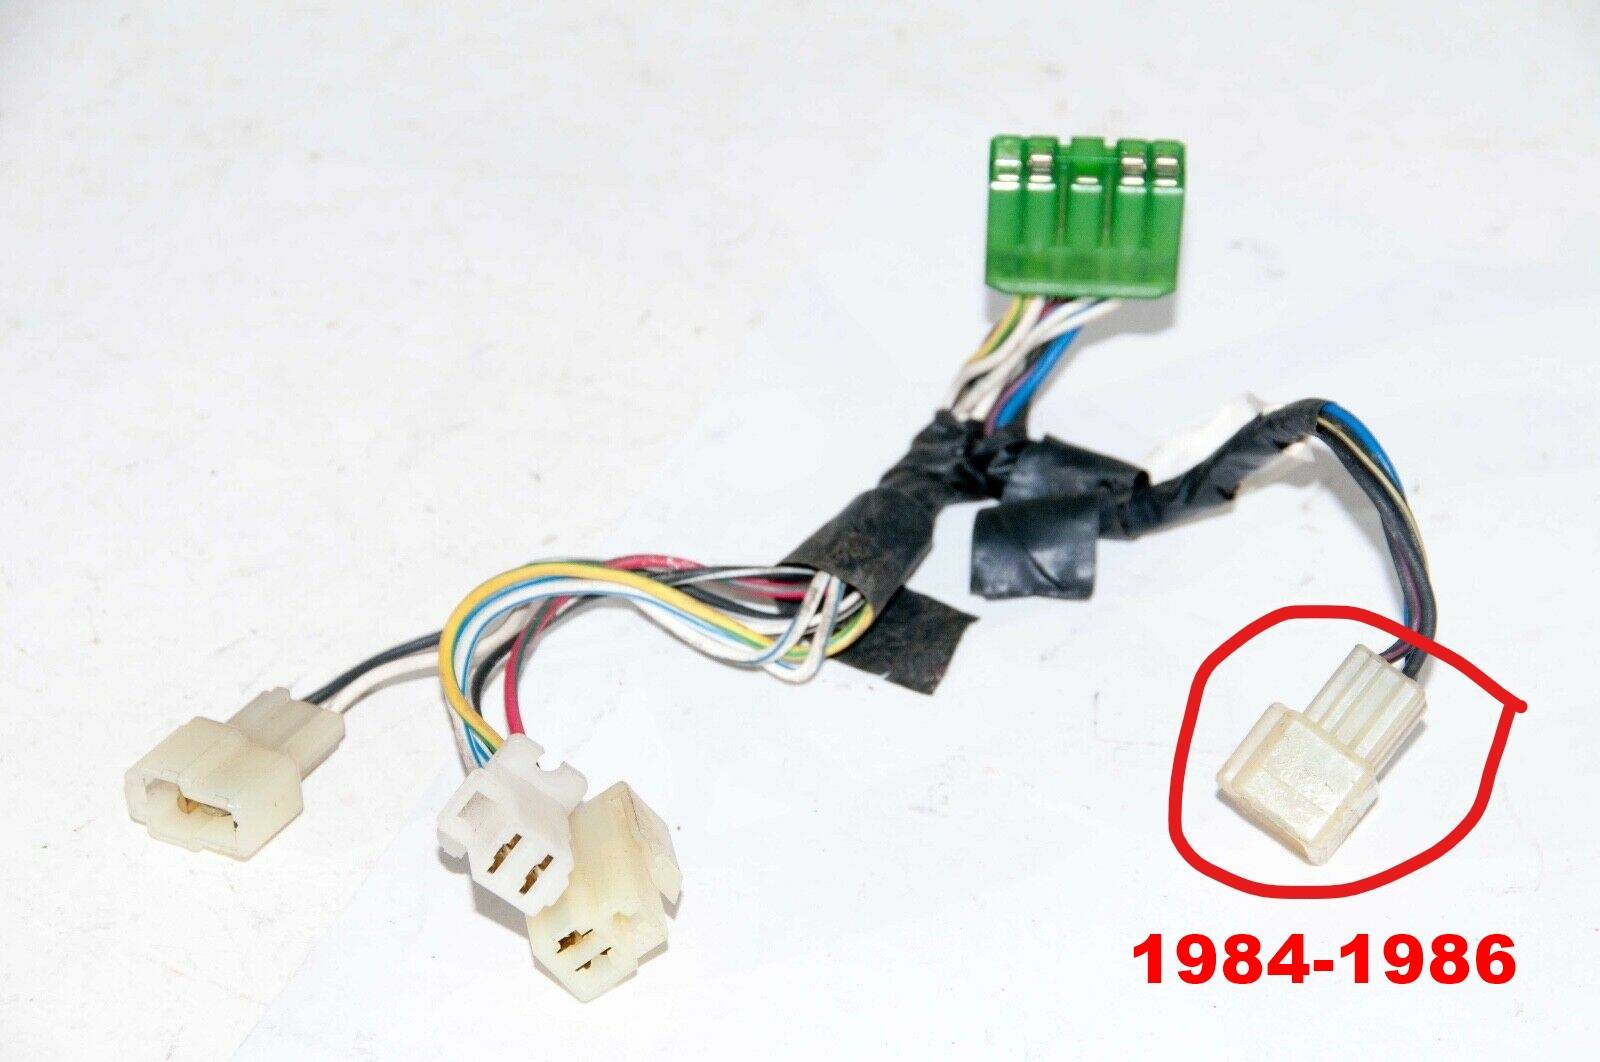
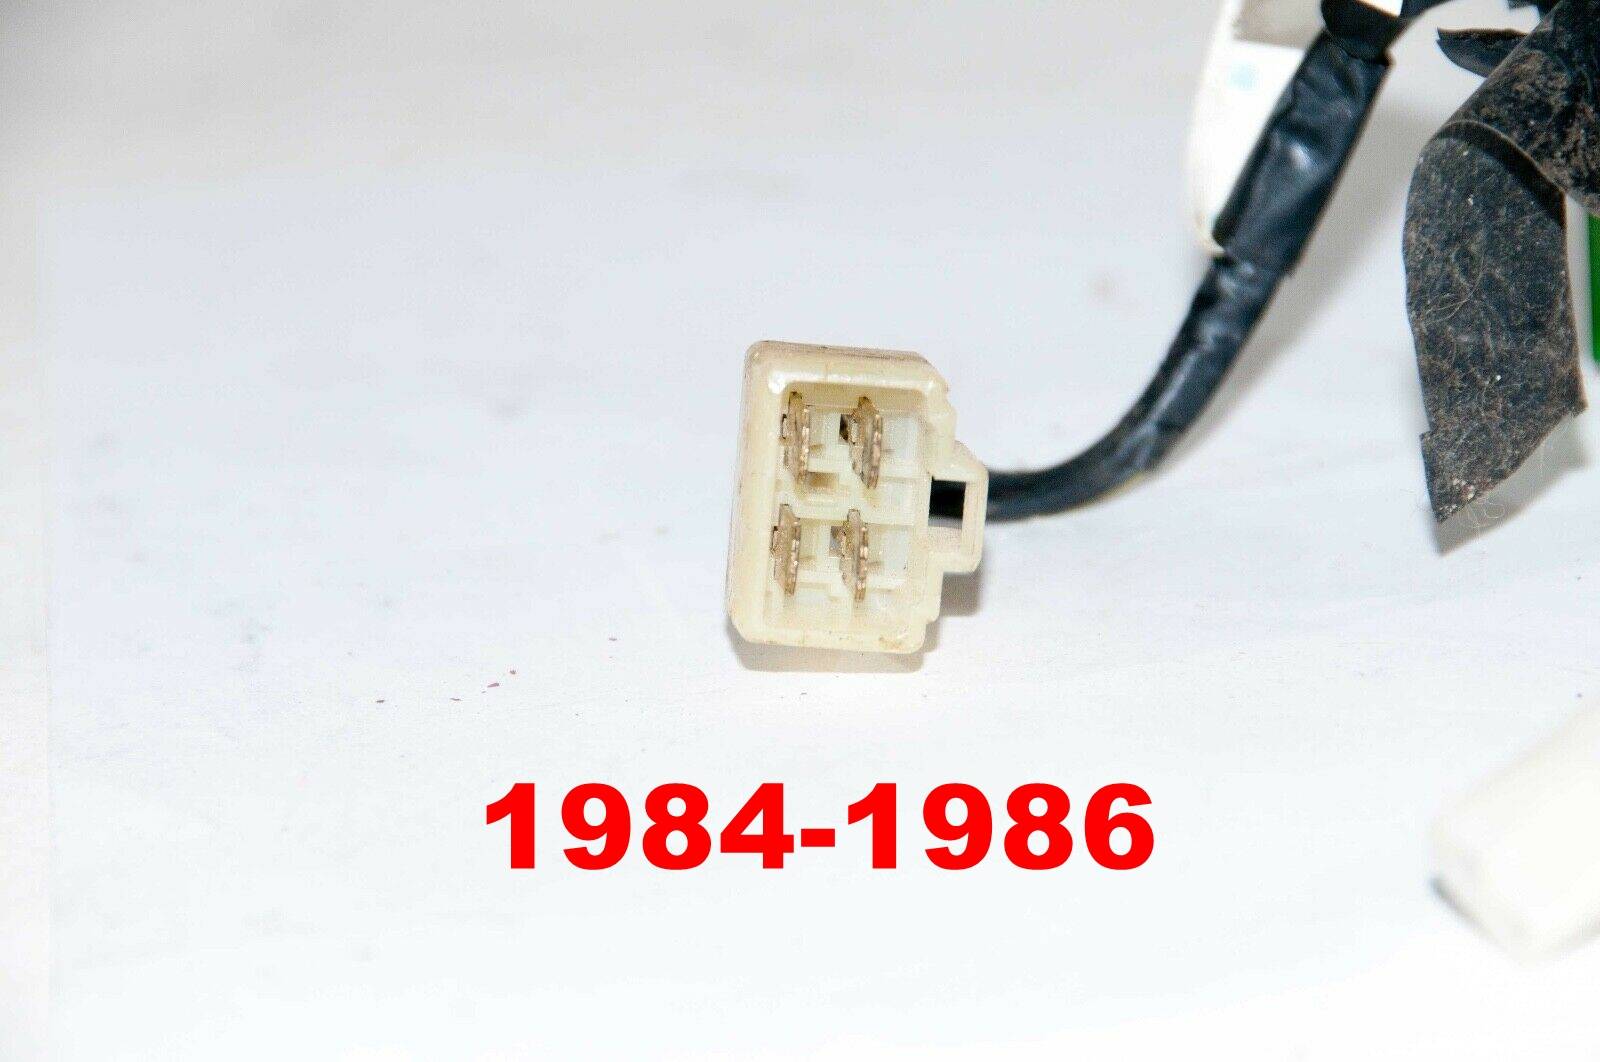
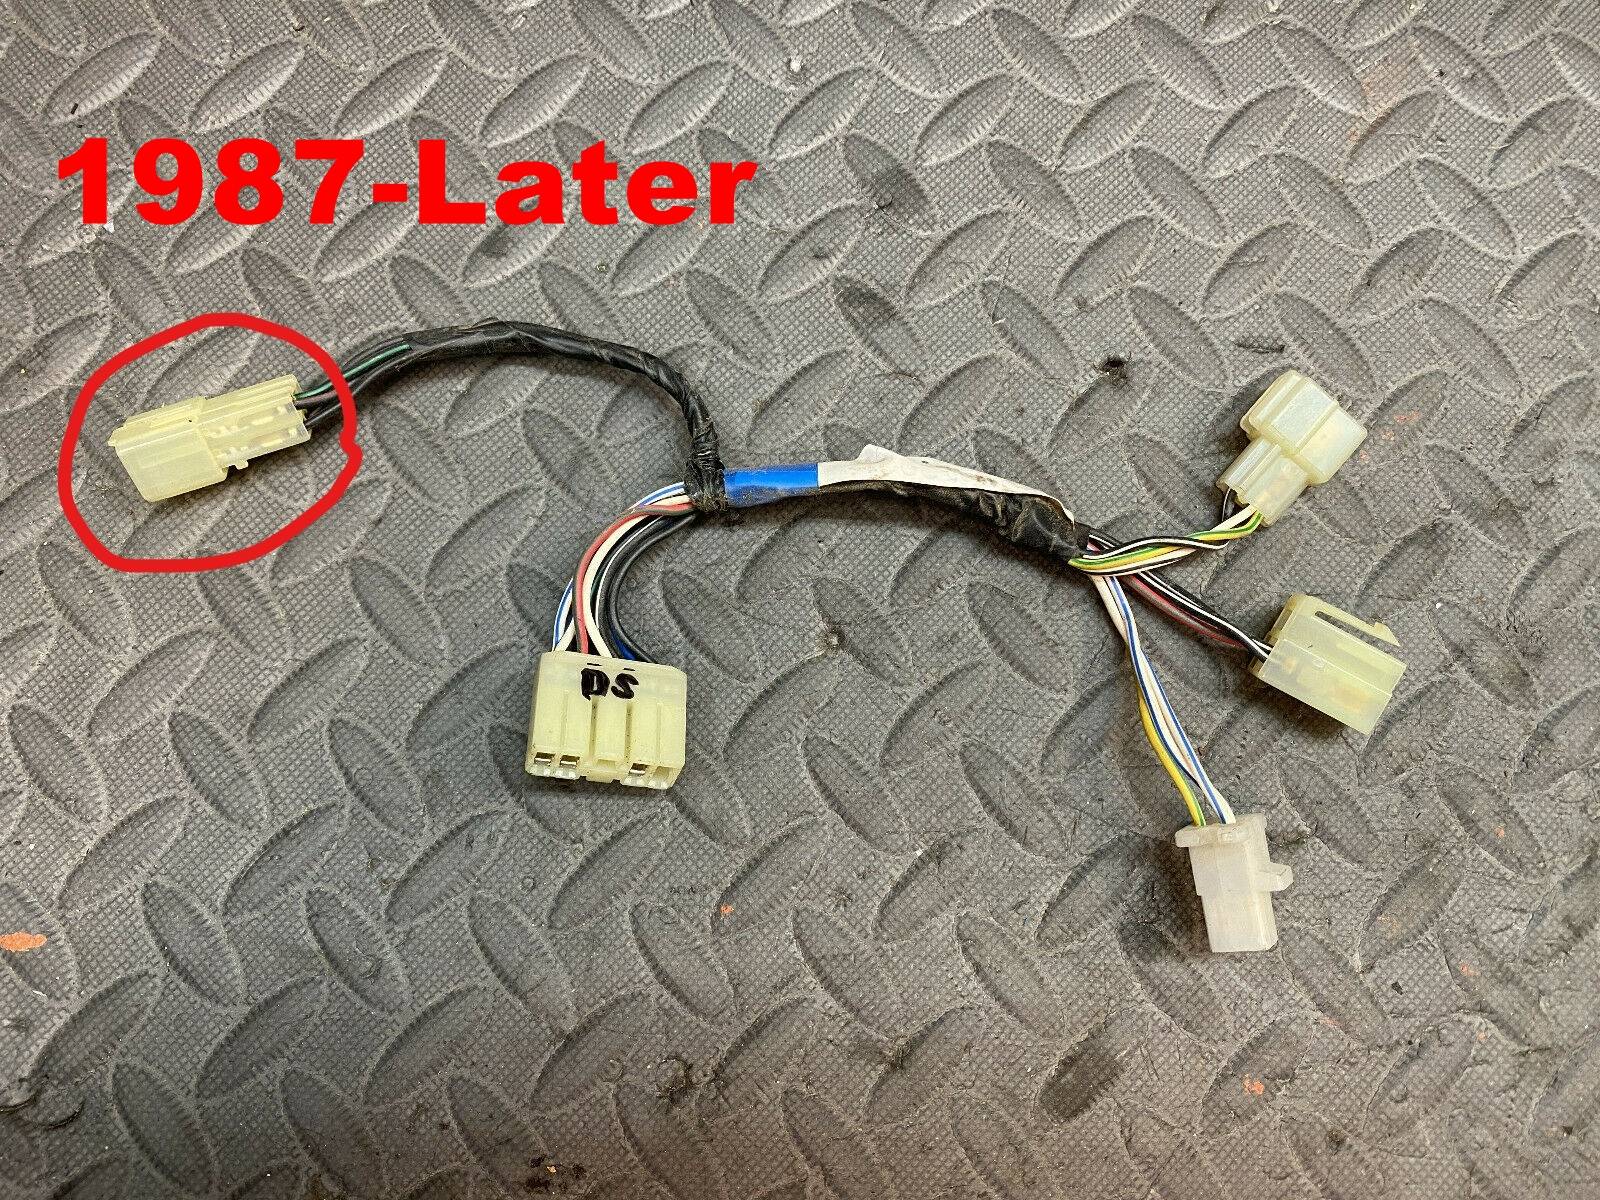
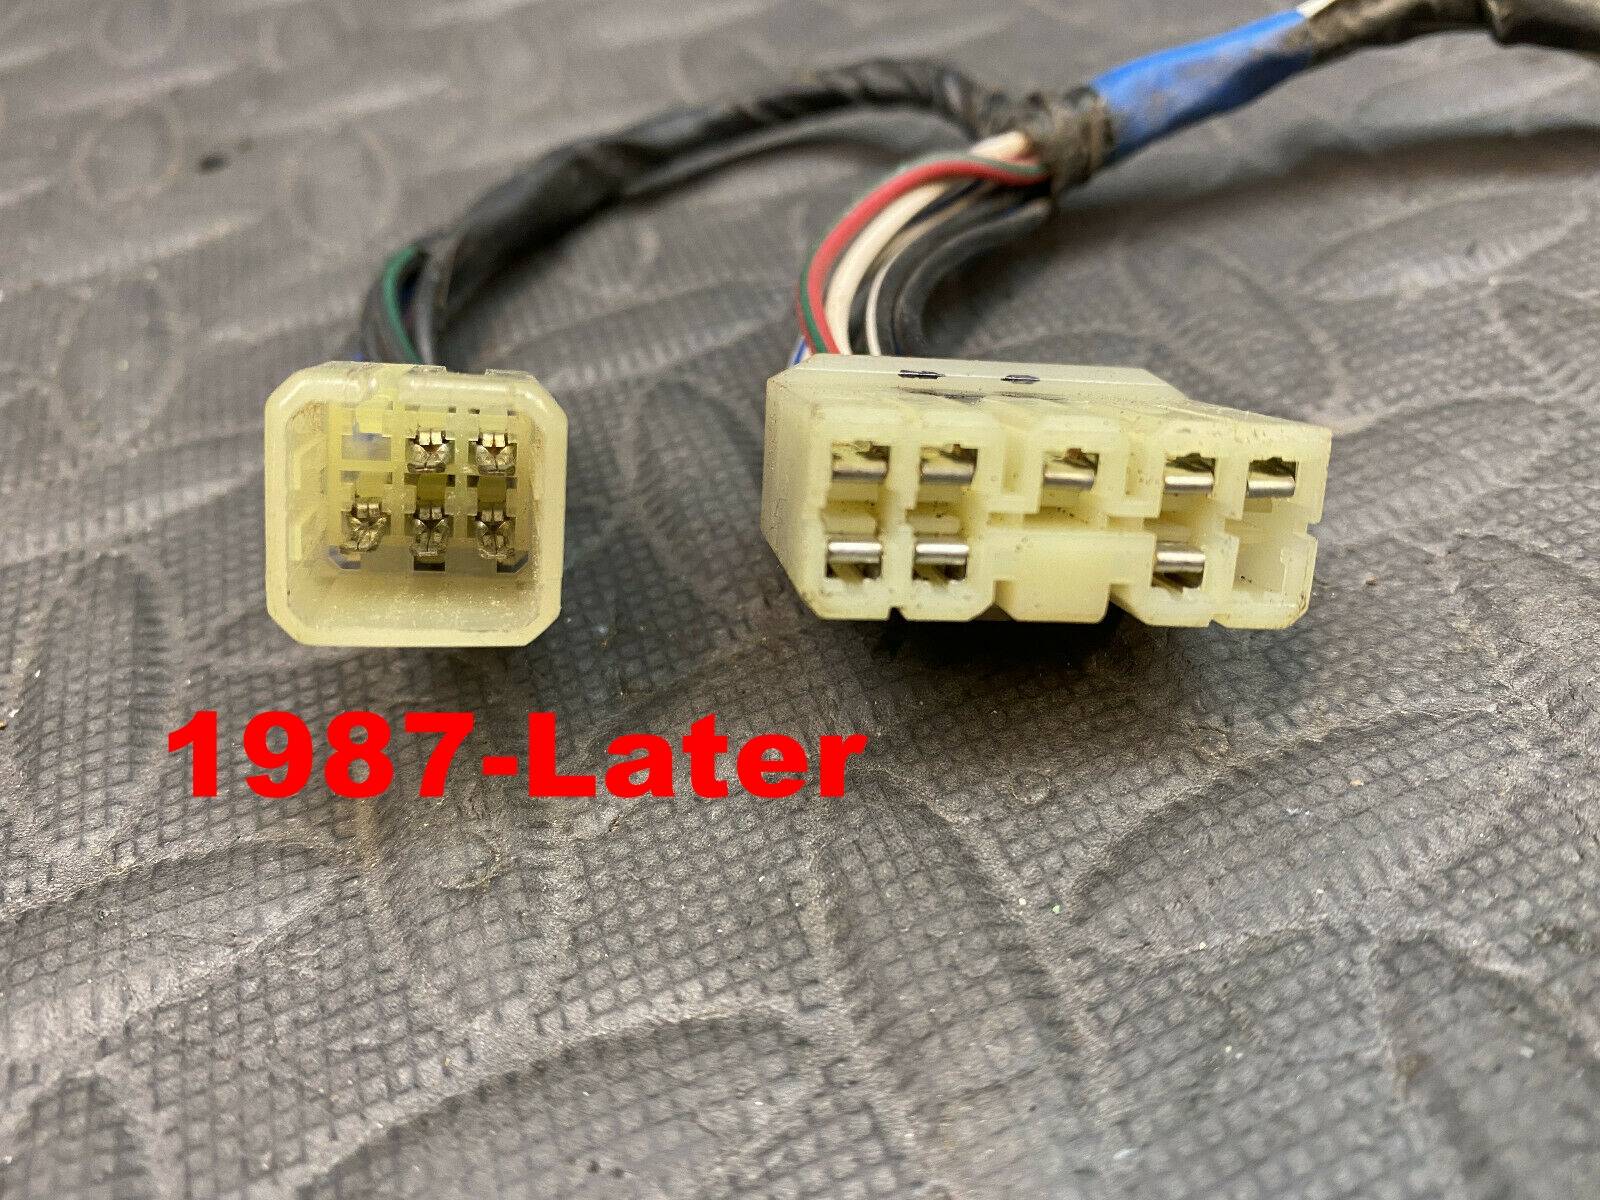
A huge concern I had with the entire A/C conversion was wiring it all up. All Toyotas came with the wiring to install factory A/C, but you need a smaller A/C harness to plug into your main harness. It looks like this:
Toyota changed the connector that plugs into the main harness in 1987. From 1984-1986 the connector was a 4 pin. From 1987 (and later I assume?) the connector changed to a 5 pin. Make sure you get the correct one for your truck. The parts truck all the A/C stuff came from was a 1986, so the harness did not work on my truck. I was lucky enough to find one on eBay. Here are the two harnesses below with the connectors circled that are different. You can find the other end of it under the dash above where the evaporator is going to sit. Install the A/C switch on the dash and plug that into your existing harness as well.
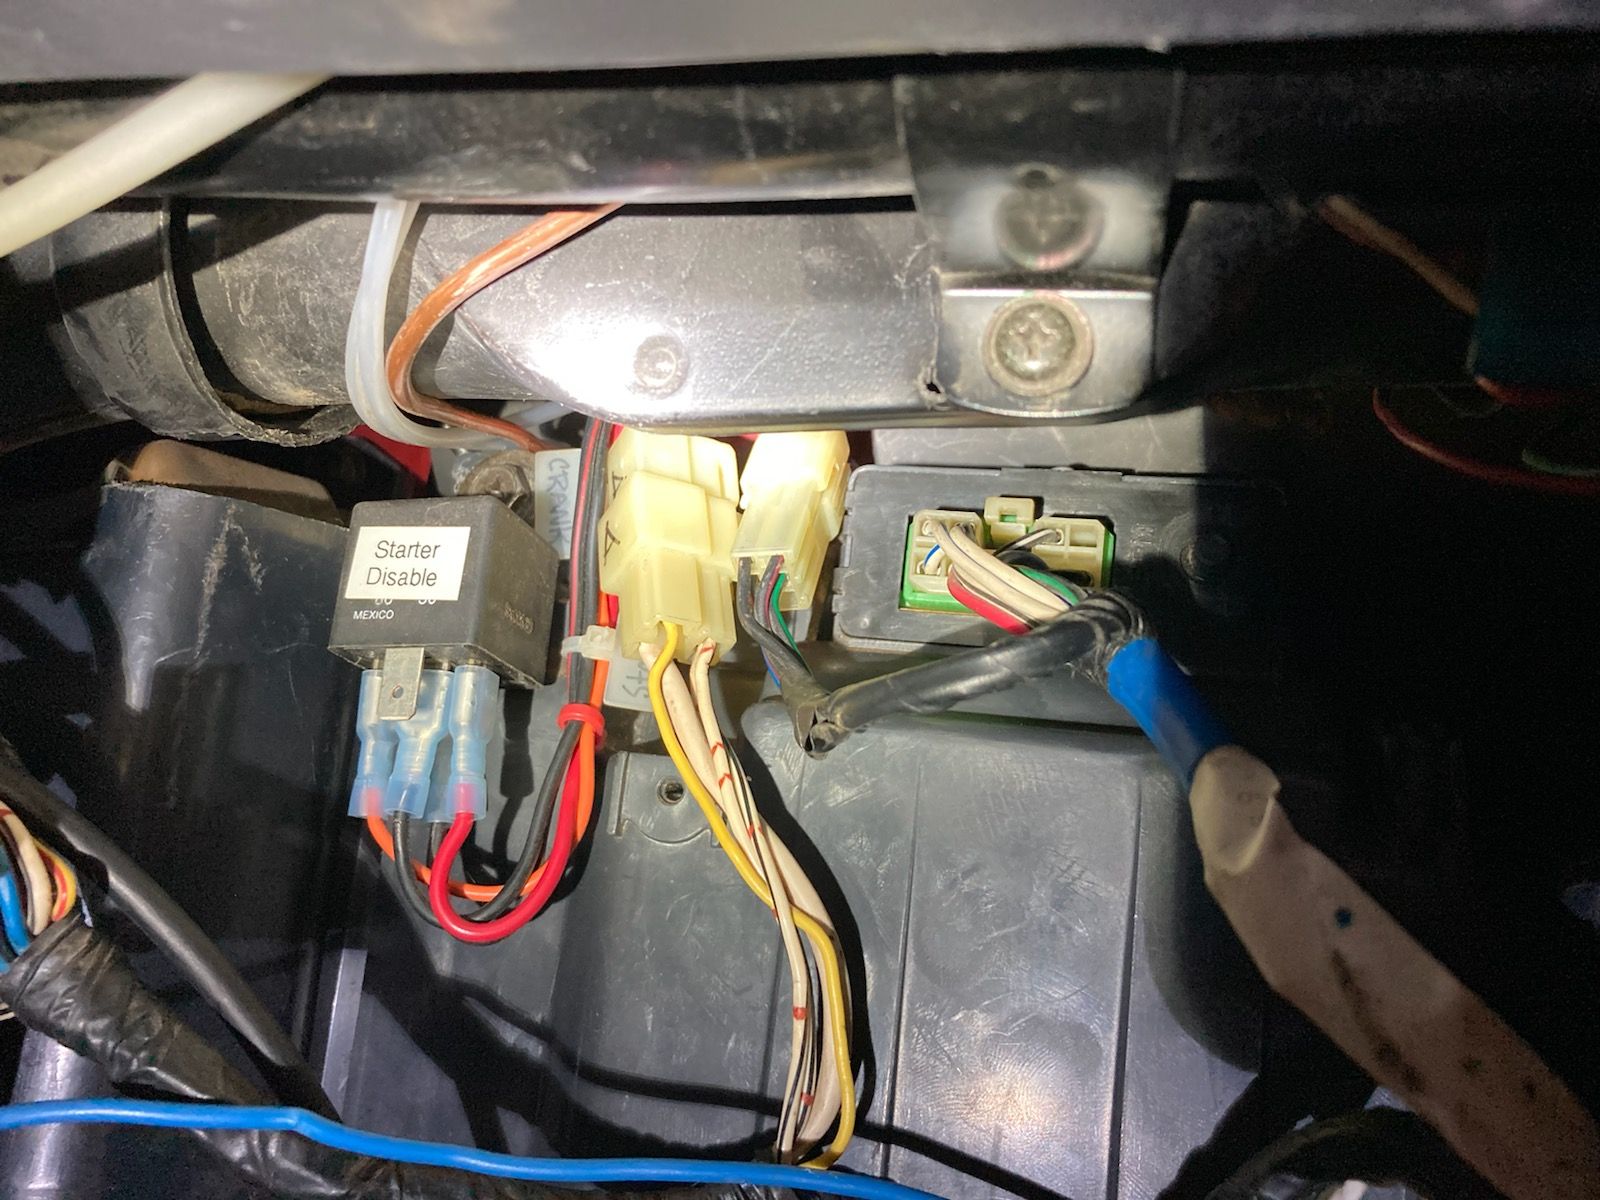
The A/C harness will plug into the main harness, thermistor, low pressure switch and another plug on off of the harness that the blower motor and resistor are run on. I will post pictures of where they go once I get mine in.
Here it is! The much anticipated writeup of how to install AC into a 1st generation 4Runner or pickup.
I’m going to warn that this is going to be a very long, extensive, boring, picture heavy writeup where I’m going to compile all the research I have done and the entire process from beginning to end.
I’m going to break down this writeup into 5 parts which are:
-Getting started and finding the parts
-Evaporator
-Compressor
-Condenser/Drier
-Hooking it all up
Getting started
So you want to add AC to your 1st gen 4Runner/Pickup? It’s definitely doable and not too troublesome once you have everything you need. The best way to get all the parts you need is to find a donor vehicle – which is easier said than done. If you can – great! You’re ready to go. If not, these are the parts you’re going to have to hunt down.
-Evaporator box
-Evaporator
-A/C Wiring harness
-A/C compressor bracket & idler
-A/C lines (including those on the condenser)
-Condenser
-A/C switch for in cab
-Drier
-Thermal expansion valve
-Low pressure switch
-Thermistor
-A/C Belt
-Idle up solenoid & VSV
-O-Rings & Pag Oil
You do have the option to buy many of the main components new, but at the very least you need to buy a new drier & expansion valve before you do your install. I would recommend ponying up the coin to get a new compressor as well since original ones tend to leak from time. Unfortunately finding a lot of the A/C lines can be a pain so if you can find a donor vehicle, all the better.
Evaporator
UPDATE: Do NOT use the Four Seasons Expansion valve (Part #38616). Buy it so you get the lifetime warranty on the compressor but install the Denso one as mentioned in the post below. My brand new Four Seasons Expansion Valve failed right out of the box, blowing an A/C line & requiring it be replaced.
I went ahead and bought all new parts for my truck where I could. I probably didn’t need to replace the evaporator, but I decided that I don’t want to mess with this system for a long time.

Inside the evaporator box is the evaporator, expansion valve, low pressure switch & thermistor. There is also a small A/C line that goes off the expansion valve and to the outside of the box which you need to have.
The box can be taken apart by removing the 4 screws and clamps on the sides of it. The box will split in half where you will see the evaporator and all it’s components. Compare the old evaporator with your new one to make sure they are the same.

Unplug the low pressure switch & remove the thermistor.
Disconnect the metal hard line from the expansion valve. With the line disconnected you can easily remove the pressure switch.
Remove the foam around the larger hard line and remove the clip that holds the probe off of the old expansion valve.

Install the new expansion valve onto the new evaporator and attach the probe to the large hardline of the evaporator.
I also had an adapter that came with the expansion valve to fit onto the small hard line that holds the pressure switch which was also replaced. (You can see it above). Clean the inside of the plastic evaporator box and remove the amplifier on top of the box and check to make sure there is nothing wrong with it.
I put new foam on the top and the bottom of the evaporator and also re-foamed the hard line with the expansion valve probe. From here you just need to put it back together and get it ready to install the truck.
Inside the truck there is a small piece of duct work that connects the blower motor and the heater core. The new evaporator will replace that piece and sit inbetween the two.
To get to this ductwork the glovebox & glovebox support needs to be removed.
Remove the ductwork with 4 screws. It should look like this when out of the truck.
My truck used to have AC but was removed with the idea of an on board air system in it’s place. If your truck never had A/C you’re going to need to drill three holes – two for the evaporator & one for the condensate drain. There are factory dimples in all locations so you can center your hole drill. From the installation manual attached the hole should all be 32mm (1 ¼”).
Install the evaporator through your new holes & attach the condensate drain. Install grommets to keep everything sealed. I had to re-route all of the mechanical gauges since they were installed through the original evaporator hole. Unless this has been done on your truck too, then you can skip this step.
A huge concern I had with the entire A/C conversion was wiring it all up. All Toyotas came with the wiring to install factory A/C, but you need a smaller A/C harness to plug into your main harness. It looks like this:

Toyota changed the connector that plugs into the main harness in 1987. From 1984-1986 the connector was a 4 pin. From 1987 (and later I assume?) the connector changed to a 5 pin. Make sure you get the correct one for your truck. The parts truck all the A/C stuff came from was a 1986, so the harness did not work on my truck. I was lucky enough to find one on eBay. Here are the two harnesses below with the connectors circled that are different. You can find the other end of it under the dash above where the evaporator is going to sit. Install the A/C switch on the dash and plug that into your existing harness as well.
The A/C harness will plug into the main harness, thermistor, low pressure switch and another plug on off of the harness that the blower motor and resistor are run on. I will post pictures of where they go once I get mine in.
Last edited: