
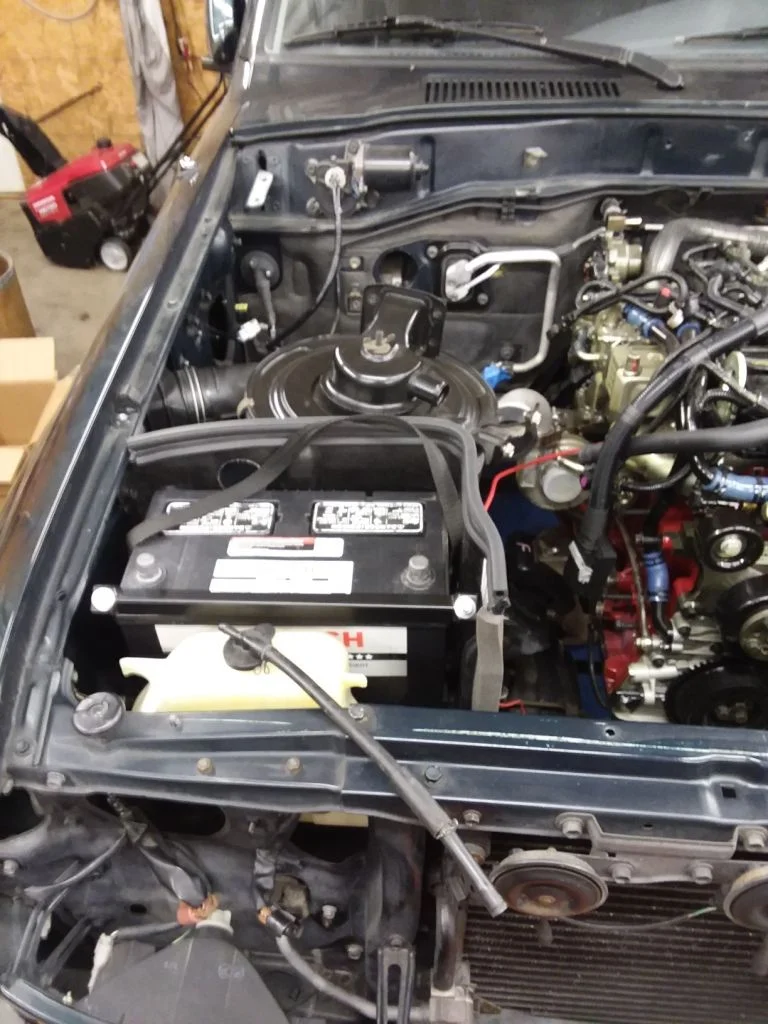
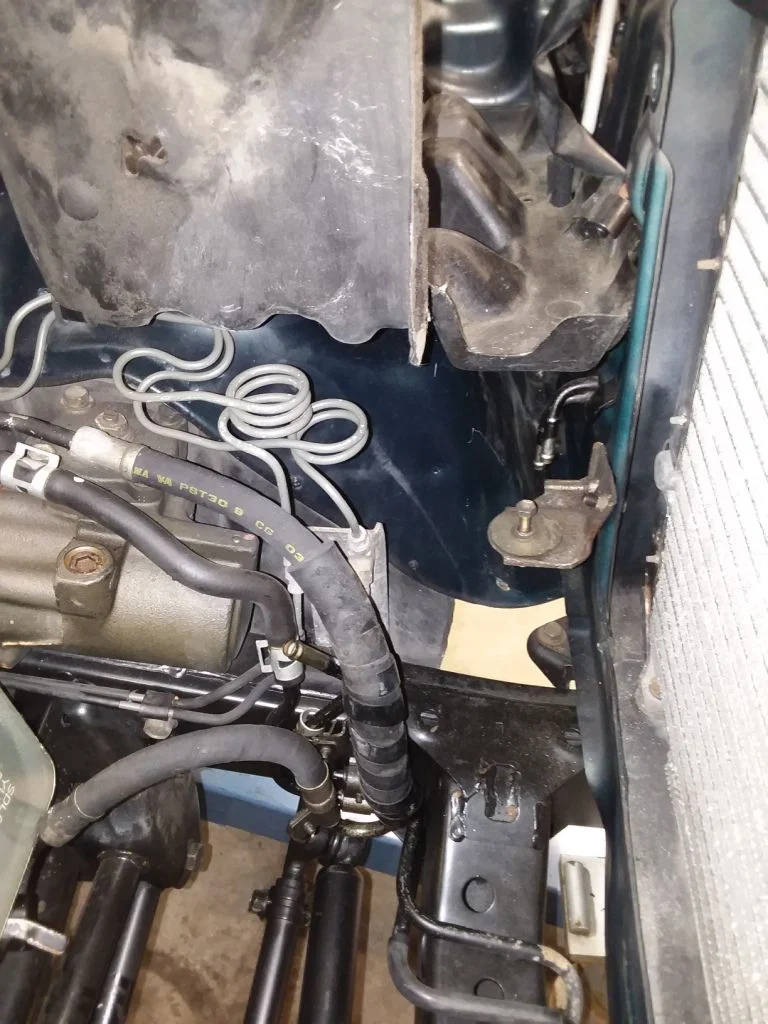
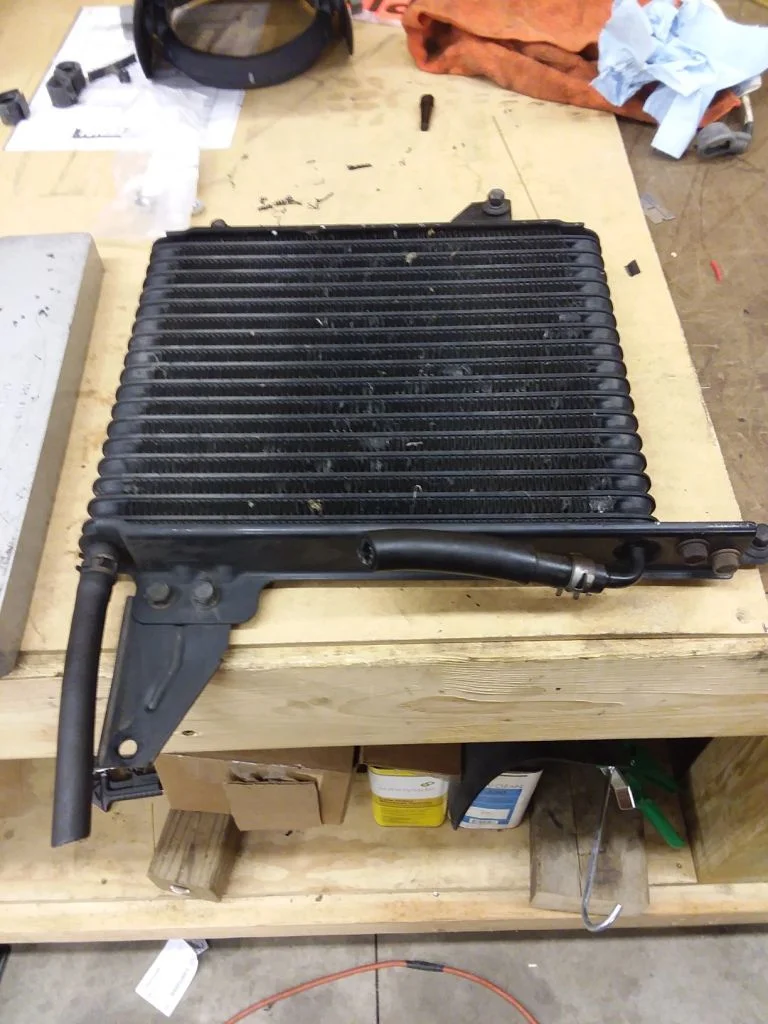
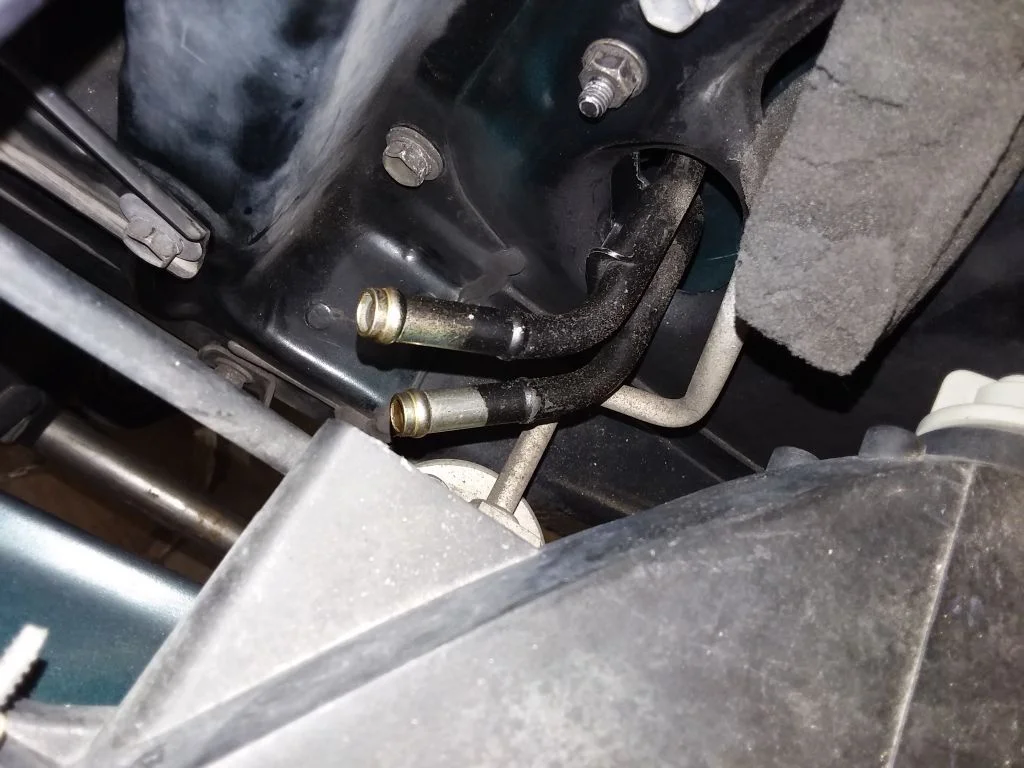
I don't have any pics of my own swap since I'm still getting things ready for the swap (lift, dual batteries, hydroboost), and haven't pulled the gasser out yet, but here are some pics of a stock FJ60 radiator and stock isuzu 4BD2T intercooler in an 80.
Builds - Isuzu 4BD1T Lexus LX450 (Land Cruiser) Build
Builds - Isuzu 4BD1T Lexus LX450 (Land Cruiser) Build
Builds - Isuzu 4BD1T Lexus LX450 (Land Cruiser) Build
Switching my 97LC-4bt swap to Isuzu 4bd1t
Budget 4bd1t -> '94 FZJ80 Build
Budget 4bd1t -> '94 FZJ80 Build
Builds - Isuzu 4BD1T Lexus LX450 (Land Cruiser) Build
Builds - Isuzu 4BD1T Lexus LX450 (Land Cruiser) Build
Builds - Isuzu 4BD1T Lexus LX450 (Land Cruiser) Build
Switching my 97LC-4bt swap to Isuzu 4bd1t
Budget 4bd1t -> '94 FZJ80 Build
Budget 4bd1t -> '94 FZJ80 Build


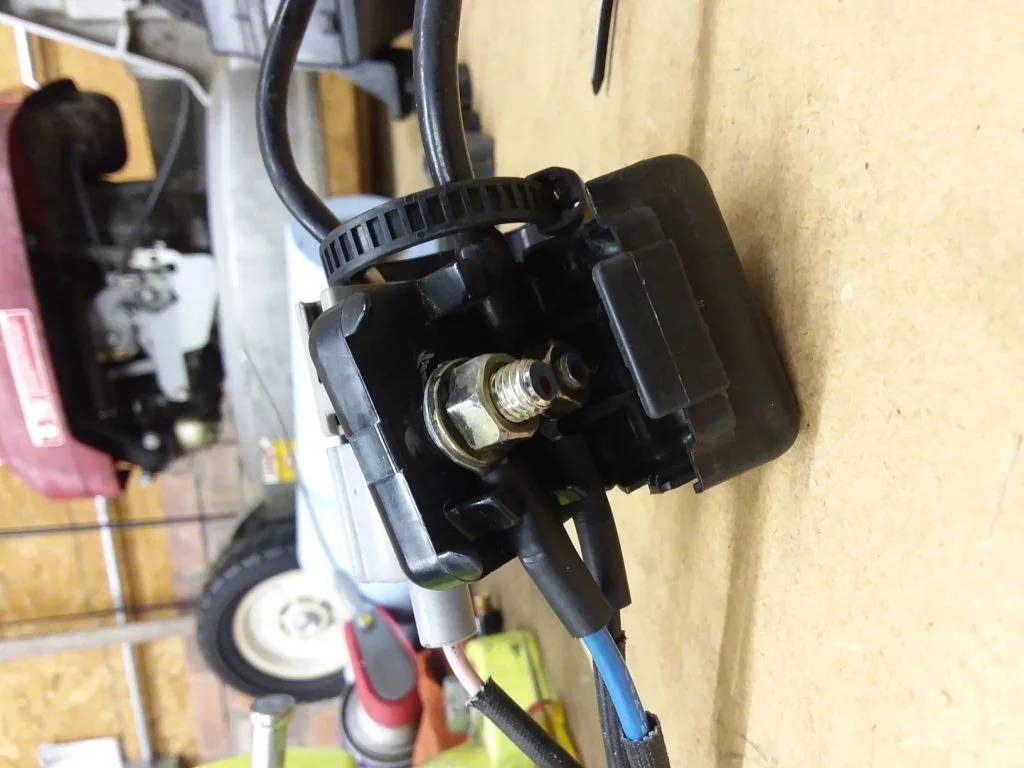
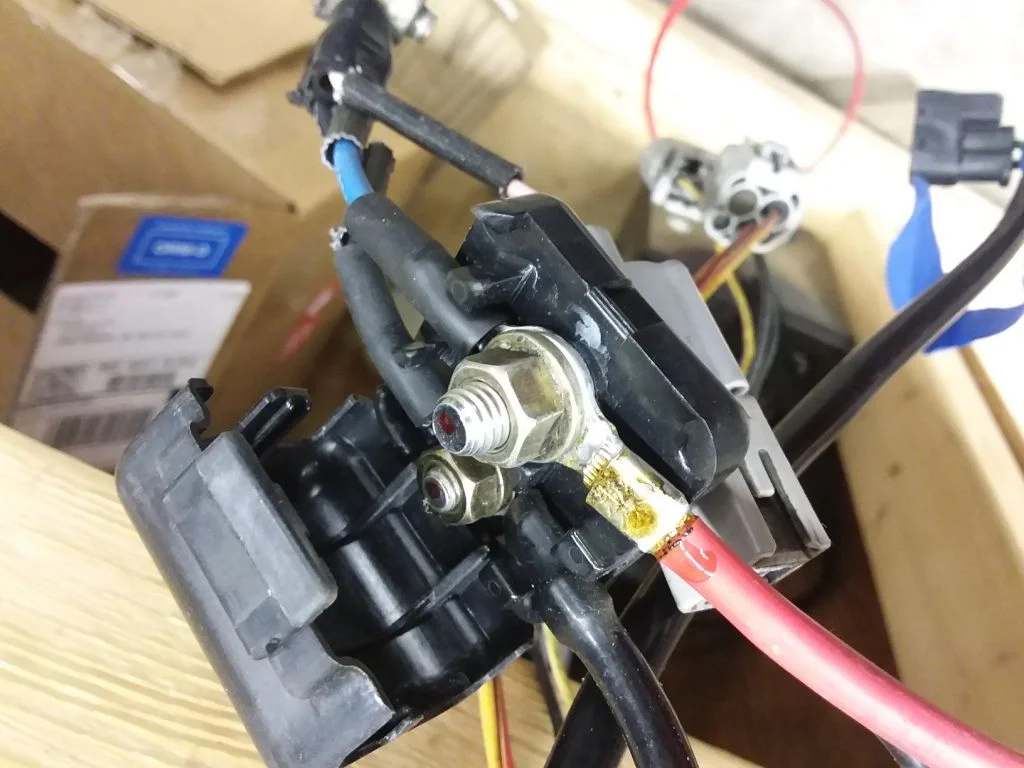

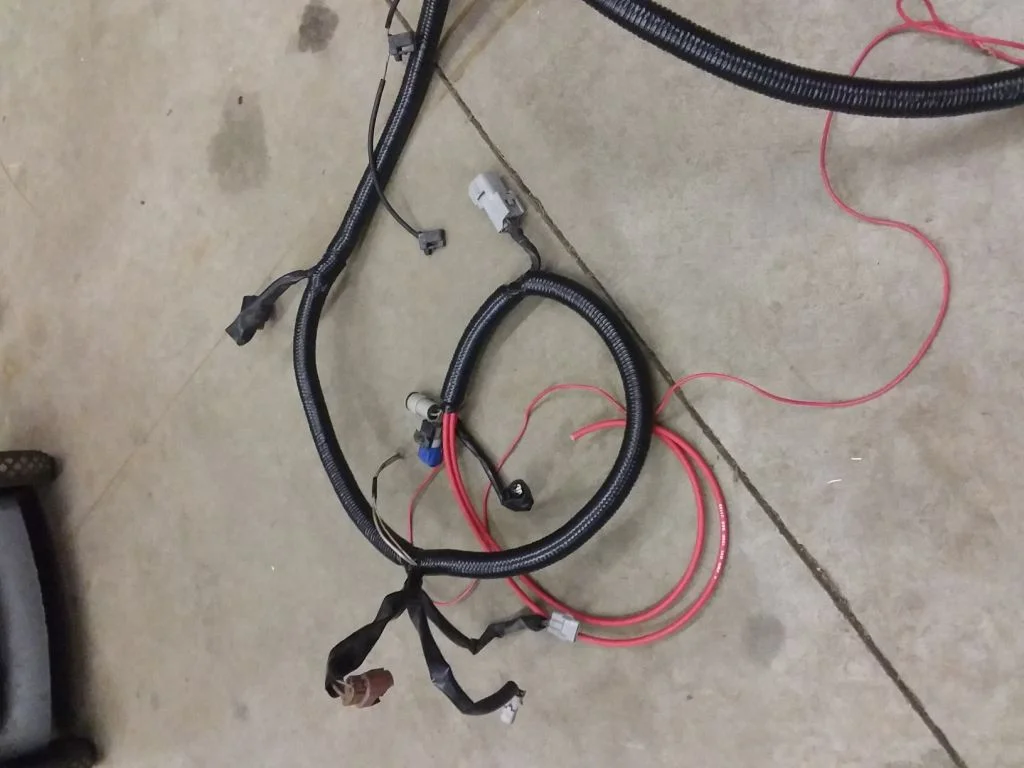

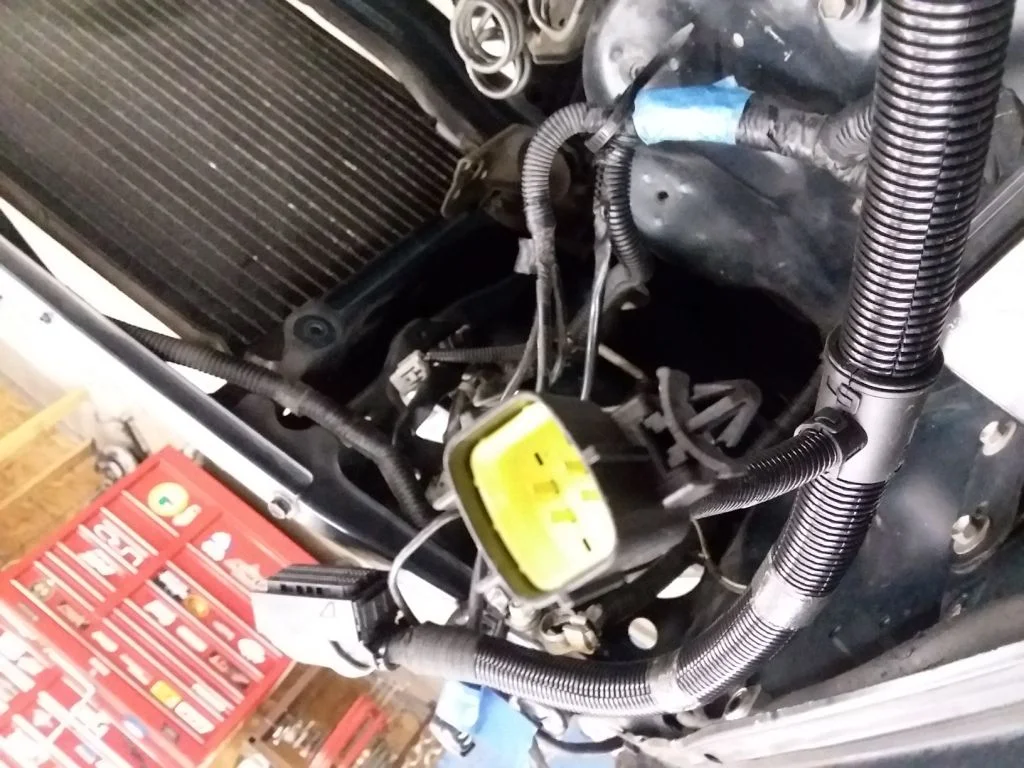

 , it will be close, we will see if it works out. In the event it does not work have you ever seen a connector that will accept two 8AWG wires and one 16AWG wire. I know, it sounds crazy. The R2.8 alternator only have a charge lamp driver, not the two extra wires that the 1FZ alternator does since the R2.8 voltage regulator does not have a sensing wire. The other one I am not sure of the function.
