
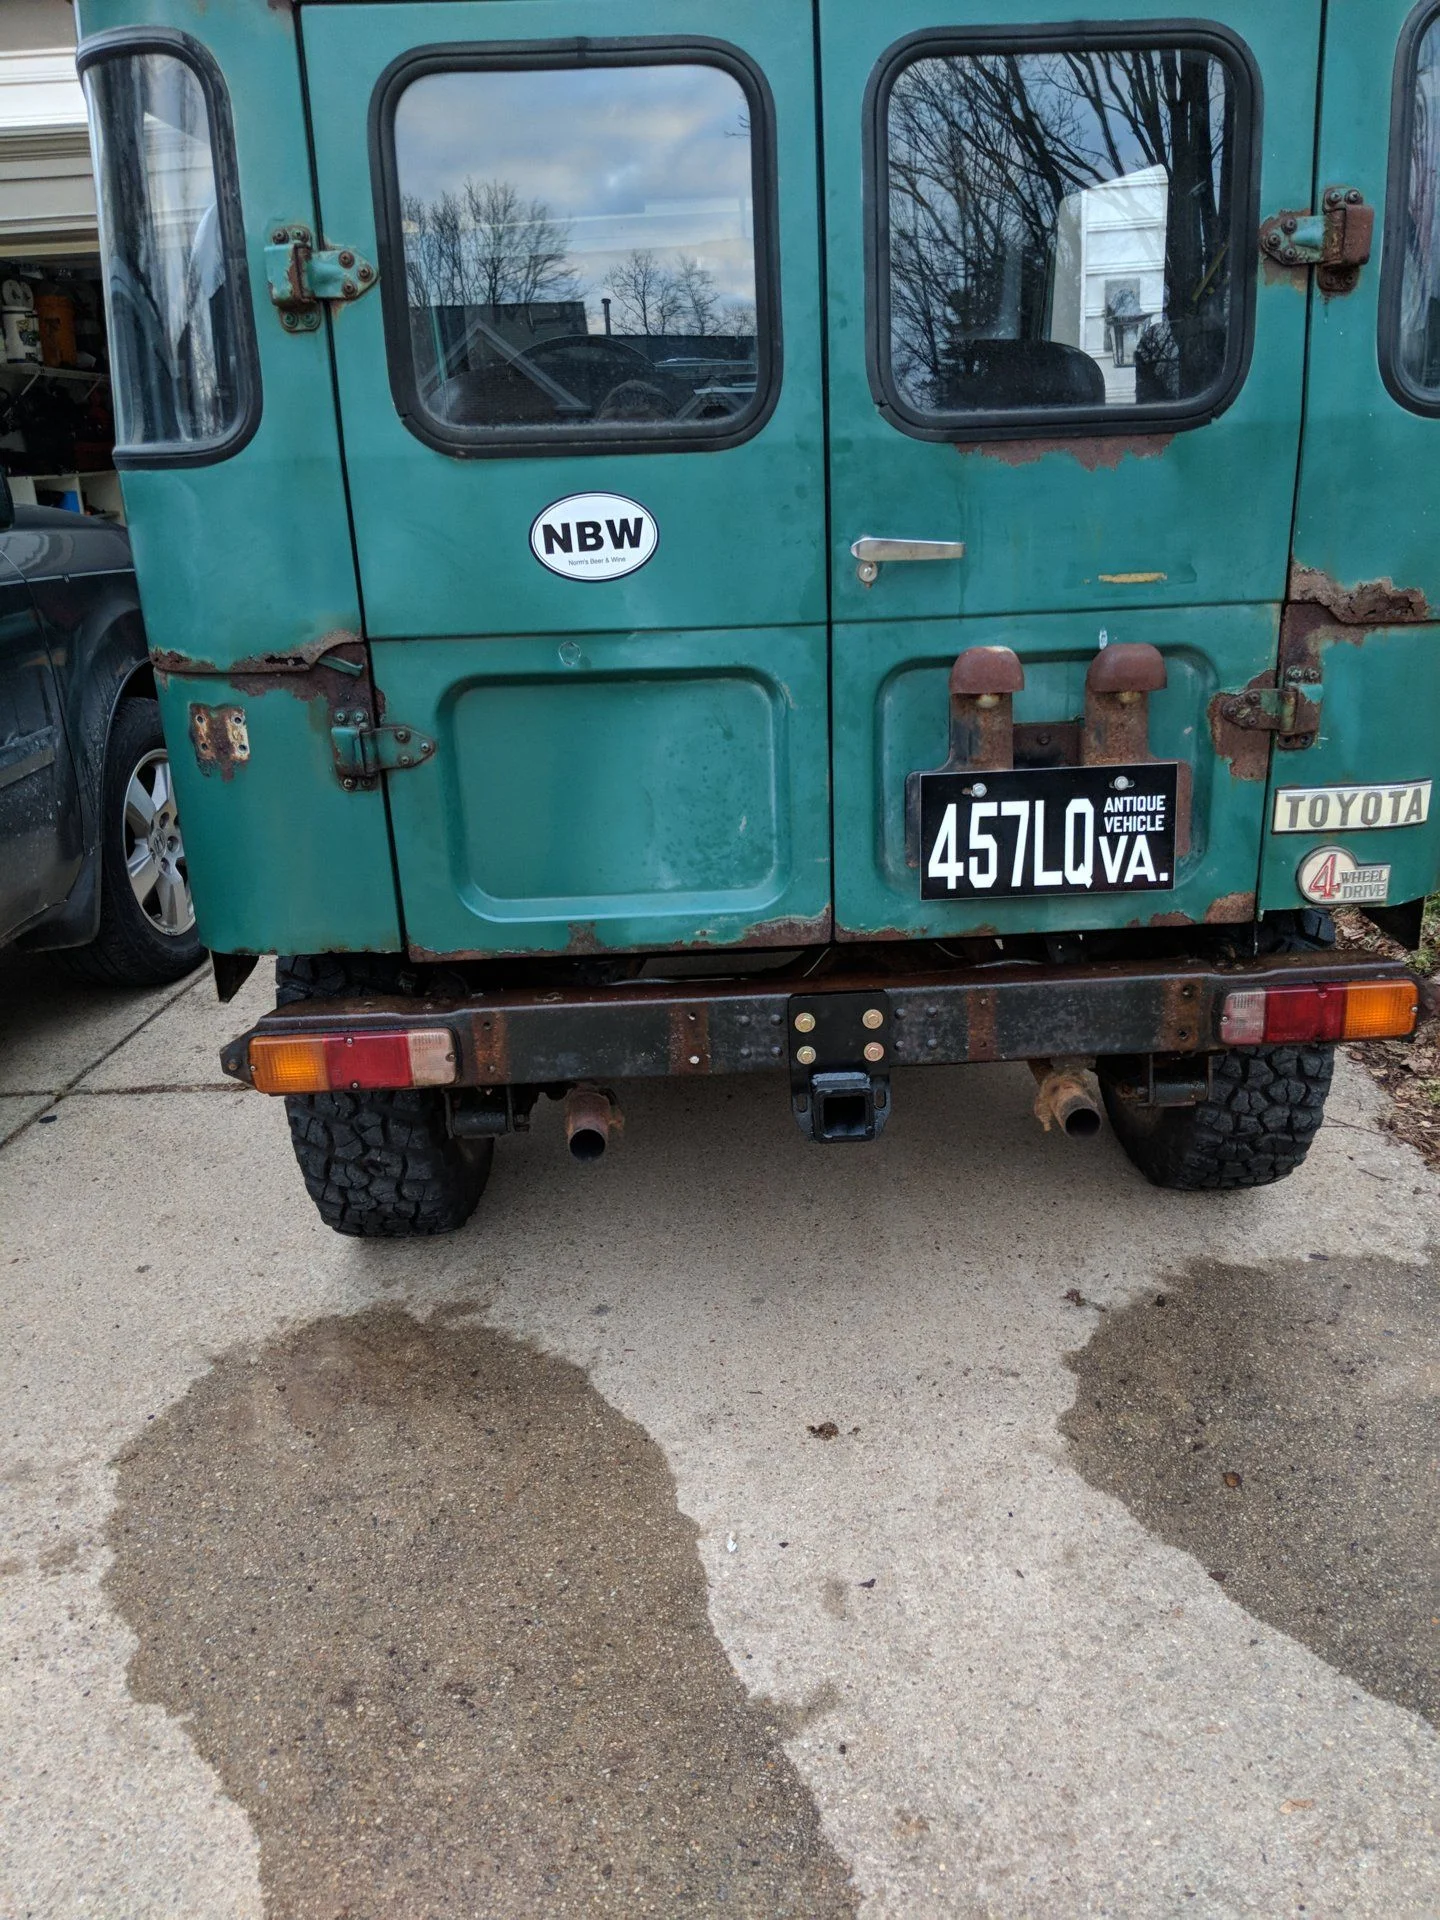
The rear would be a better fit for a tech day. But those front seals need replacing soon.
-
North American Clubhouses - East RegionCA.ON- Upper Canada Land Cruisers CA.QC- Club TORQ CA.QC- Quebec Cruisers AL- DixieLand Cruisers AL- Hot South Cruisers FL- Florida Land Cruiser Association FL- Northwest Florida Toyota 4WD FL- Tampa Bay Land Cruiser Association GA- Pavement Pounders GA- Georgia Cruisers GA/FL/AL- Red Hills Land Cruiser Club GA- YOTA IL- Windy City Land Cruisers IN- Hoosier Cruisers IN- Indiana Land Cruisers KY- Kentucky Landcruiser MA/NH- Yankee Toys MI- Lake Michigan Land Cruisers MS- CottonLand Cruisers NC- Olde North State Cruisers NJ- Garden State Land Cruisers NY/CT/MA- FJNortheasters NY- Gotham City Land Cruisers OH- The Buckeye Birfield Syndicate PA- Keystone Cruisers PA- Steel City Land Cruiser Club SC- Palmetto State Land Cruiser Association SC- Upstate Cruisers SC- Swamp Fox Land Cruisers SC- Low Country Land Cruisers TN- Appalachia Cruisers TN- Bluff City Cruisers TN- STLCA VA- Bay to Blue Ridge Cruisers VA/DC/MD- Capital Land Cruiser Club VA/NC- Mid-Atlantic TLCA VA- Star City Land Cruisers VT/NH/MA/ME Acadian Overlanders WI- Land Cruiser Legends WV- Mountaineer Cruisers
-
North American Clubhouses - Central RegionCA.AB- Oil Country Cruisers CA.AB- Rocky Mountain Land Cruiser Association CA.AB- Toyota Ghost Wheelers AR- Razorback Land Cruisers AR/MO- Ozark Mountain Cruisers CO- BookCliff Cruisers CO- Colorado Land Cruisers CO- Derailed Cruisers CO- Rising Sun 4WD Club CO/WY- Horsetooth 4 Wheelers Cruiser Club IA- Tall Corn Cruisers KS/MO- Tornado Alley Cruisers LA- Bayou State Land Cruisers LA- Louisiana Land Krewesers MO- Gateway Cruisers MT- 406 Cruisers MT- Big Sky Cruisers NE- Flat Land Cruisers NM- High Desert Cruisers OK- Green Country Cruisers SD- Dakota Territory Cruisers TX- Alamo City Land Cruisers TX- Bayou City Land Cruisers TX- Lone Star Land Cruisers TX- Lone Star Land Cruisers - Austin Chapter TX- The White Trash of the Elwood Chapter TX- Toyota Trail Riders
-
North American Clubhouses - West RegionCA.BC- Coastal Cruisers CA.BC- Okanagan-Similkameen Land Cruisers CA.BC- Peace Canyon Toyota Swamp Donkeys CA.BC- Calgary Chapter: Swamp Donkeys
CA.BC- Vancouver Island Cruisers AZ- Copper State Cruisers CA- Beach-n-Toys CA- Central Coast Land Cruisers CA- Central Valley Crawlers CA- Gold Country Cruisers CA- Inland Empire Cruisers CA- L.A. County Trailcrew CA- Mountain Transit Authority CA- Pacific Mountain Cruisers CA- San Diego Cruisers CA - Santa Cruz Land Cruisers CA- SoCal 80's CA- Southern California Land Cruisers CA- Toyotally Awesome Cruisers HI- Hawaiian Island Land Cruisers ID- Treasure Valley Land Cruisers NV- Battle Born Cruisers of Northern Nevada NV- Southern Nevada Land Cruisers OR/CA- Jefferson State Cruisers OR- Cascade Cruisers OR- Central Oregon Cruisers OR- Portland Metro Cruisers UT- Red Rock Cruiser Club UT- Wasatch Cruisers WA- Central Washington Cruisers WA- North Sound Cruisers WA- South Sound Cruisers WA- Spokane Land Cruisers
Navigation
Install the app
How to install the app on iOS
Follow along with the video below to see how to install our site as a web app on your home screen.
Note: This feature may not be available in some browsers.
More options
You are using an out of date browser. It may not display this or other websites correctly.
You should upgrade or use an alternative browser.
You should upgrade or use an alternative browser.
Pretty quiet in here... what are you working on? (21 Viewers)
- Thread starter Stumpalama
- Start date
This site may earn a commission from merchant affiliate
links, including eBay, Amazon, Skimlinks, and others.
More options
Who Replied?- Thread starter
- #1,222
Are you replacing bearings in the rear too? If so, I recommend a slide hammer.I guess I can split it up though. I could do the front axle and front third and leave the rear axle and third for another one. Or vice versa. Just can't throw it in to 4 until the rear is done. Actually, I've done several front axle services so maybe the rear might be a better tech day activity.
Last edited:
@iptman did you seat the scribe to the new inner seal or did you use the old one before marking the knuckle tool? Another potential for error could be the trunnion bearing races not being seated all the way into the knuckles. Also, the knuckle height can be thrown off if your dial caliper hit a high spot from somebody banging the lower cap/steering arm free (instead of using the knuckle bearing tool).
Last edited:
iptman
SILVER Star
I thought the scribe fit in to the hole where the seal goes, but not with the seal installed. It's been a couple years since I did it so I'm not really sure what I would have done wrong at this point. I remember the shims being significantly more on either the upper or lower side and less on the opposite which made me question it enough to check it twice.
iptman
SILVER Star
A
Are you replacing bearings in the rear too? If so, I recommend a slide hammer.
Yeah I might as well.
The scribe has a ring that can be removed to match the size of the inner seal. I have measurement notes to a few different axles. I'll check and get back to you; If I recall correctly, the lower shim total thickness was more than the upper. That may have just be coincidence though.
Did you need to add or subtract shims to get the pre-load on the knuckles within spec. once assembled or was it okay with what you had calculated with the knuckle centering tool?
Did you need to add or subtract shims to get the pre-load on the knuckles within spec. once assembled or was it okay with what you had calculated with the knuckle centering tool?
One thing I have learned over the years is when you tear down the knuckle keep the shim packs in order where they came from. 99% of the time it will take the same shim thickness unless your changing up the parts.
- Thread starter
- #1,228
Though, if you don't know the history of the truck, it can be a crap shoot whether or not the PO kept the shims in the correct positions.One thing I have learned over the years is when you tear down the knuckle keep the shim packs in order where they came from. 99% of the time it will take the same shim thickness unless your changing up the parts.
iptman
SILVER Star
Yeah, if I didn't have access to the tool I would have done that.
Also check to make sure your axel vent isn't clogged.
My 1st knuckle rebuild was a virgin axle; so, I rebuilt that one using a knuckle gauge to compare my results w/the factory setup. My numbers had me feeling confident I could do a disc/knuckle upgrade if the time came.
Since then, I’ve rebuilt axles handed to me in unsorted boxes of parts. Wasn’t a big deal, but I always want to have something to be able to compare my final measurements/calculations.
I agree w/ @Stumpalama some shade tree mechanics just tear things apart w/out keeping track while others are thorough.
@jcj_78FJ40 we’ve had some extreme swing in temperatures lately. Last few days have been warm in comparison to the extreme cold in previous weeks. I didn’t think of how that might contribute to problem if there’s a possibility the vent is clogged.
Installed some goodies that I got for Xmas, I decided to go with relocation kit and 2nd battery kit from Slee and skip the whole fabrication route this time. Install was pretty easy; I didn’t follow the Slee instructions and installed the water bottle relocation brackets before attaching them to the bottle. I think it was easier since I didn’t drain the washer fluid. I also used bullet connectors and heavier gauge wire than provided with the kit to extend the pump power lines. And I did trim the battery tray where it meets the radiator with tin snips, quite a bit in fact. Next is cables and a solenoid.


Last edited:

Cut out the rust! Now I'm planning to install the new sill (Thanks Awl_Teq!) and CCOT corner patches.

@jcj_78FJ40 we’ve had some extreme swing in temperatures lately. Last few days have been warm in comparison to the extreme cold in previous weeks. I didn’t think of how that might contribute to problem if there’s a possibility the vent is clogged.
It's not the weather temp it's the heat generated by the diff. As the air in the axle housing expands, it has to go somewhere. If the vent is blocked then the seals become the weak points.
It's hardly ever something that simple but it only takes 5 minutes to check.......
- Thread starter
- #1,237
Putting my dash back together after cleaning up some old splices (@emorth would be proud of my soldering skills) andinstalling a new ignition electrical switch and a new tach to replace the one that's been busted for a few (or more) years.
I needed an LED to replace the standard bulb in the tach so I picked up 2 Sylvania 194 LEDs. I was blown away at the difference in the clarity of light compared to the older LEDs.
Going to get 3 more for the quad gauge and air pressure gauges!

I needed an LED to replace the standard bulb in the tach so I picked up 2 Sylvania 194 LEDs. I was blown away at the difference in the clarity of light compared to the older LEDs.
Going to get 3 more for the quad gauge and air pressure gauges!
Last edited:

Finished fuel lines, interior back together, Fuel filters, new plugs, my new wires did not fit, new voltage regulator in, everything bolted back up, fresh fuel ( high test baby).
Delivered to a top secret location for acceleration trouble shooting

Rainy day project , time for a front end refresh, axles and brakes
- Thread starter
- #1,240
View attachment 1620938
Finished fuel lines, interior back together, Fuel filters, new plugs, my new wires did not fit, new voltage regulator in, everything bolted back up, fresh fuel ( high test baby).
View attachment 1620940
Delivered to a top secret location for acceleration trouble shooting
Plugs are a bit dirty... what was the model number on the plugs?