- Joined
- Sep 25, 2011
- Threads
- 84
- Messages
- 3,631
- Location
- Harbour City, the New Southern Wales
- Website
- www.freewayoneentertainment.com
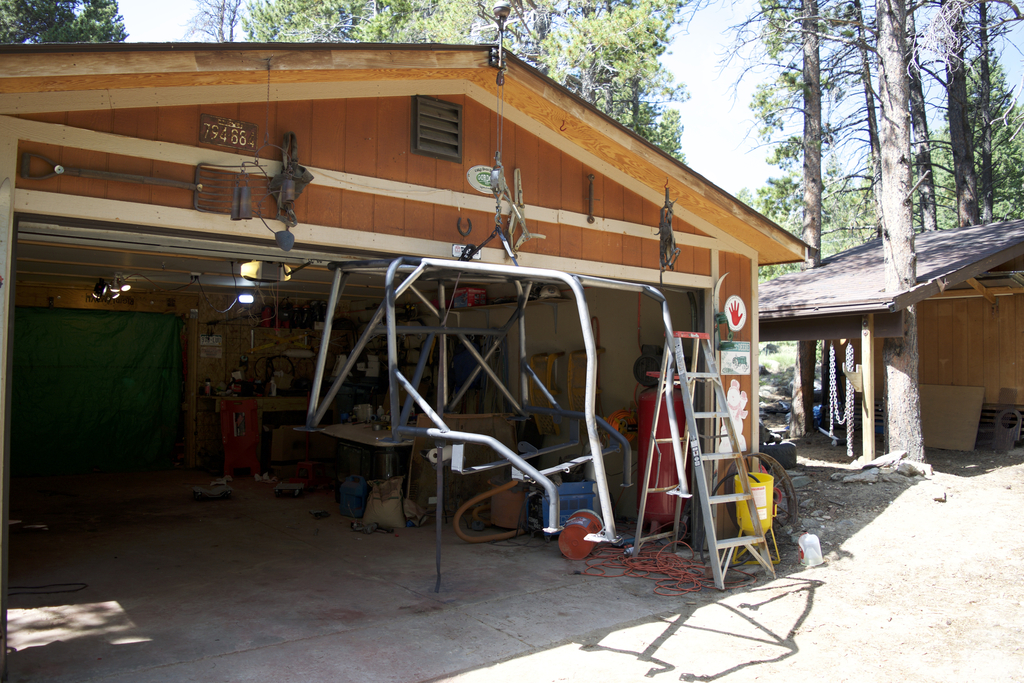
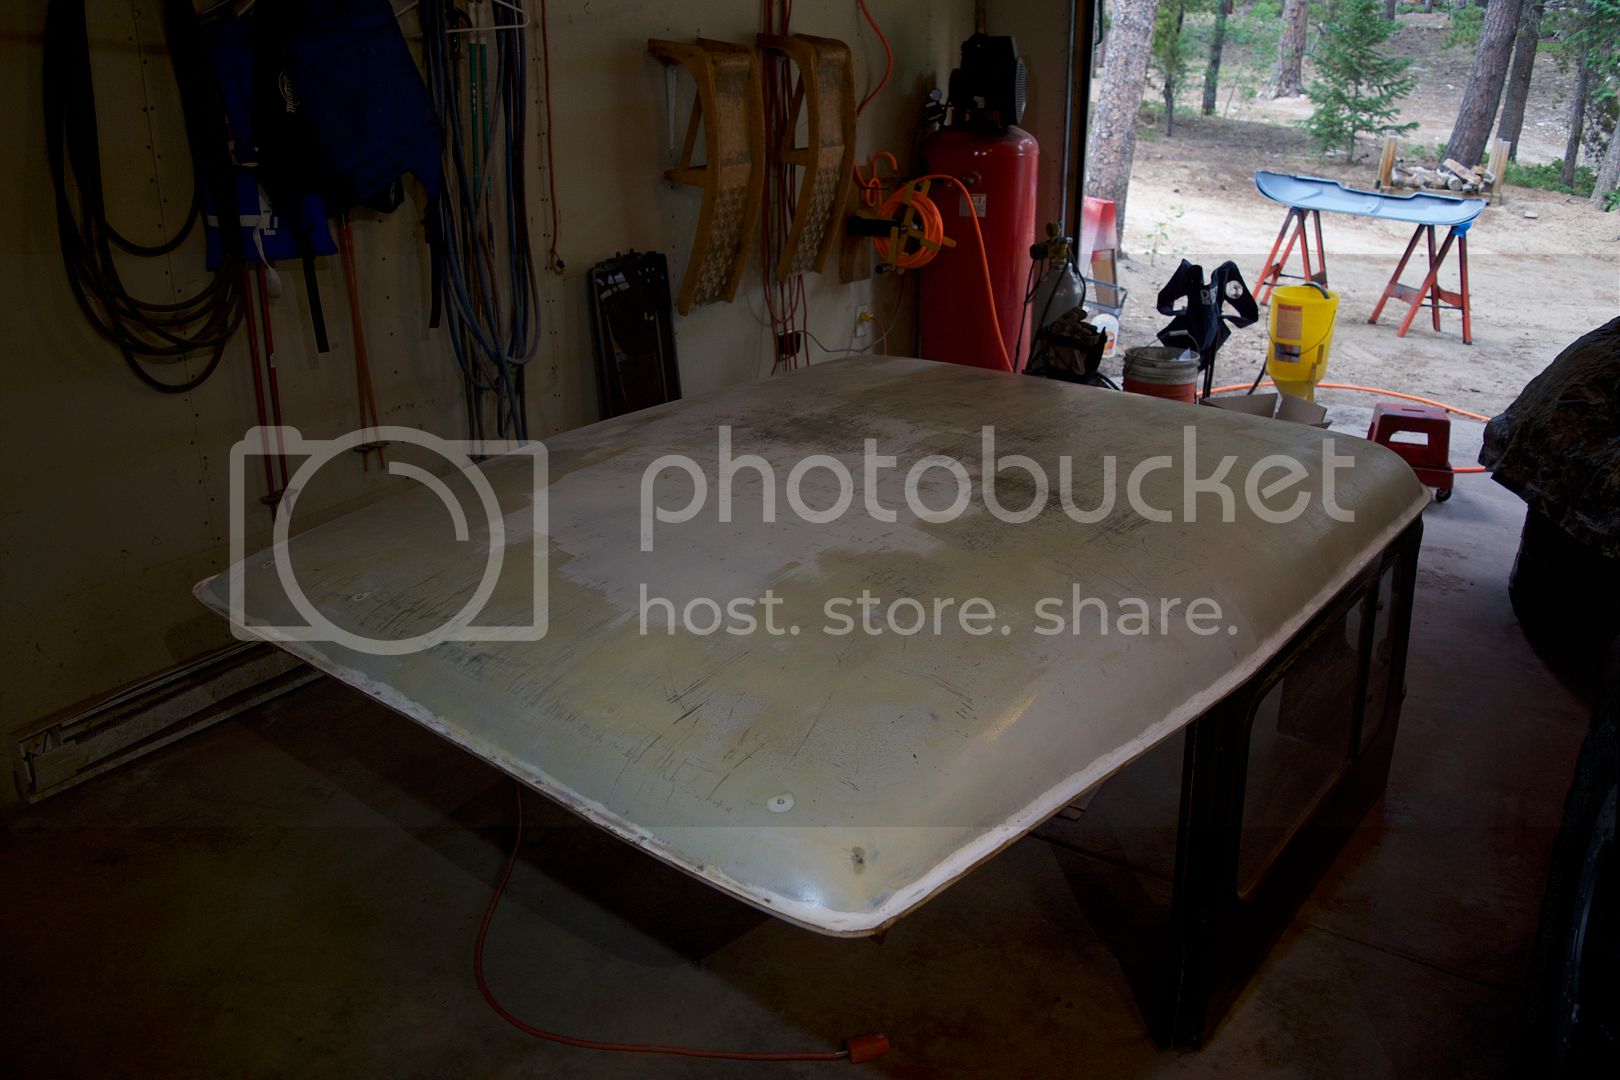
With enough paint you can block out the orange peel/runs and have a killer finish, even with rattle cans. Mix up a few drops of detergent in an old water bottle and rub down with 2000 grit paper. But not so much that you expose a] bare metal or b] primer.


")