Background
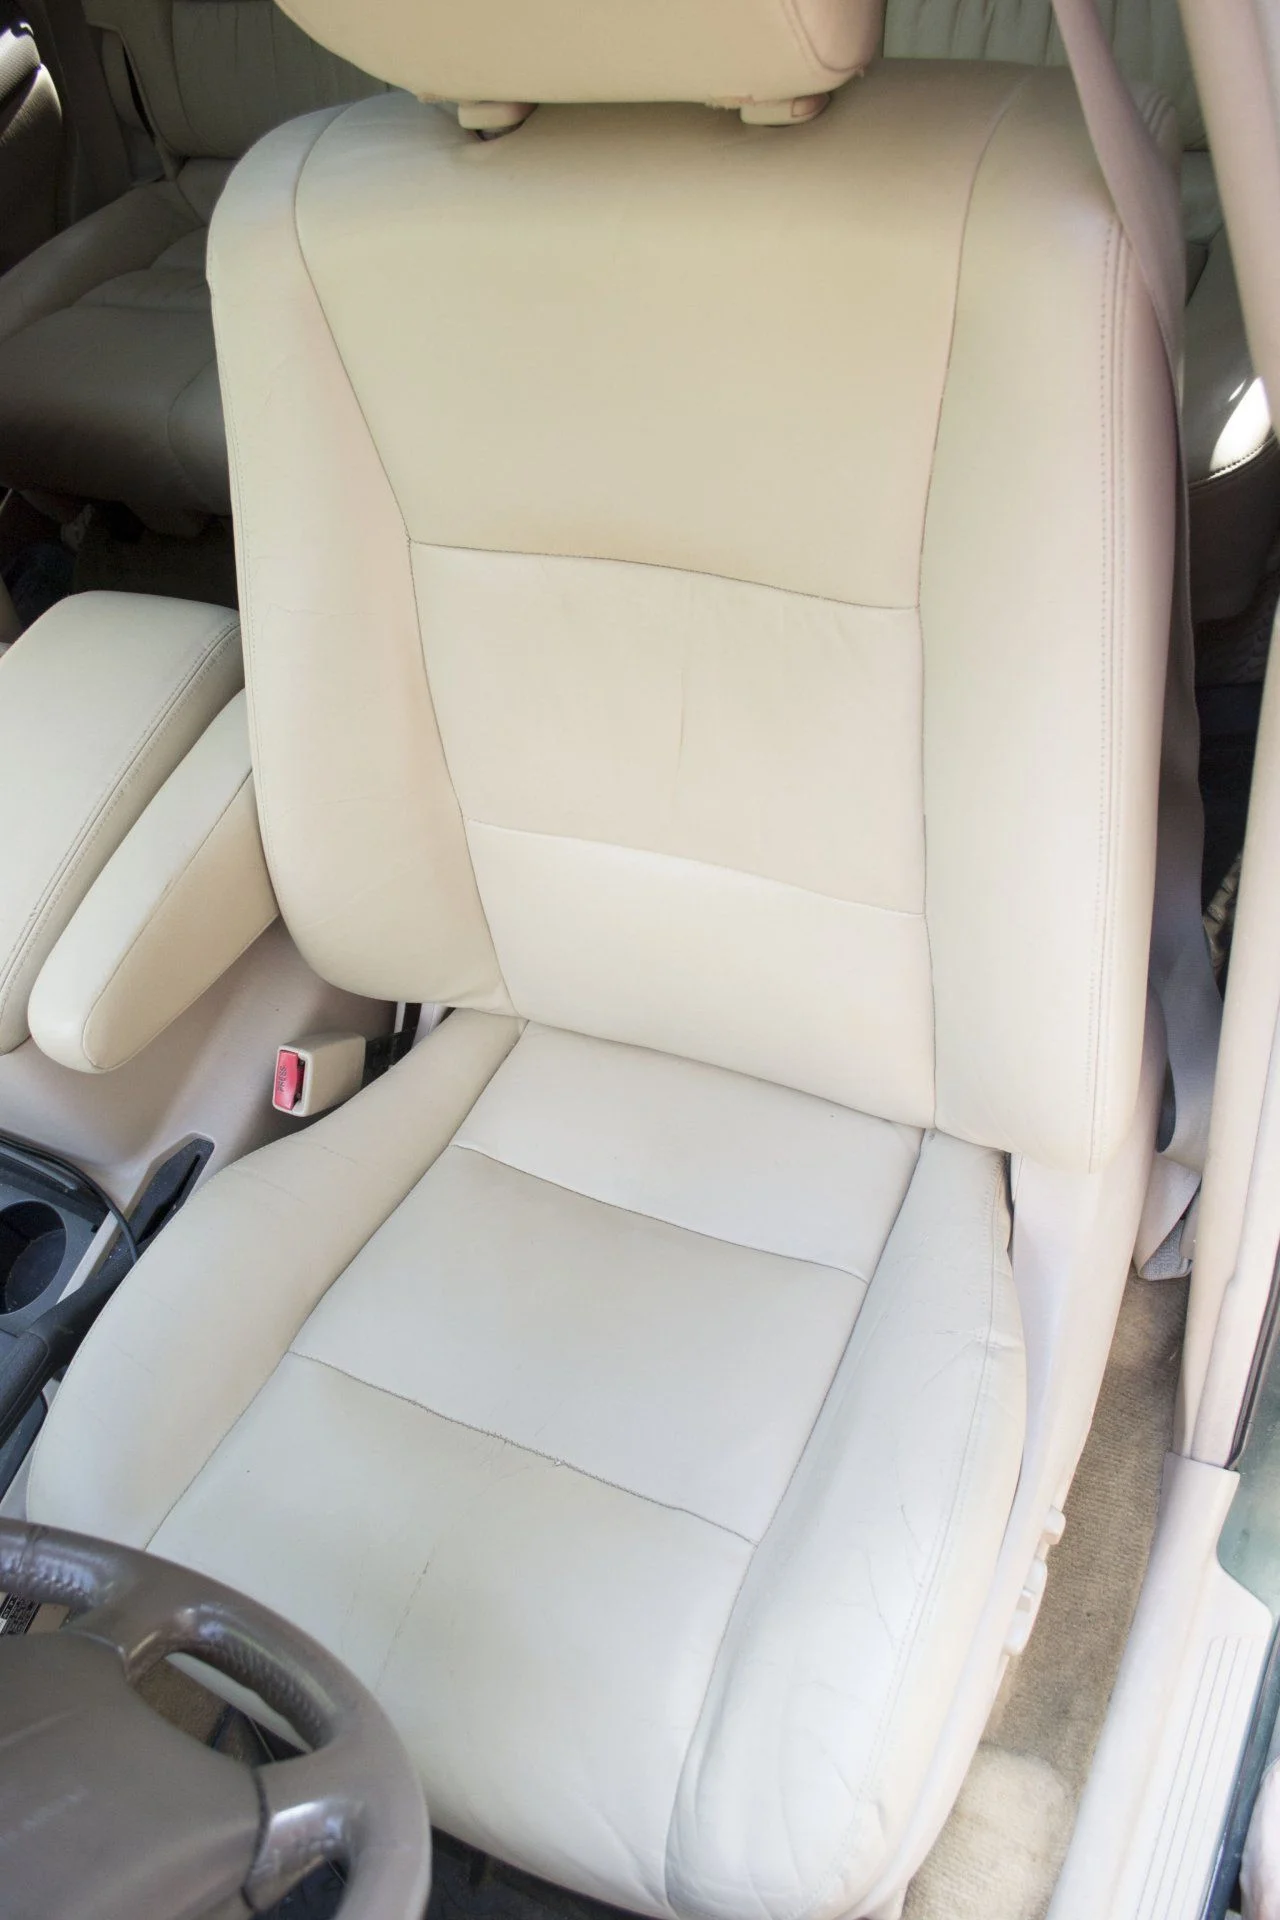
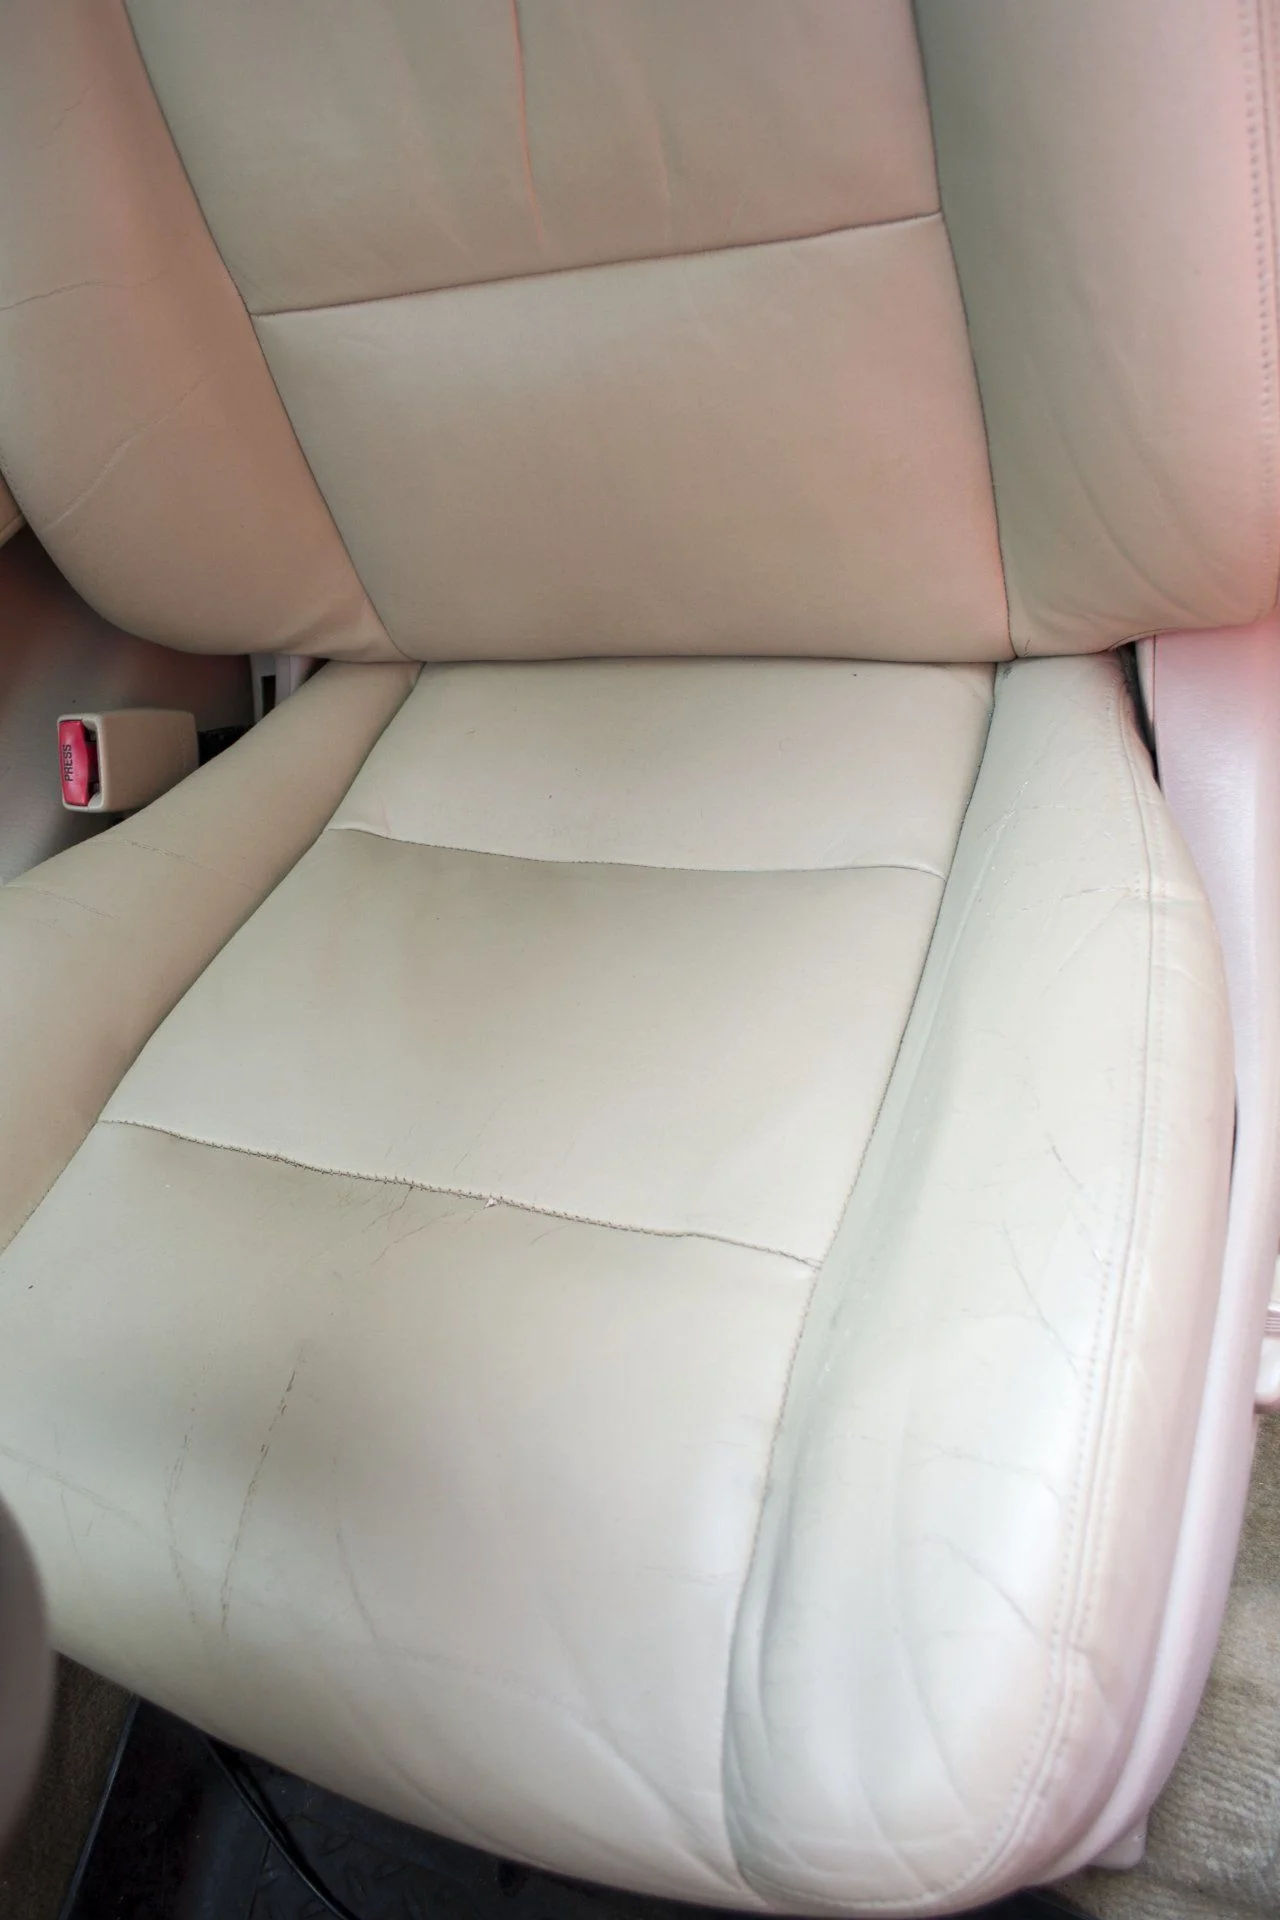
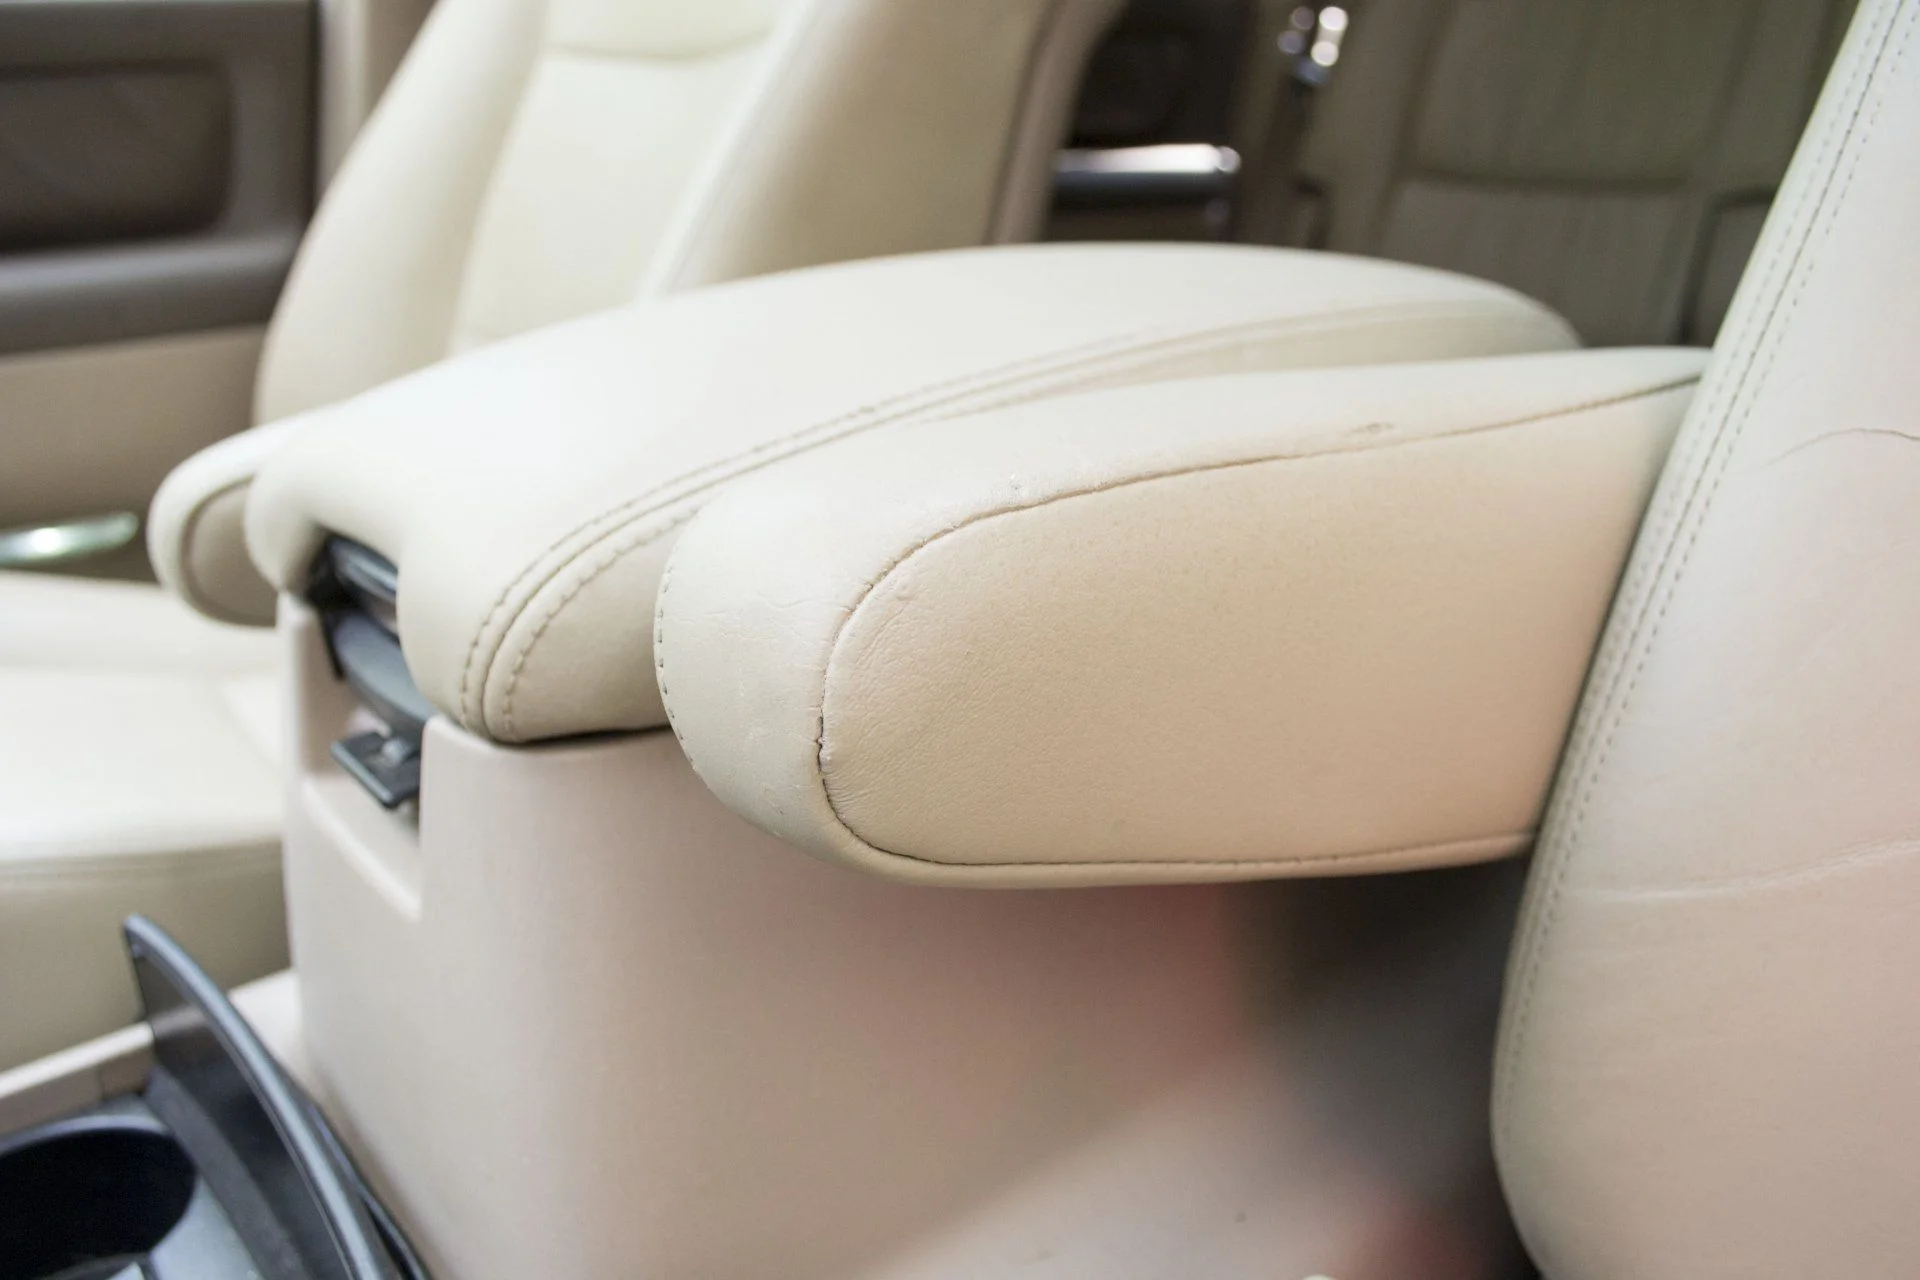
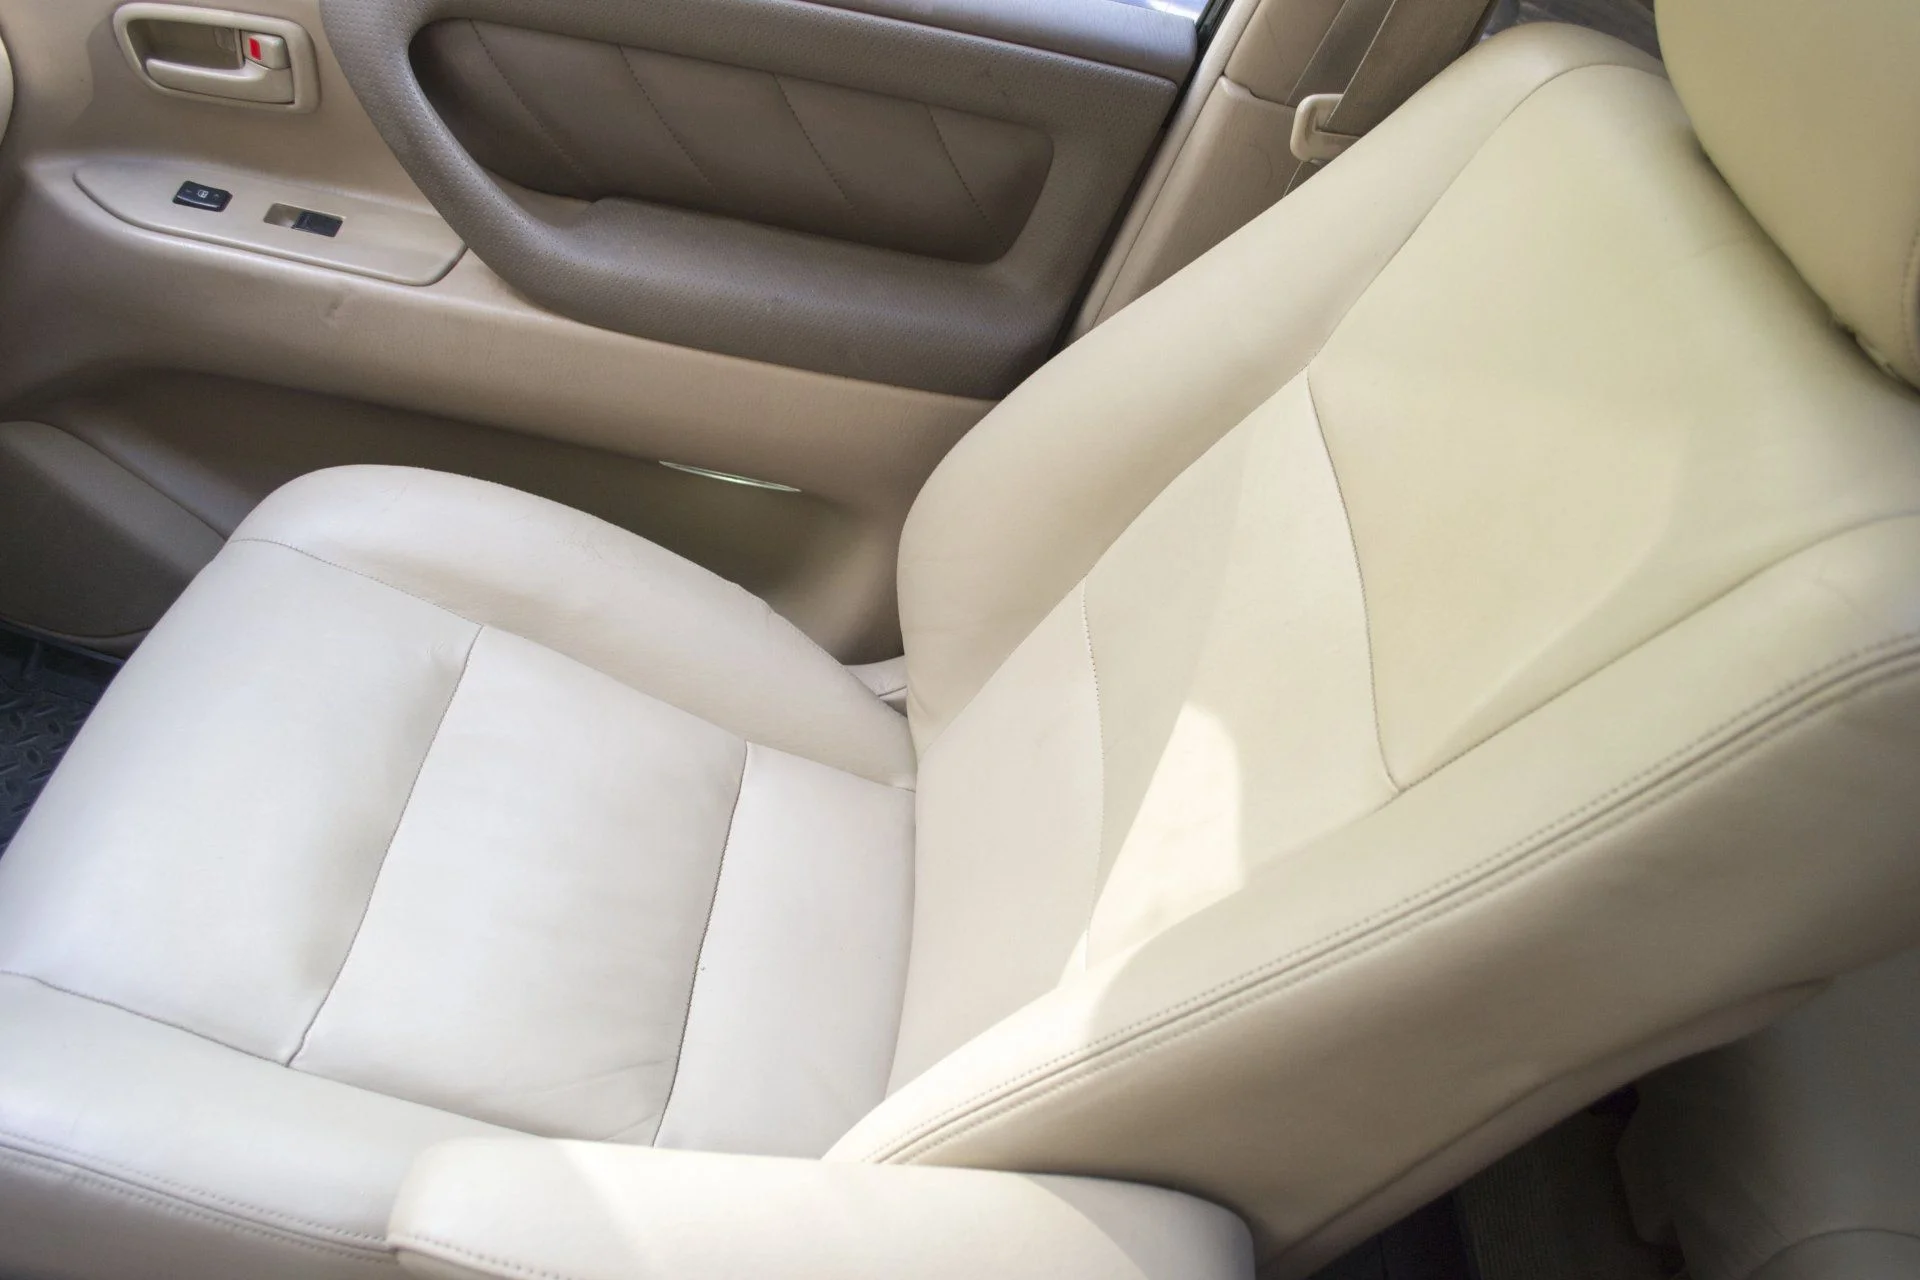
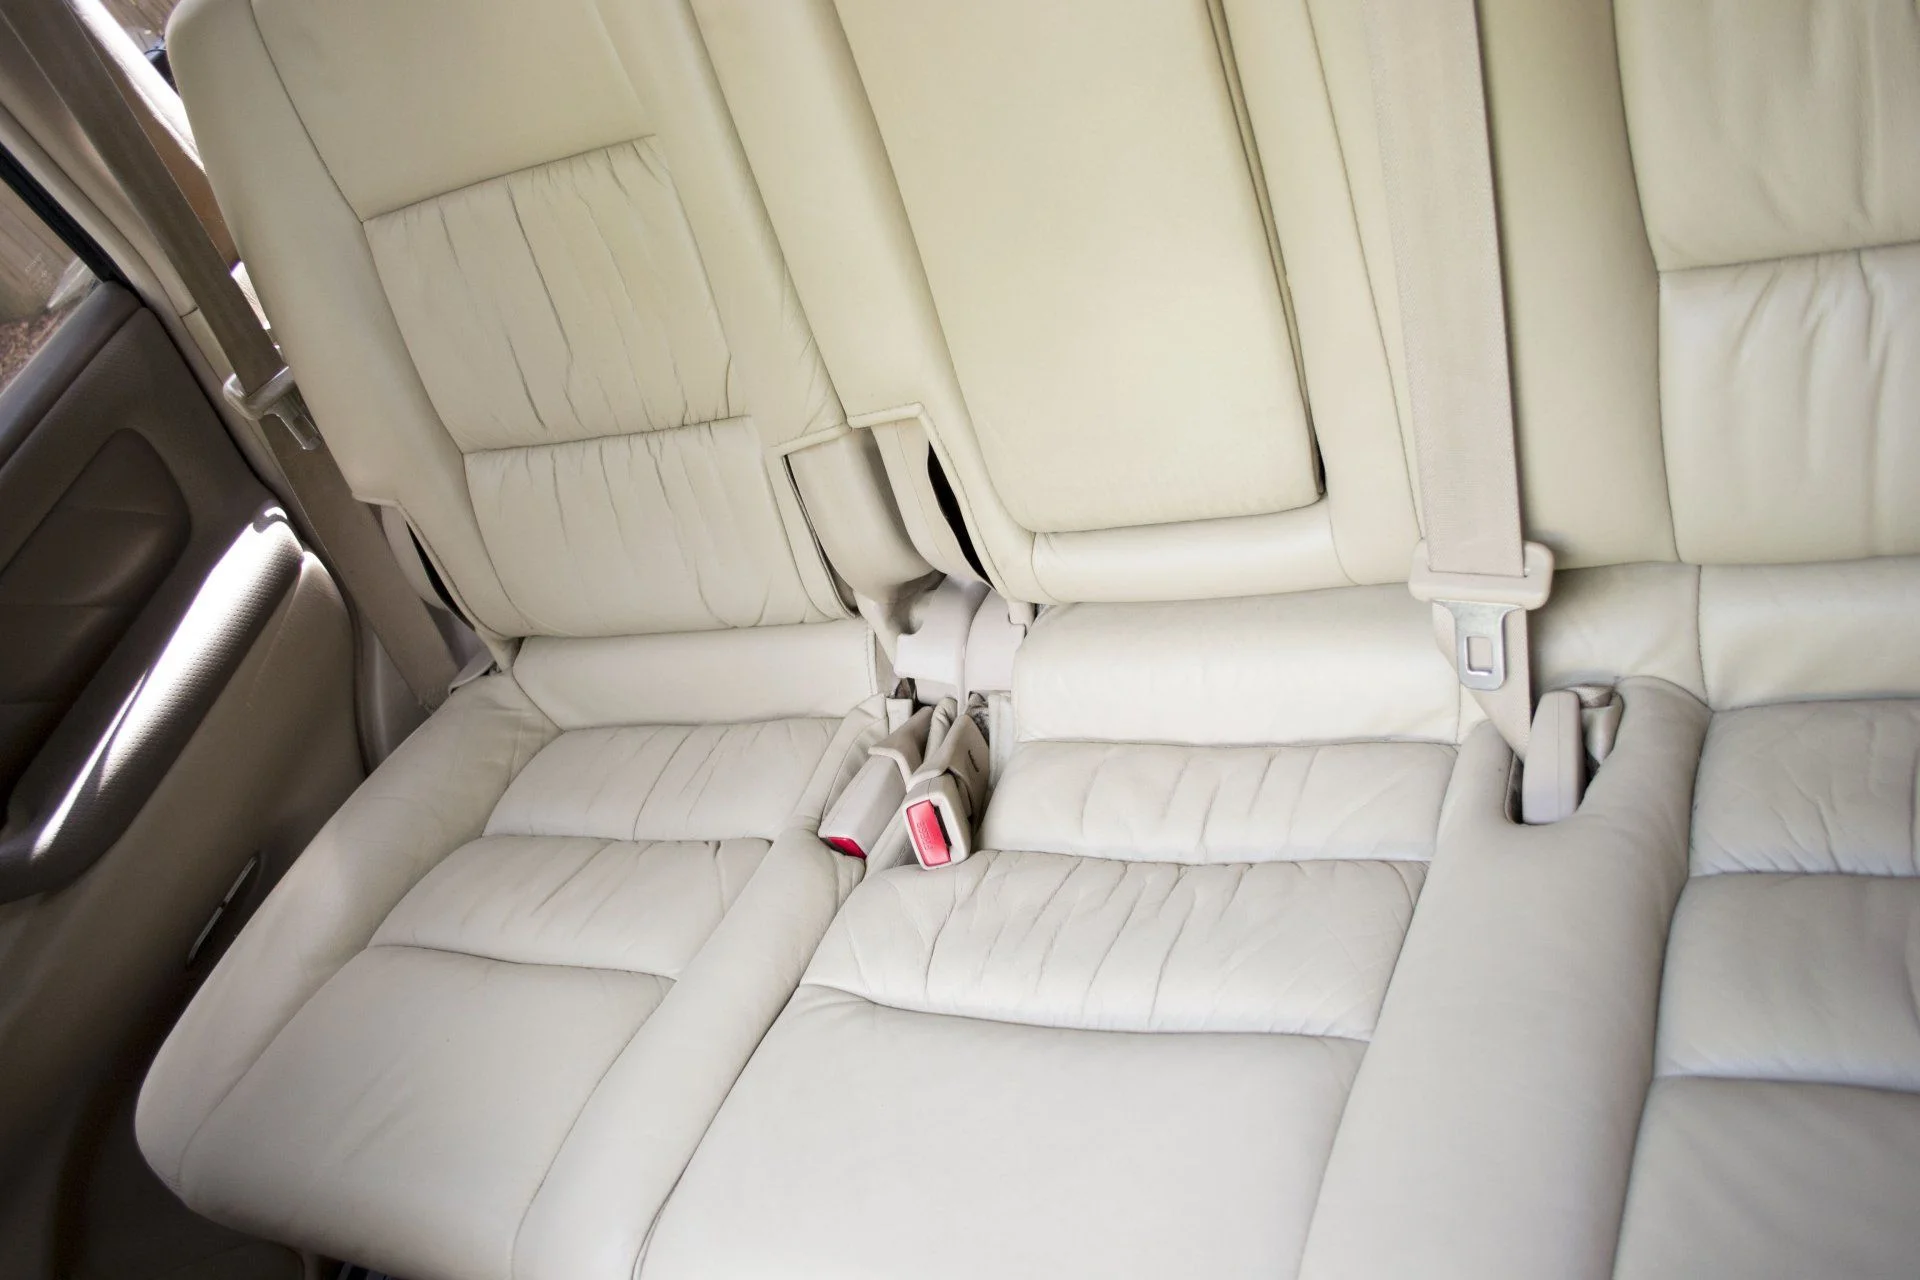
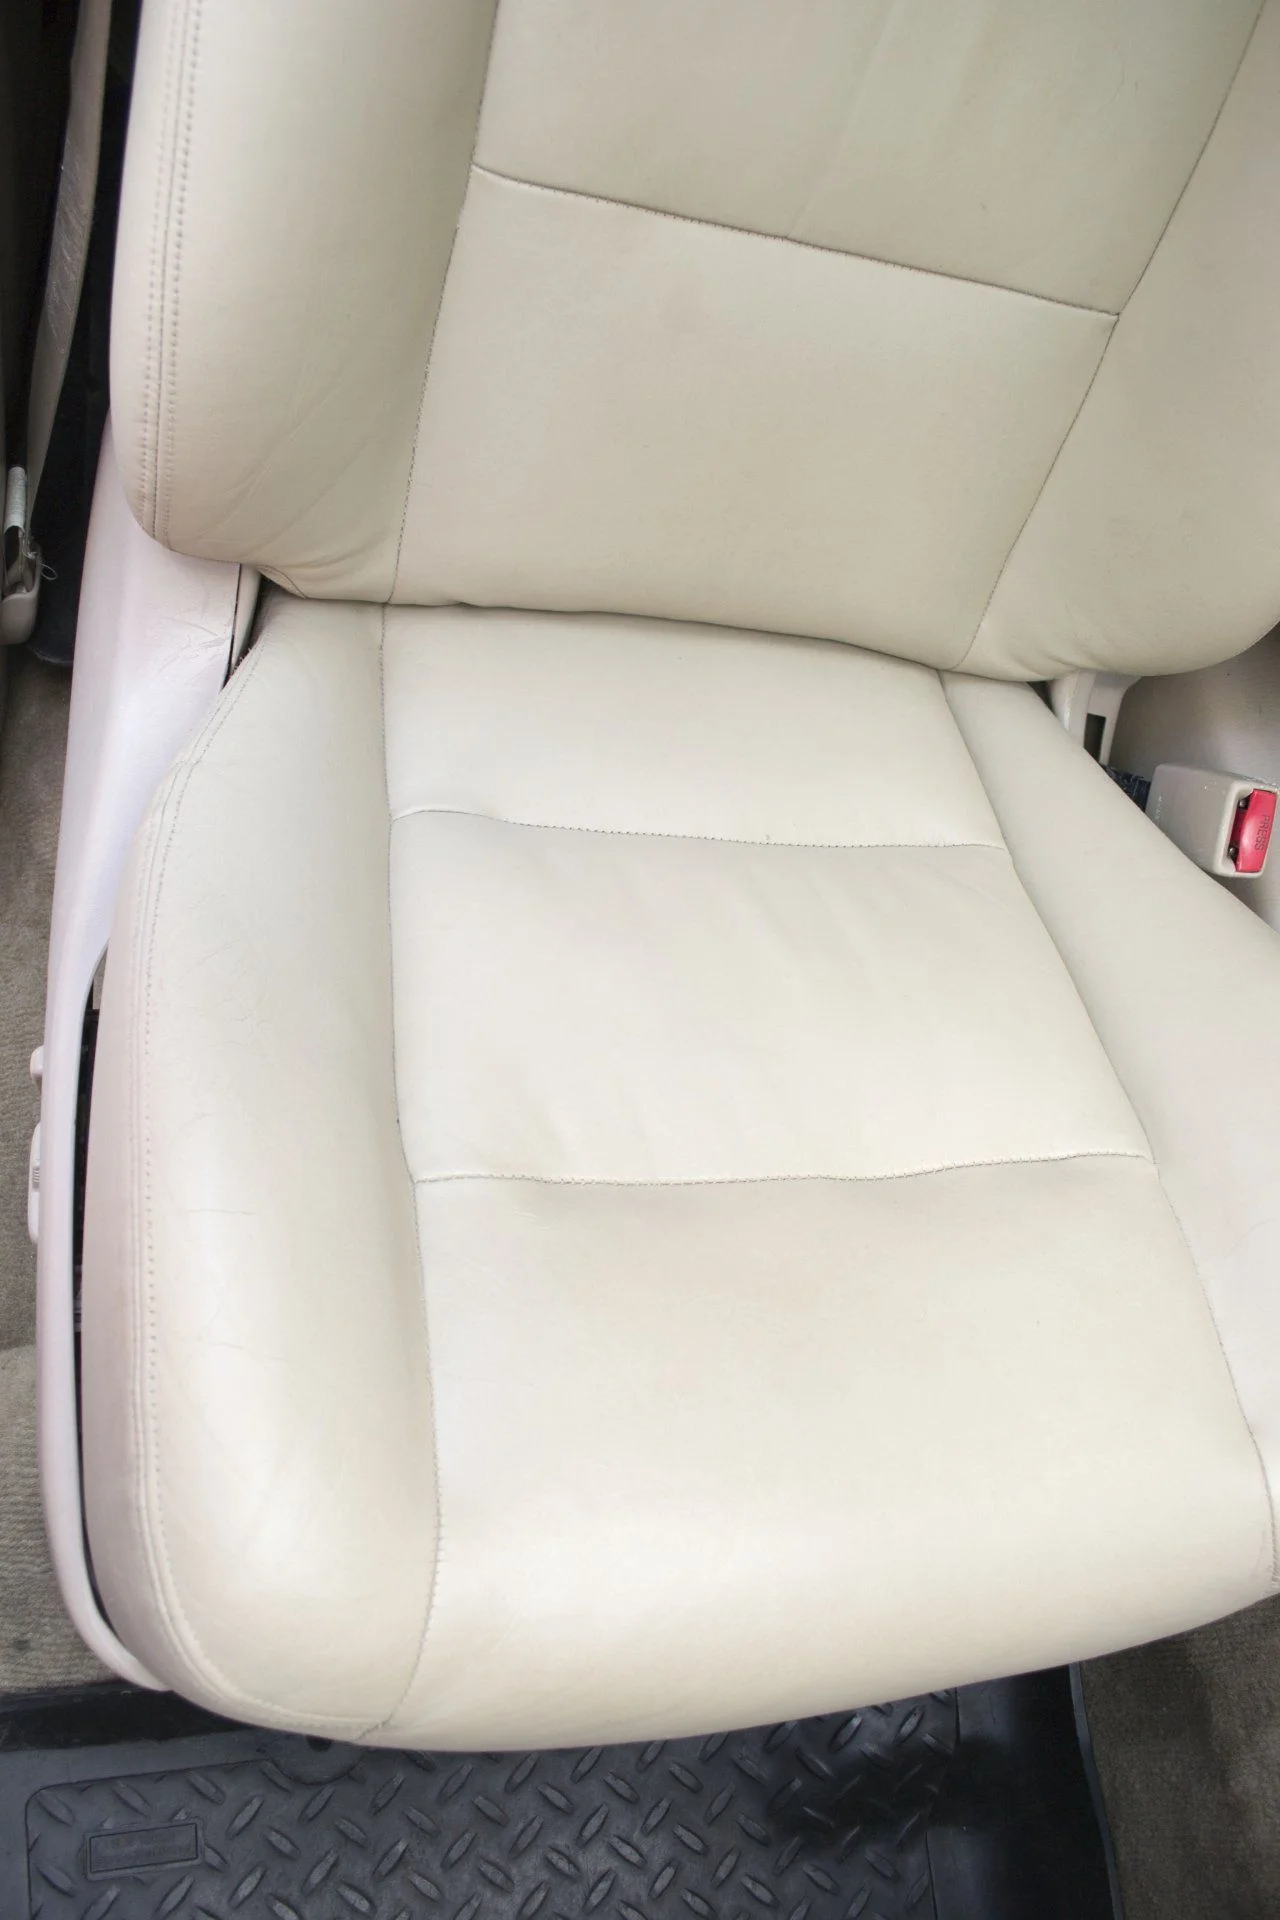
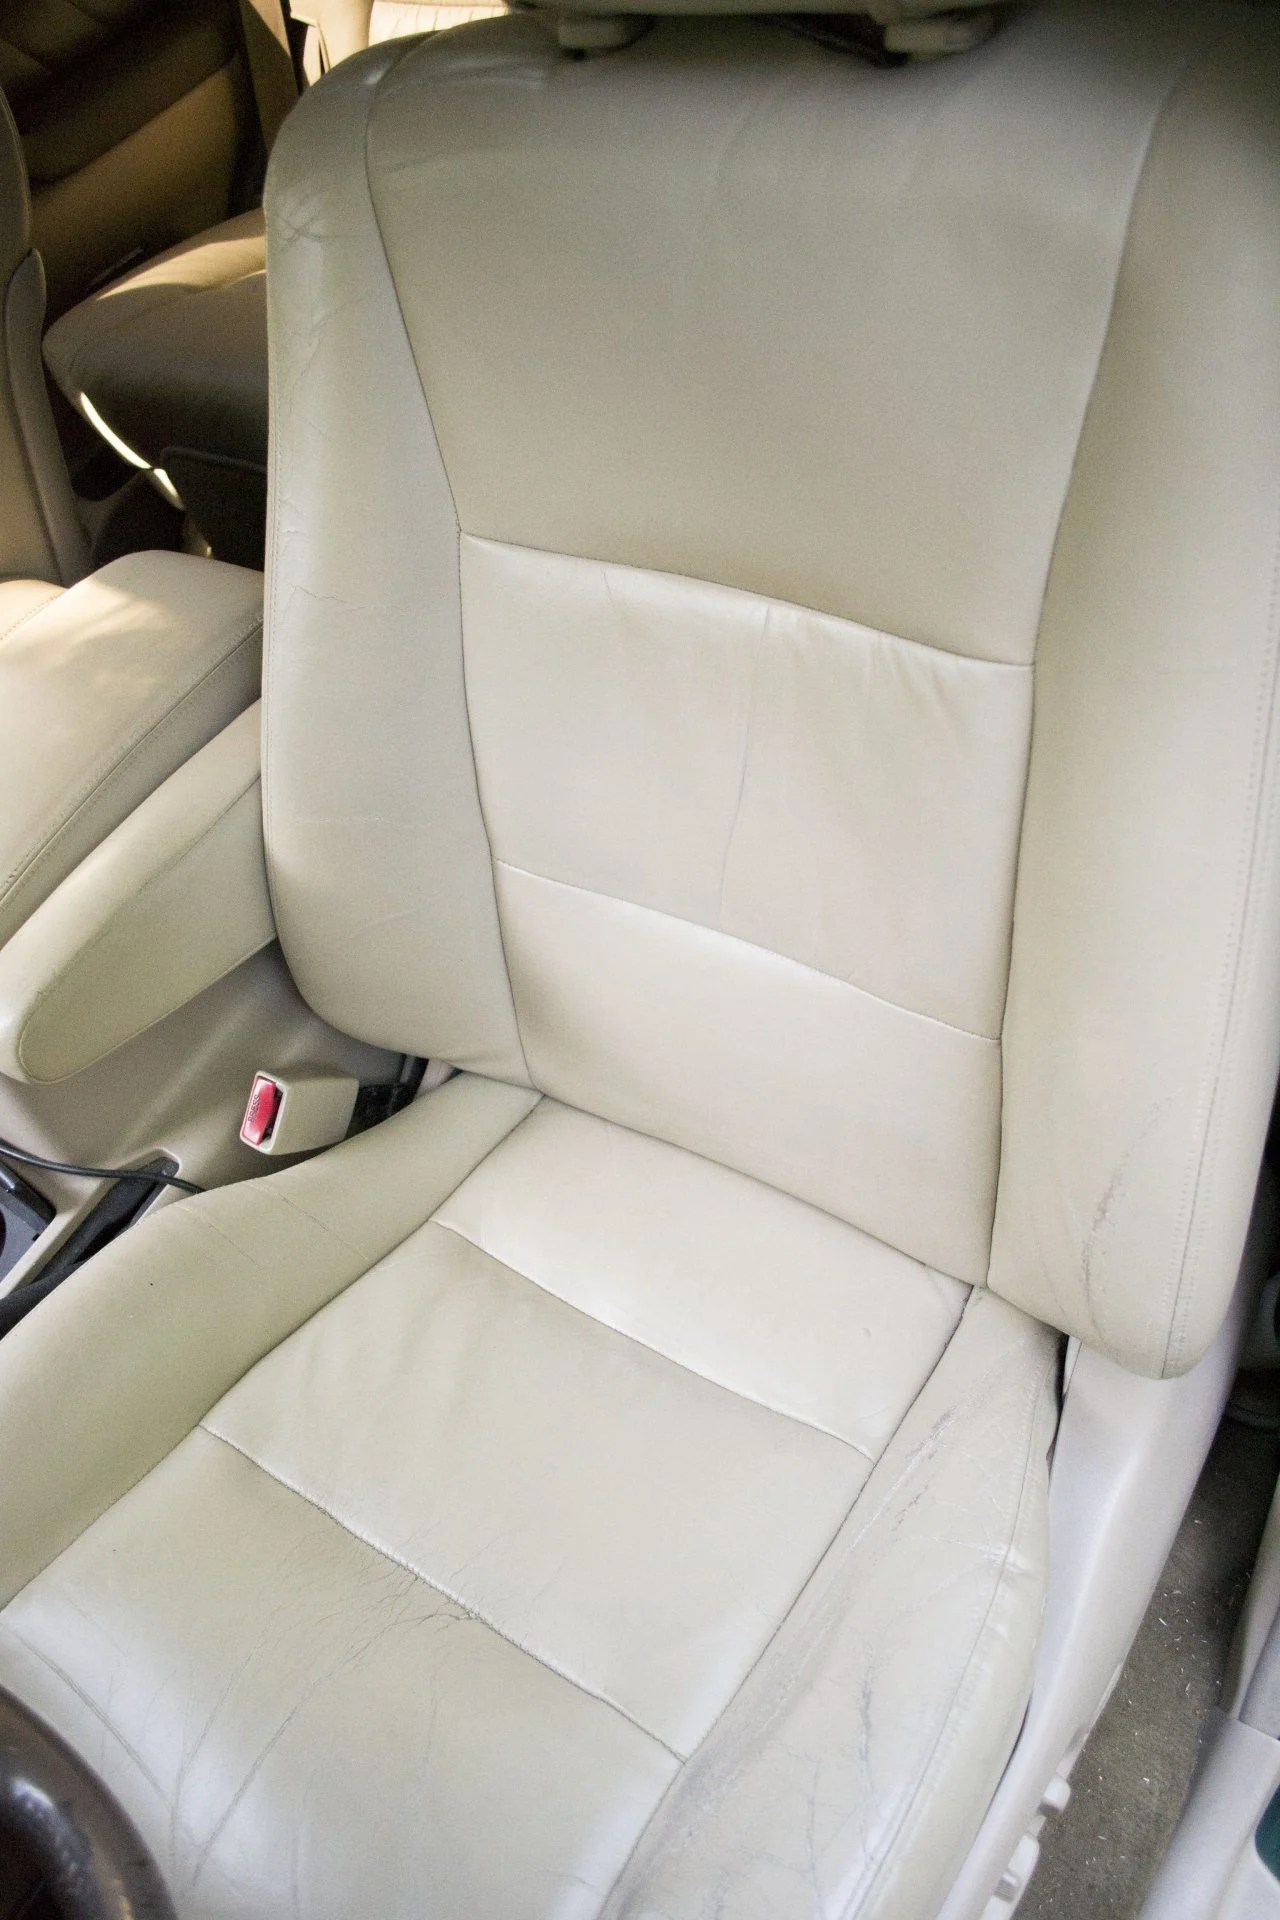
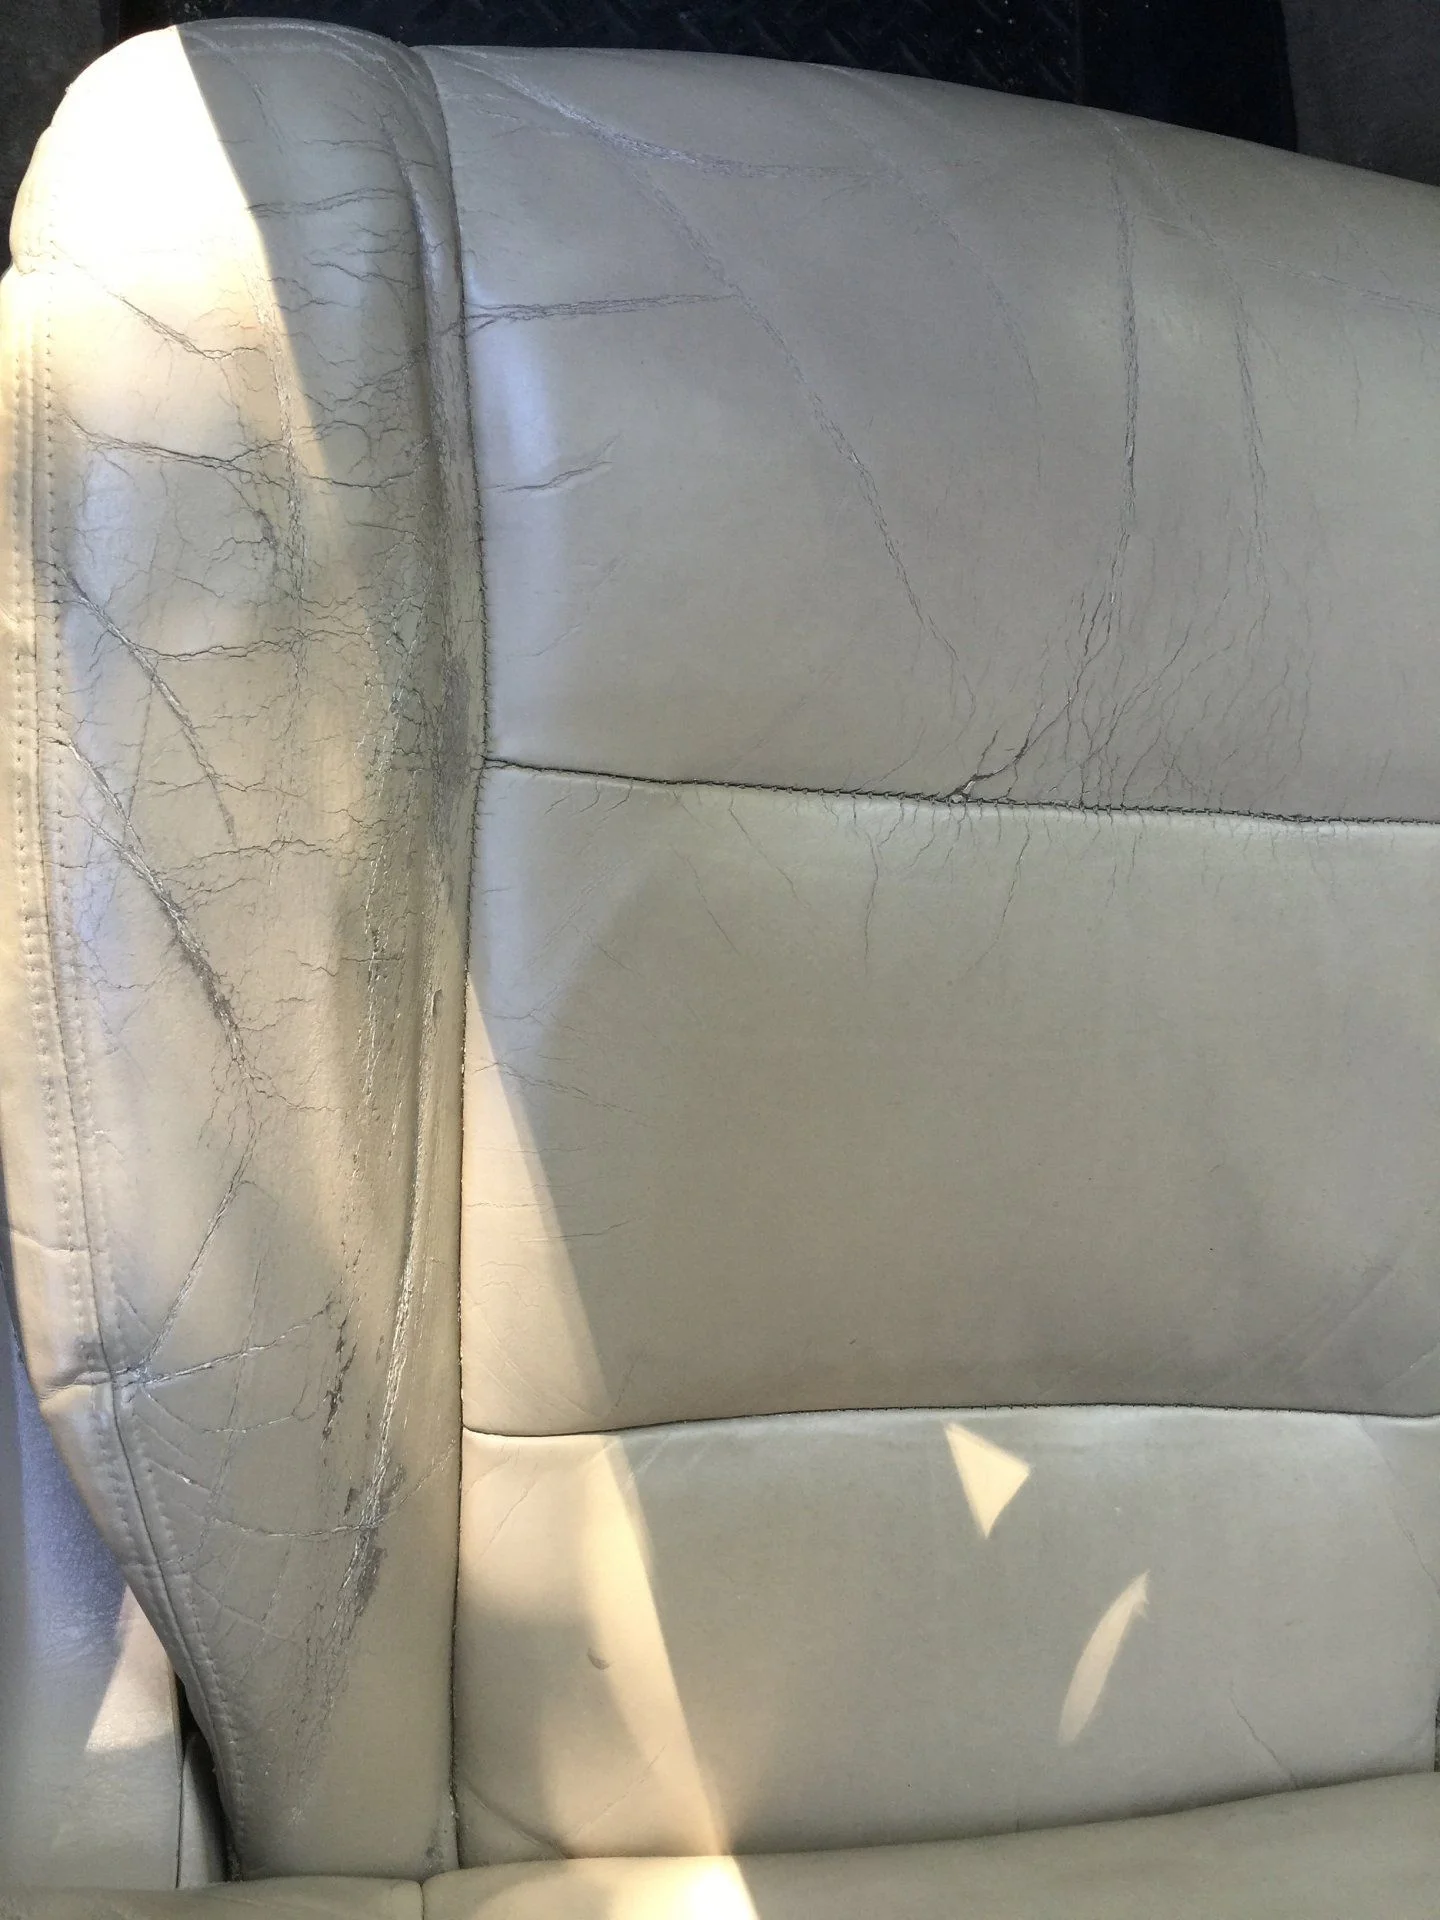
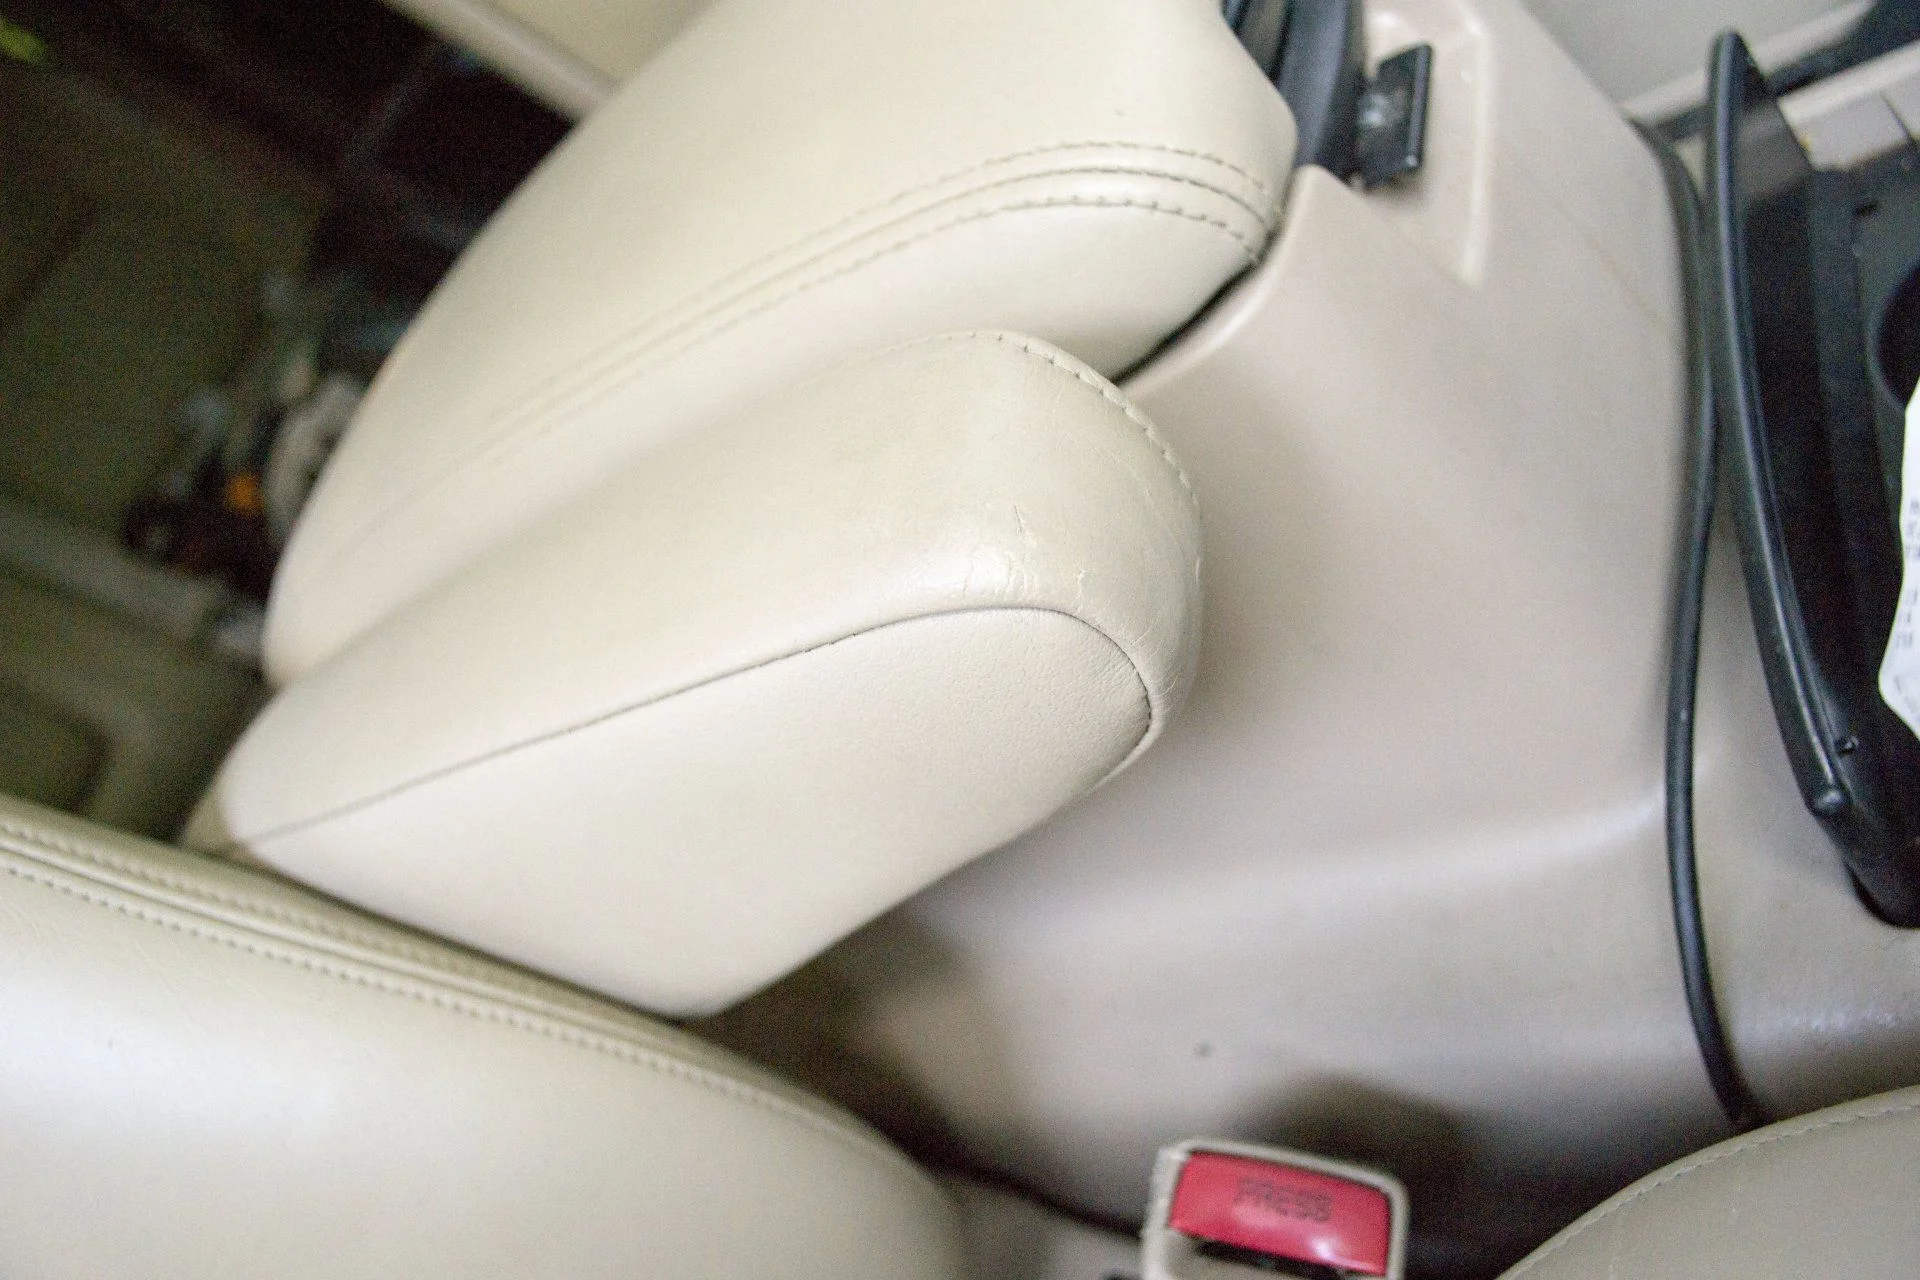
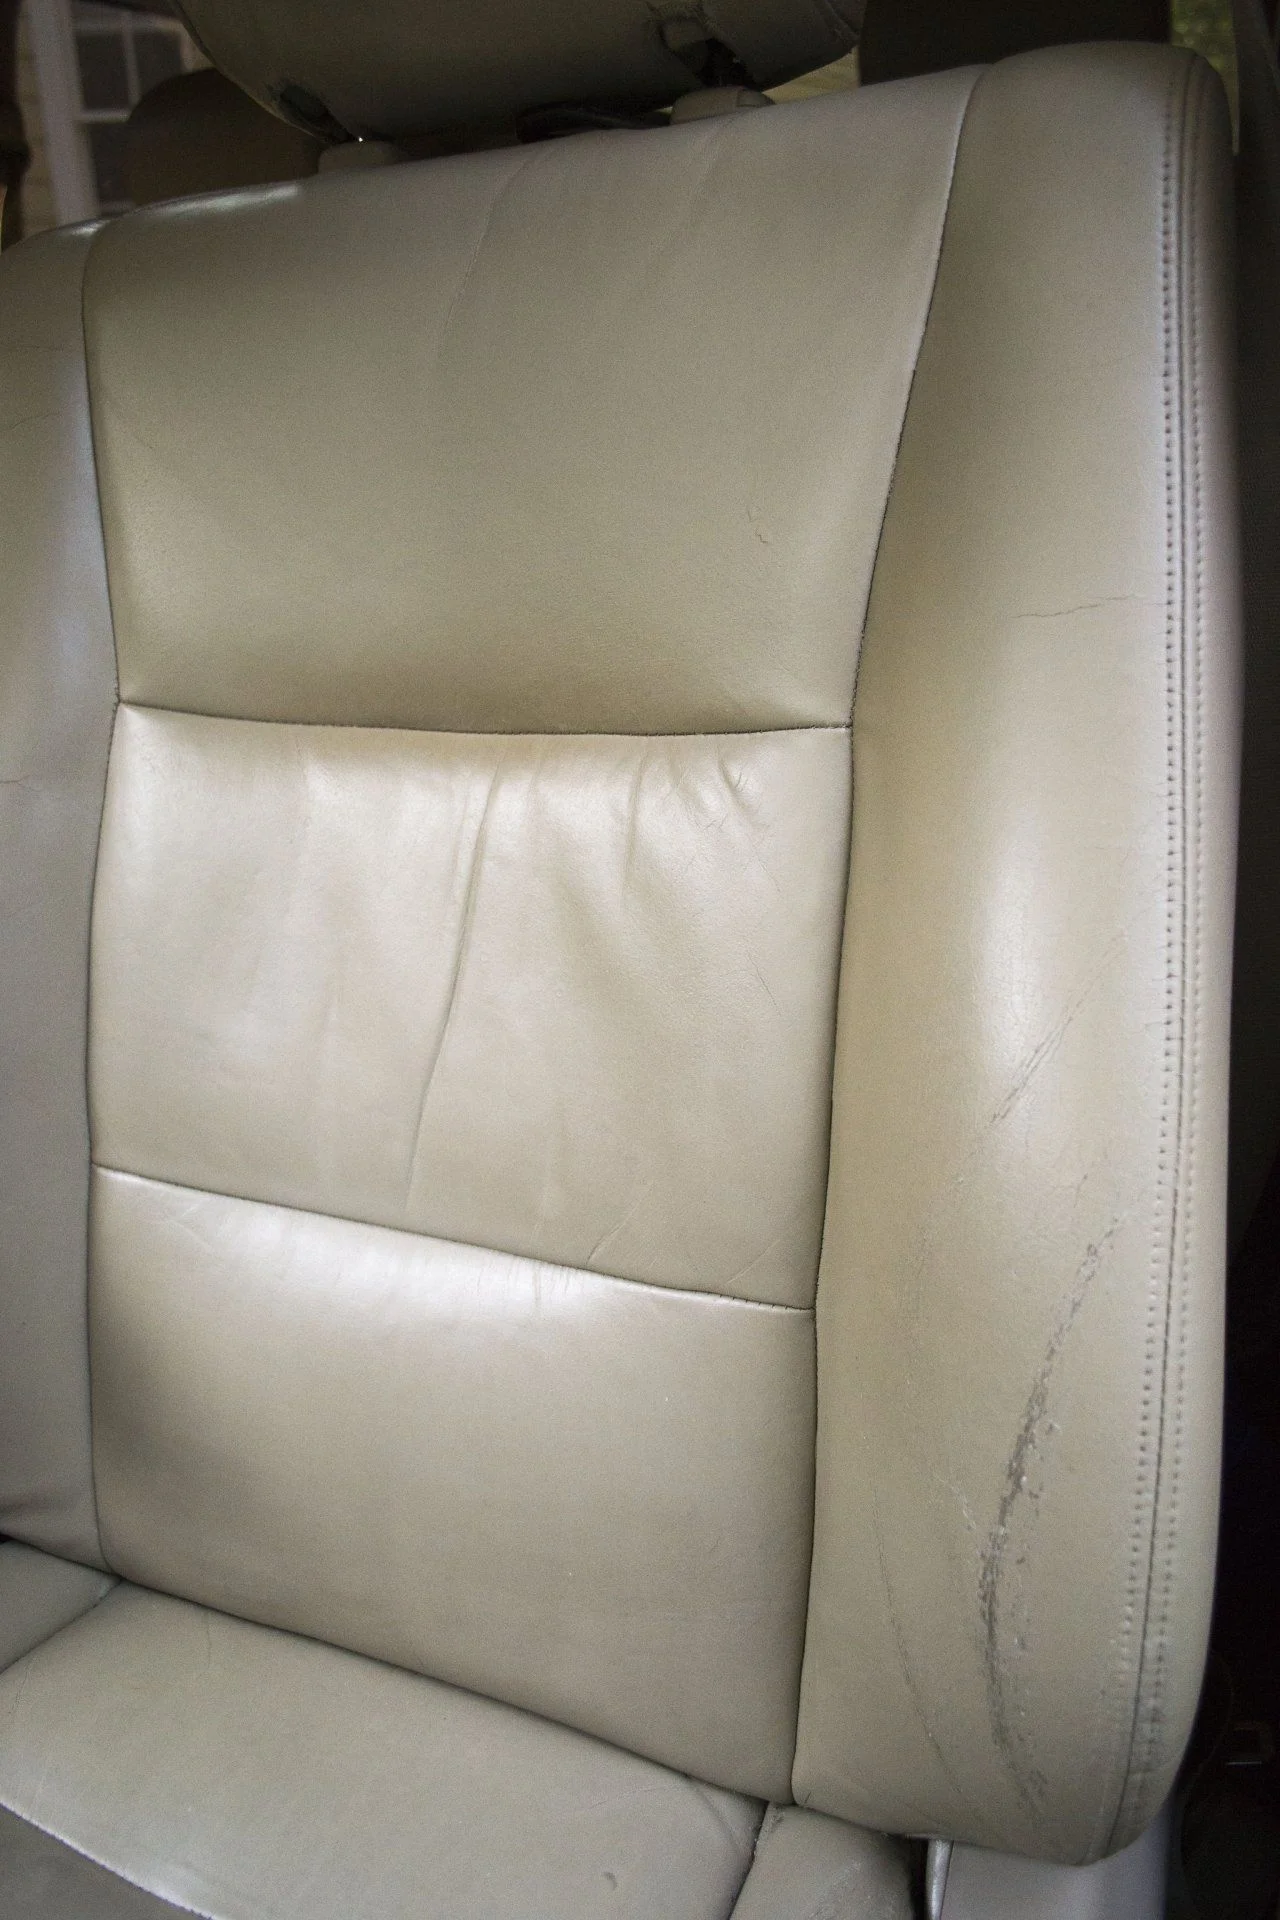
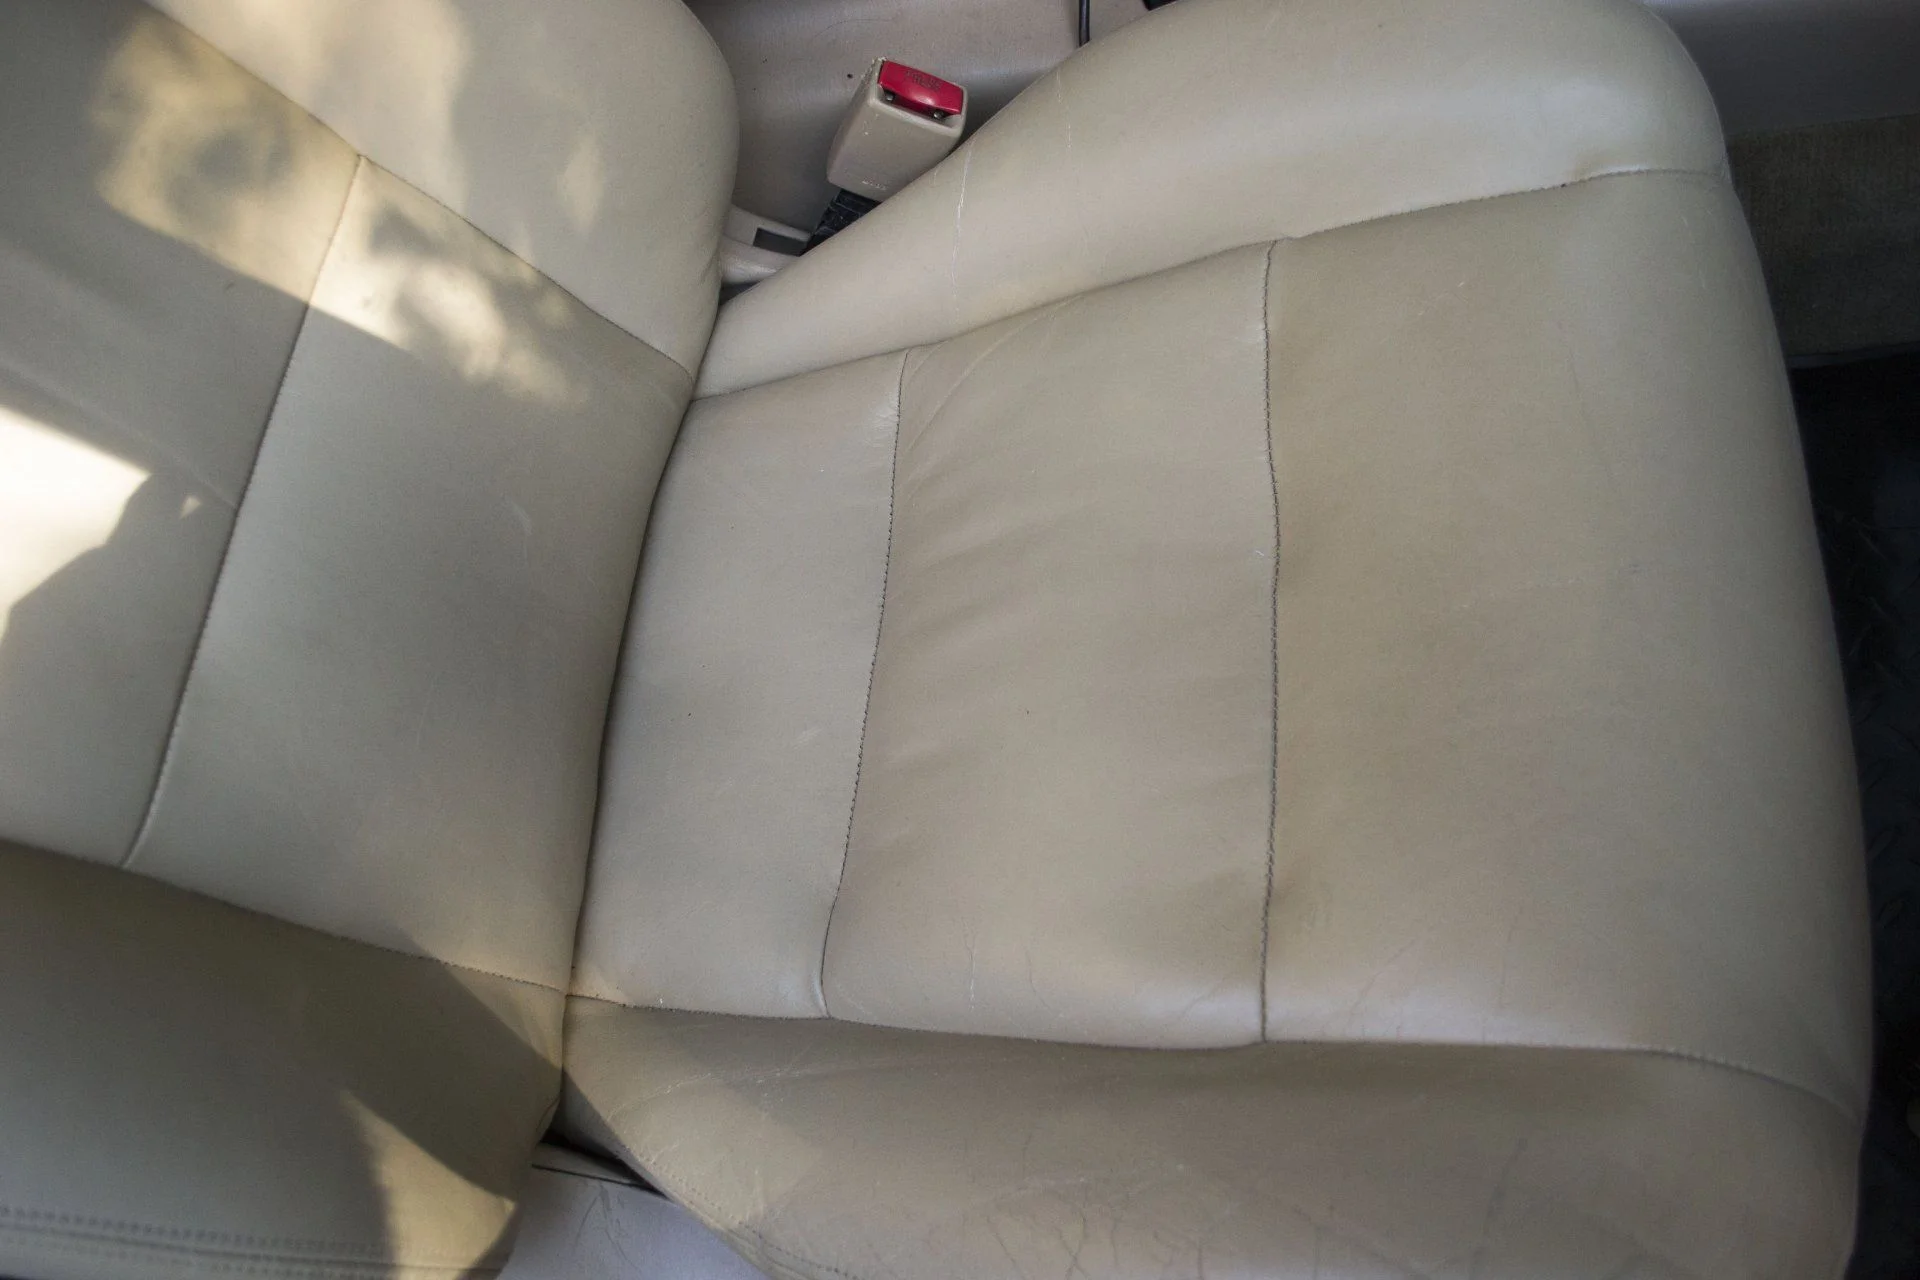
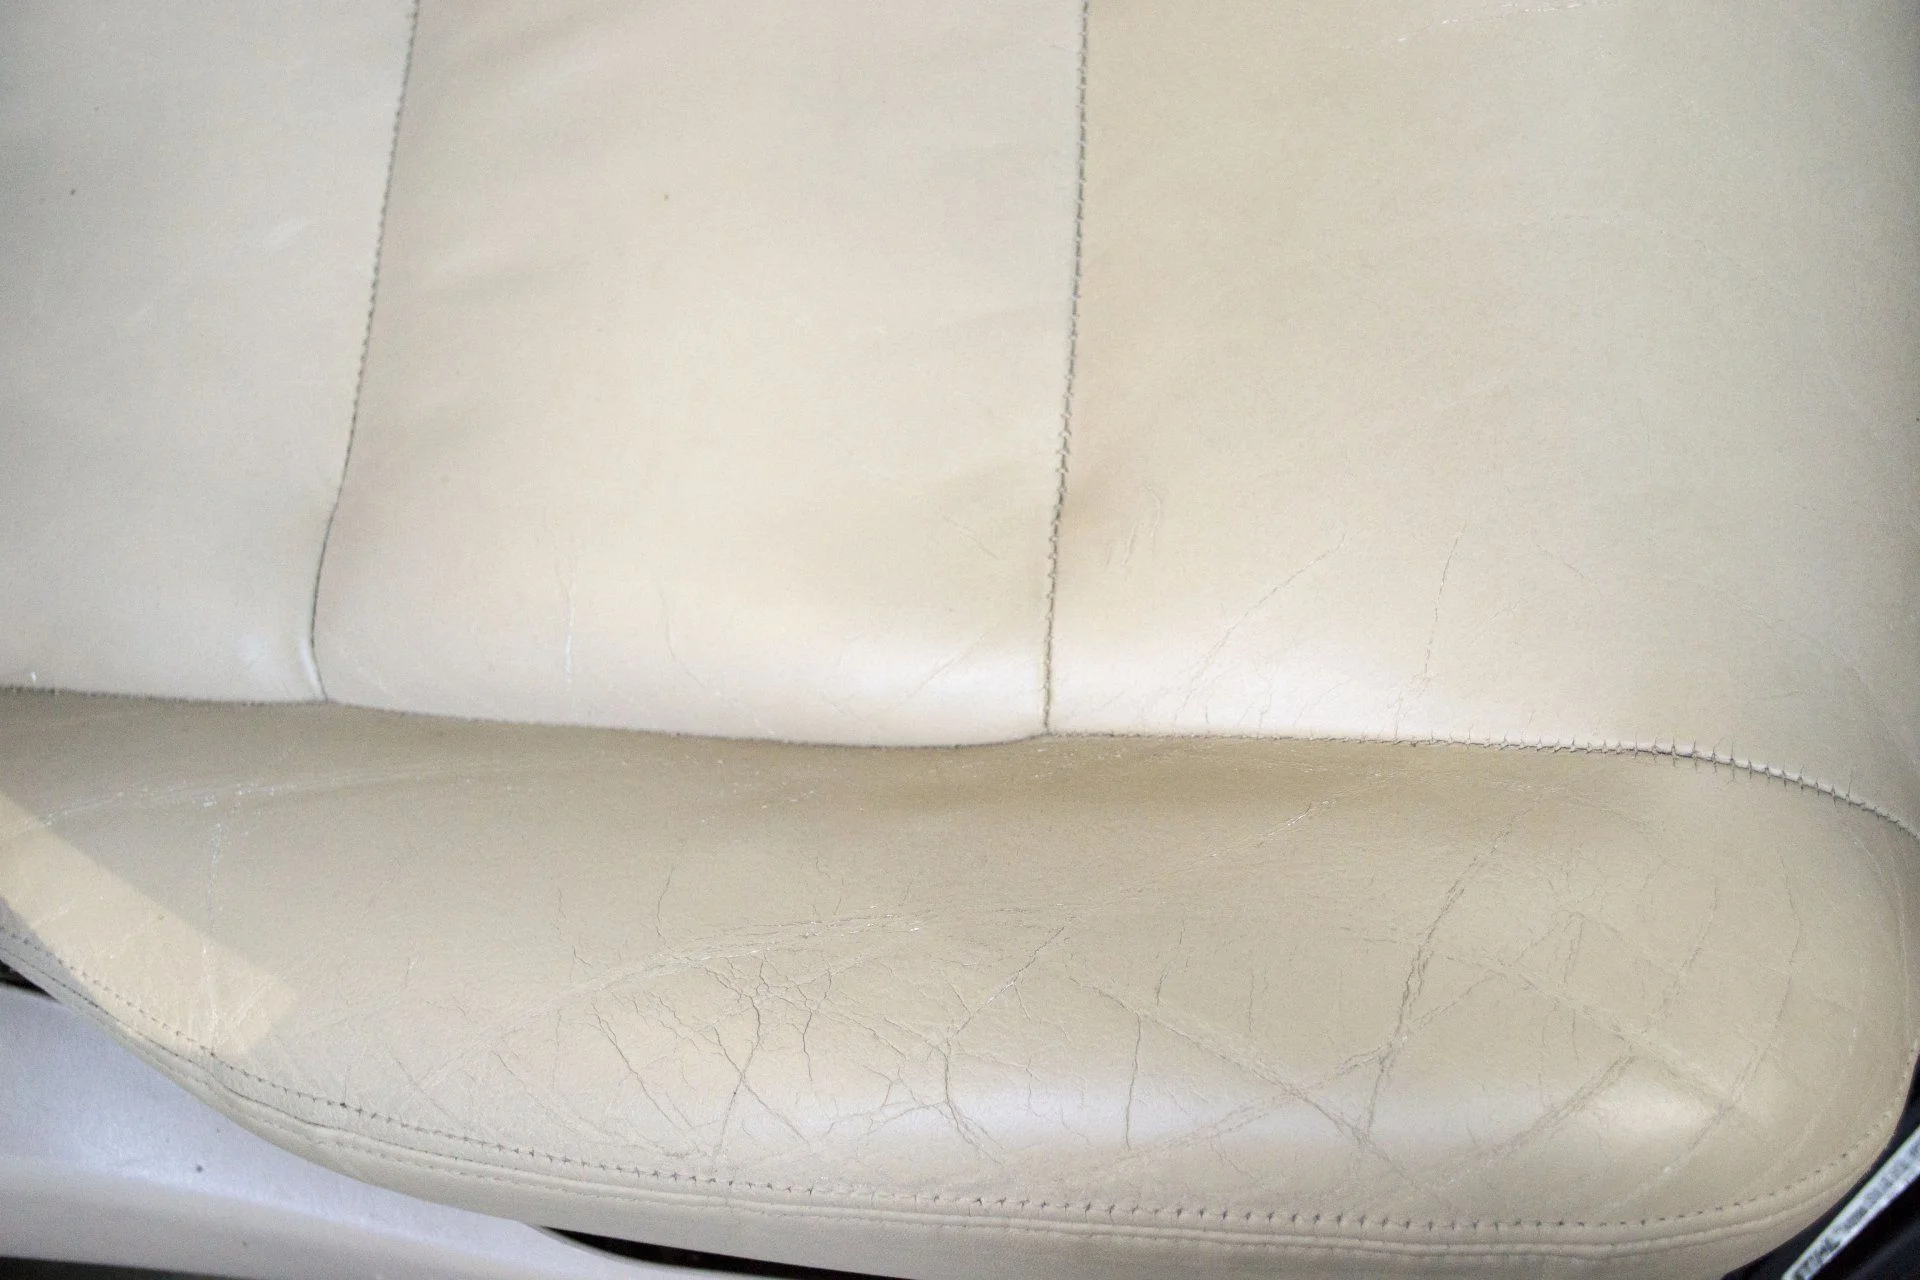
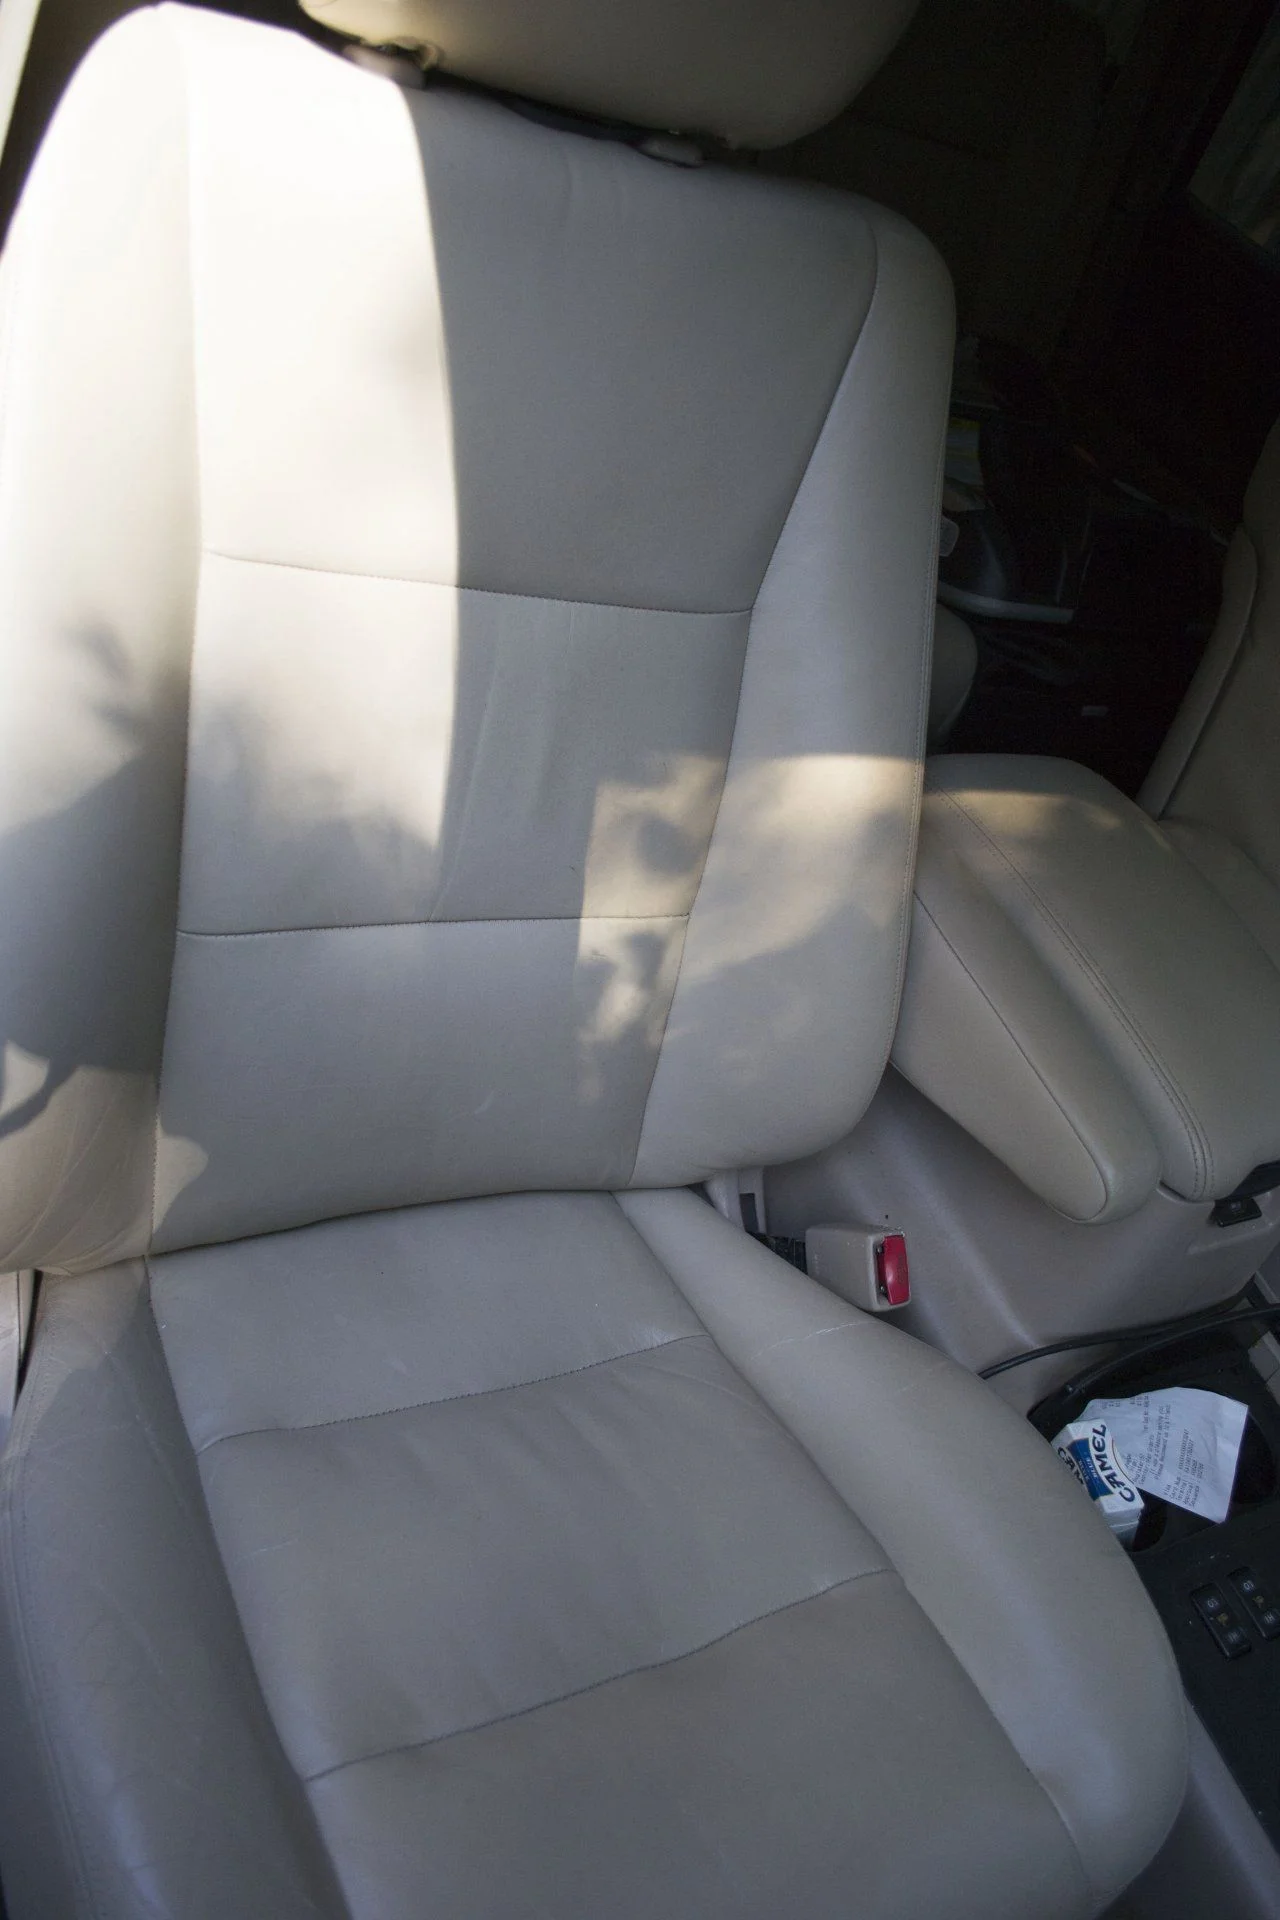
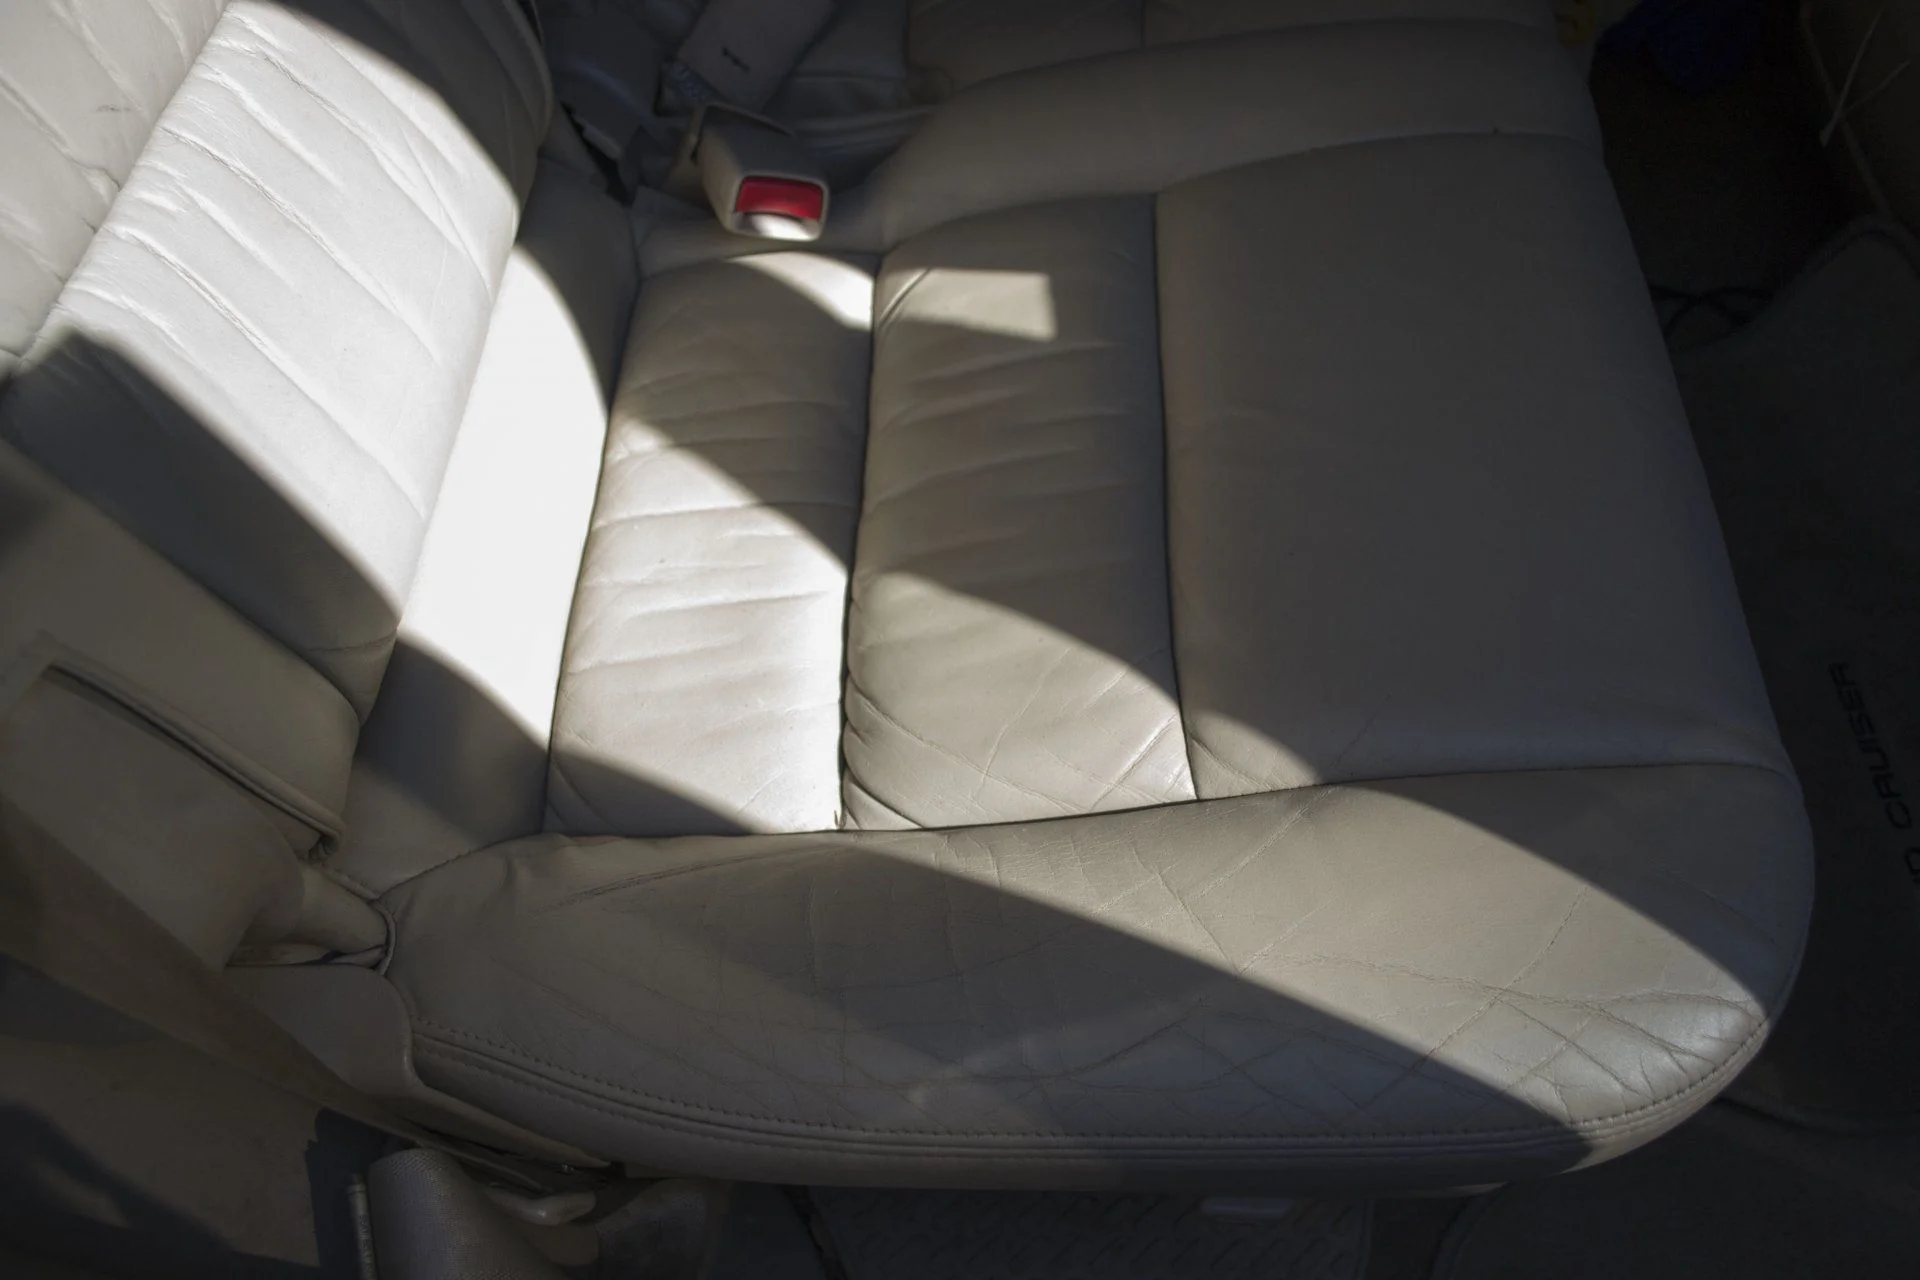
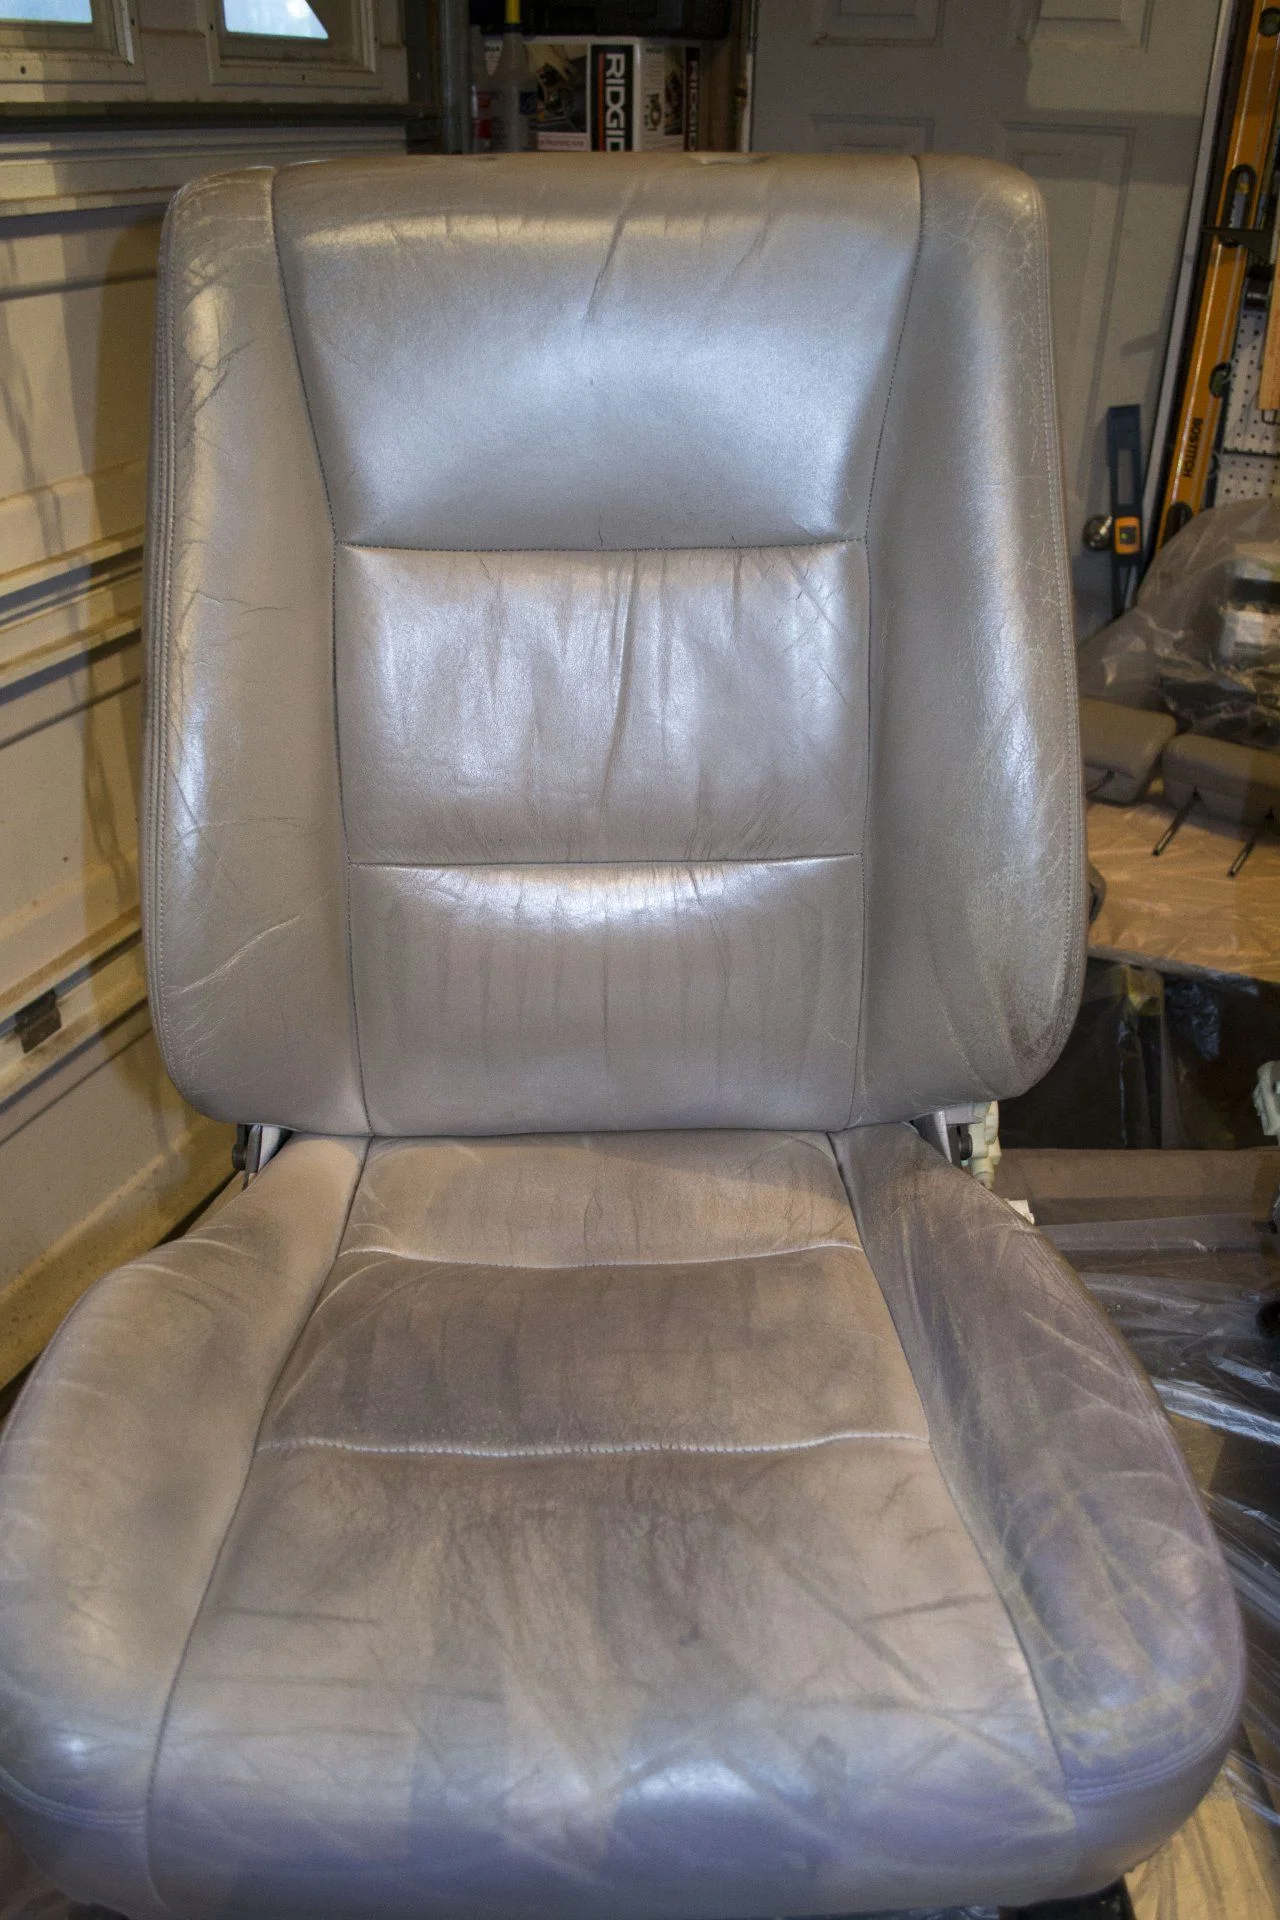
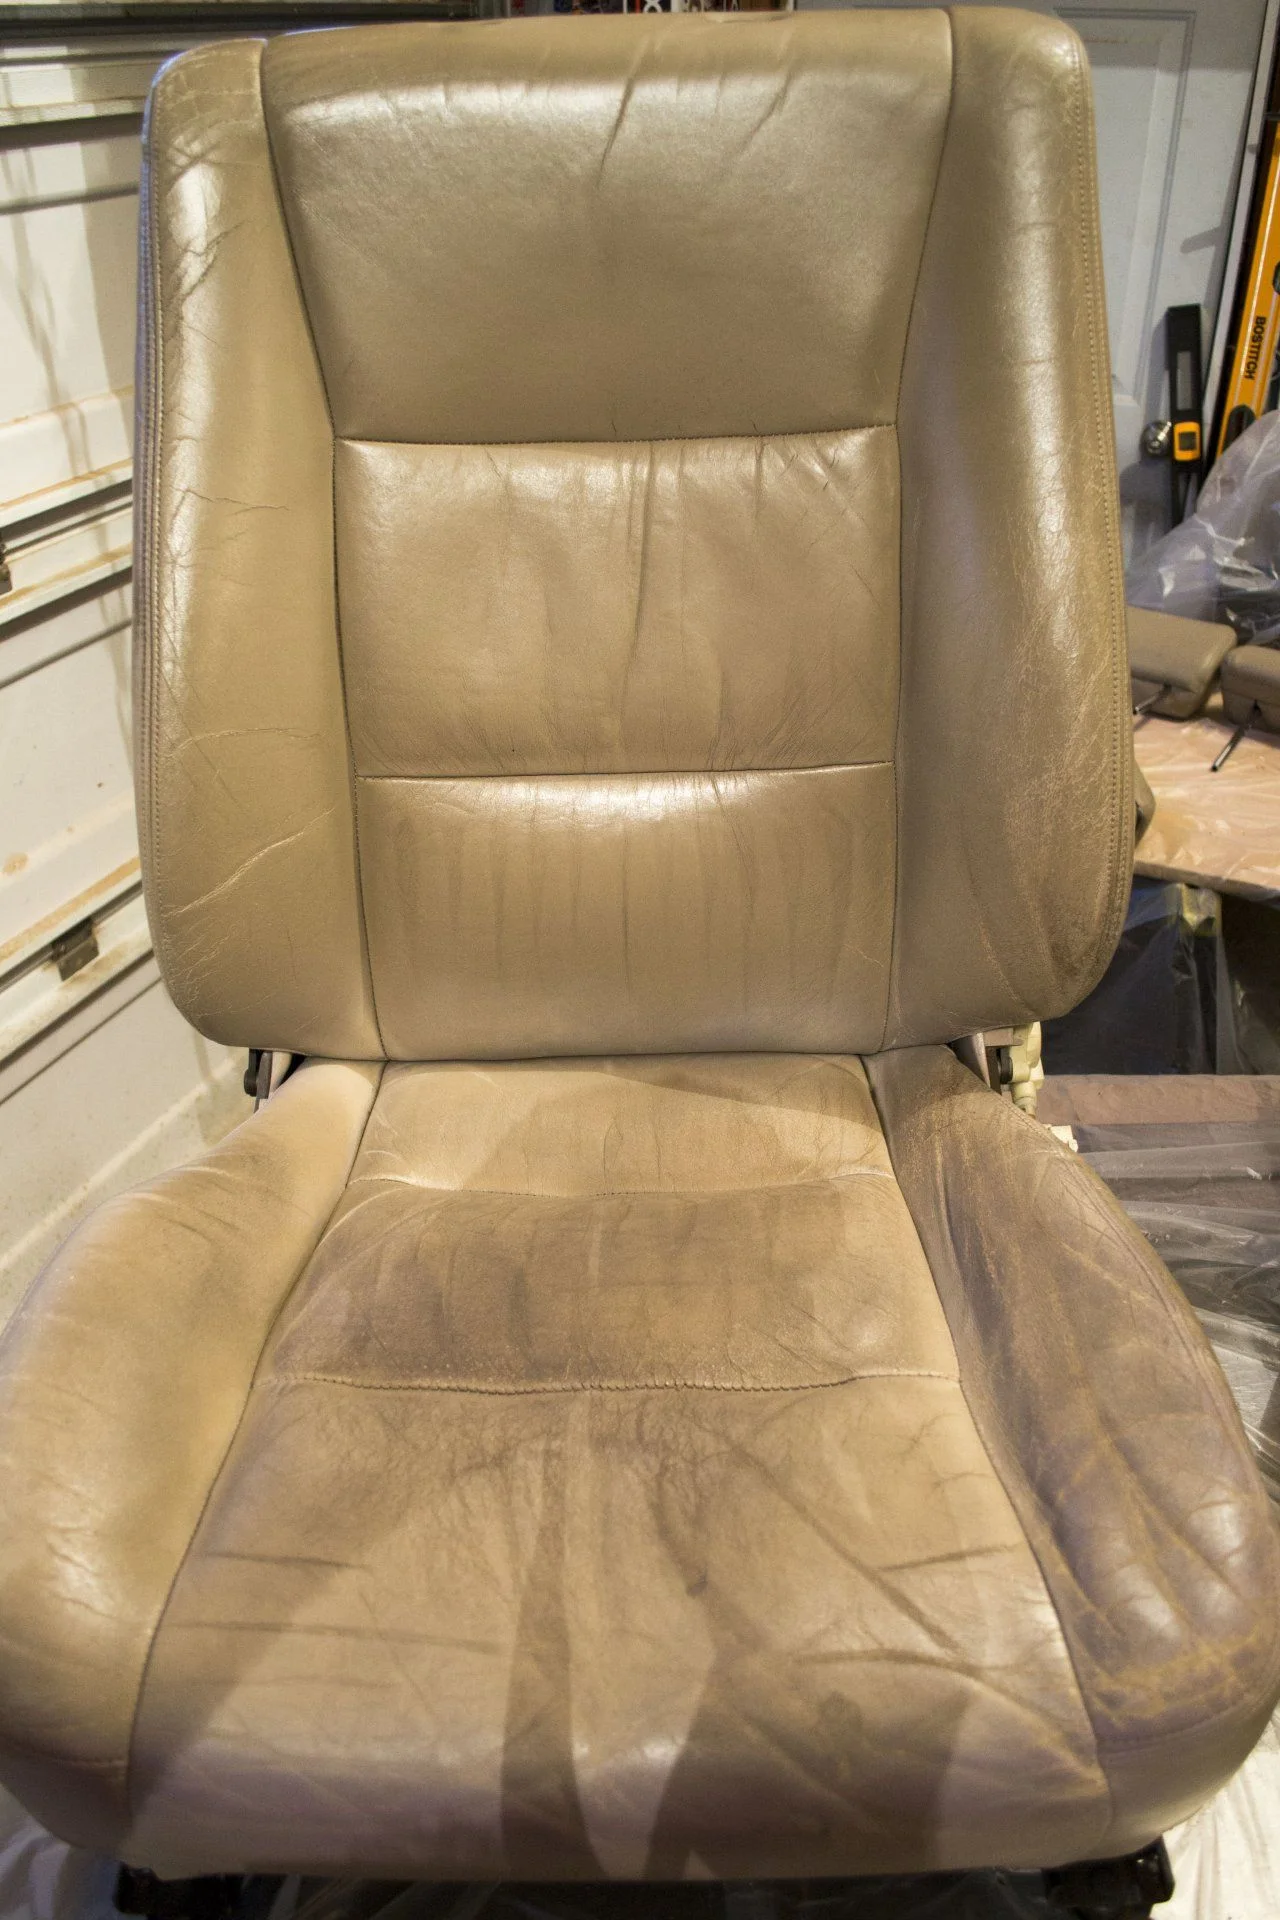
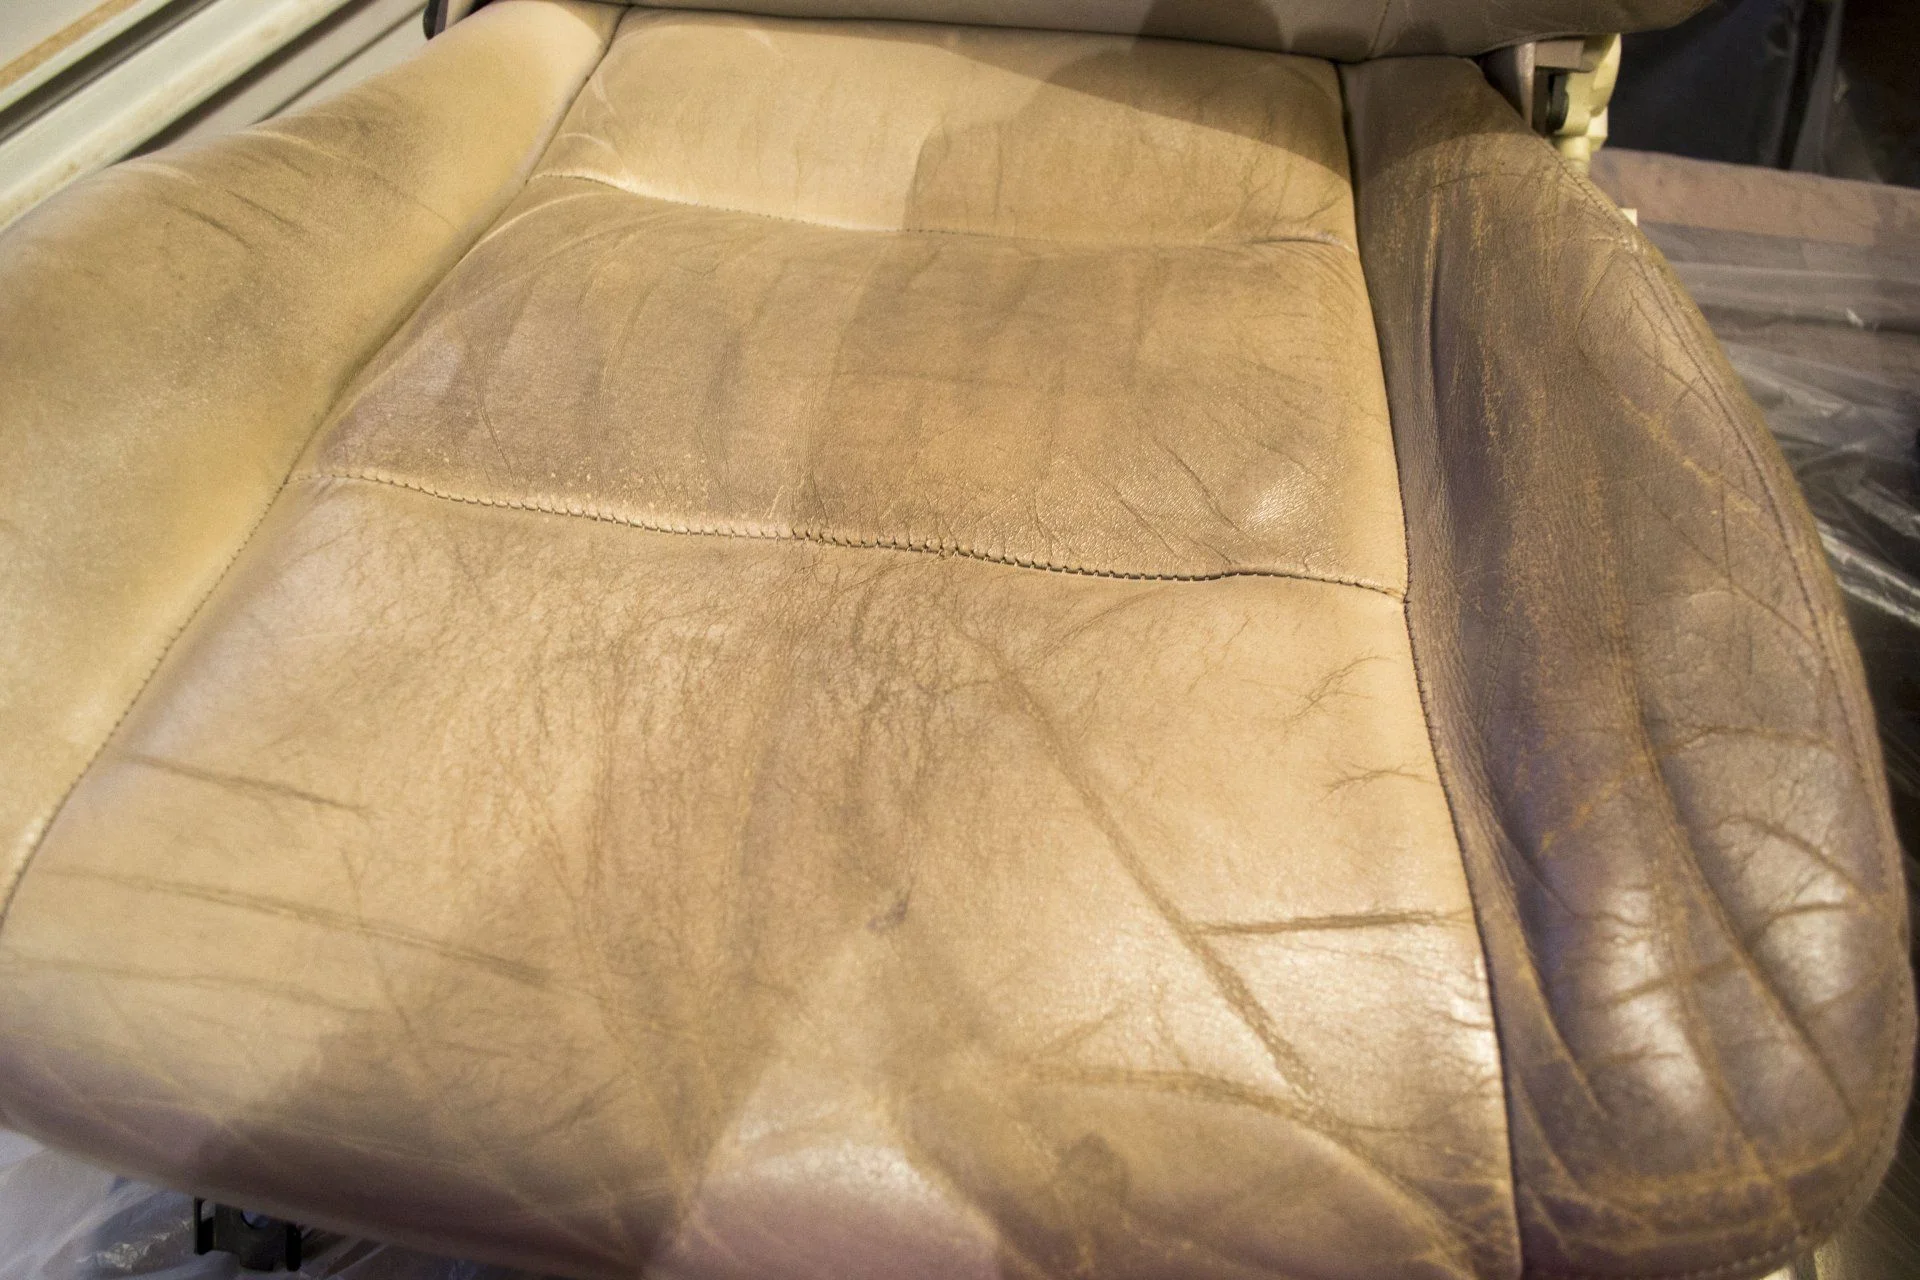
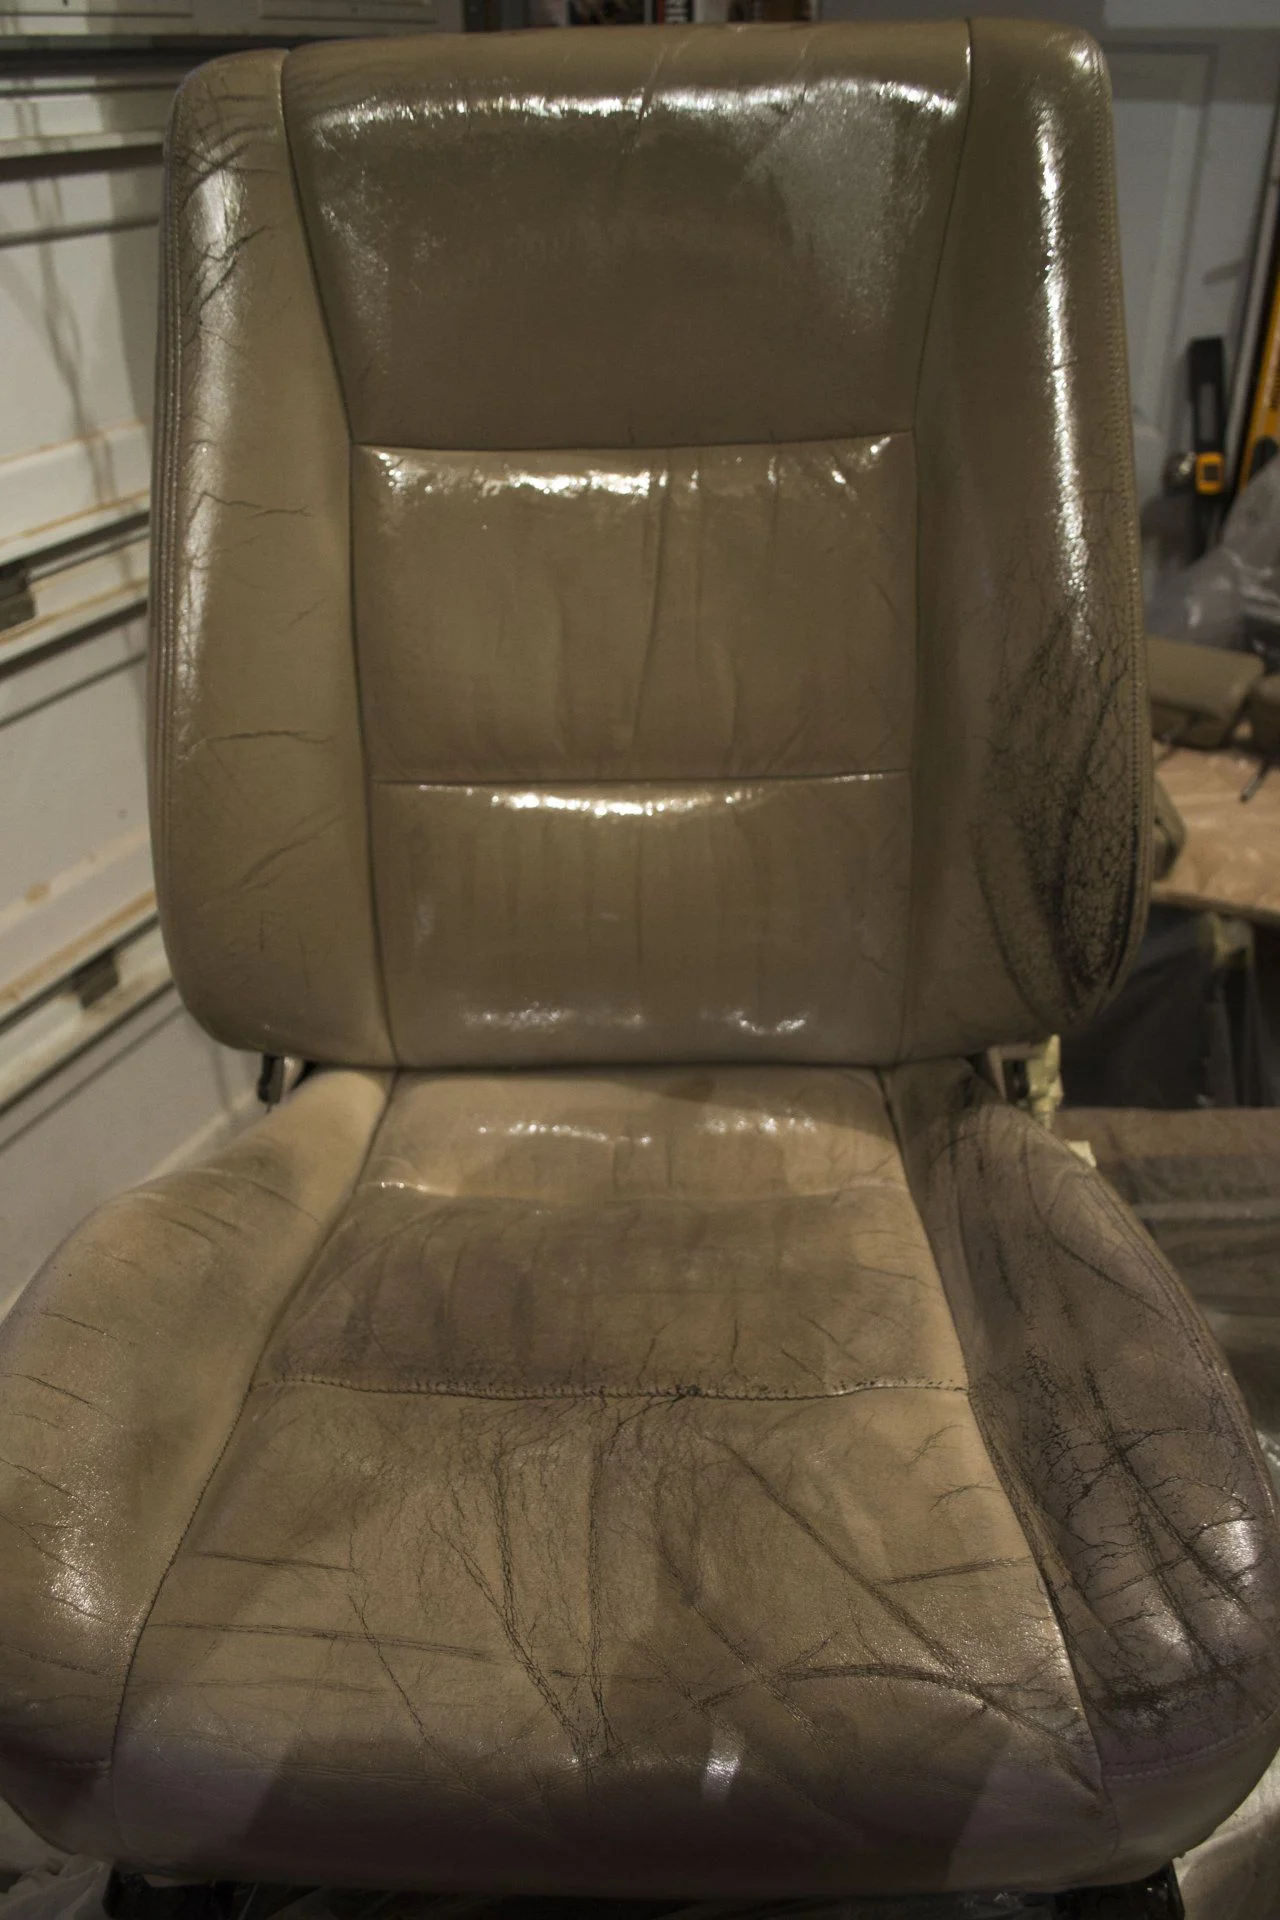
I applied leather conditioner a few times, but for the most part, I have neglected the leather in my 98 LC since I got it in 2003. It now has 245k on the clock, and everyone that sees it is amazed its nearly 20 years old…until they get inside. The sun and neglect have somehow magically turned both the front and rear seat bottoms to purple cardboard, and now, she needs new leather. The problem is: she just got about $2k in TB, WP, coils, bearings, rotors, etc., she finally got the sliders and rack she "needed" (thanks @reevesci) and she also really "needs" bumpers, skid plates, lockers, a new head unit, dual battery...you guys know the drill. Realistically, a windshield, radiator, alternator, axles and steering rack are probably all in her not too distant future.

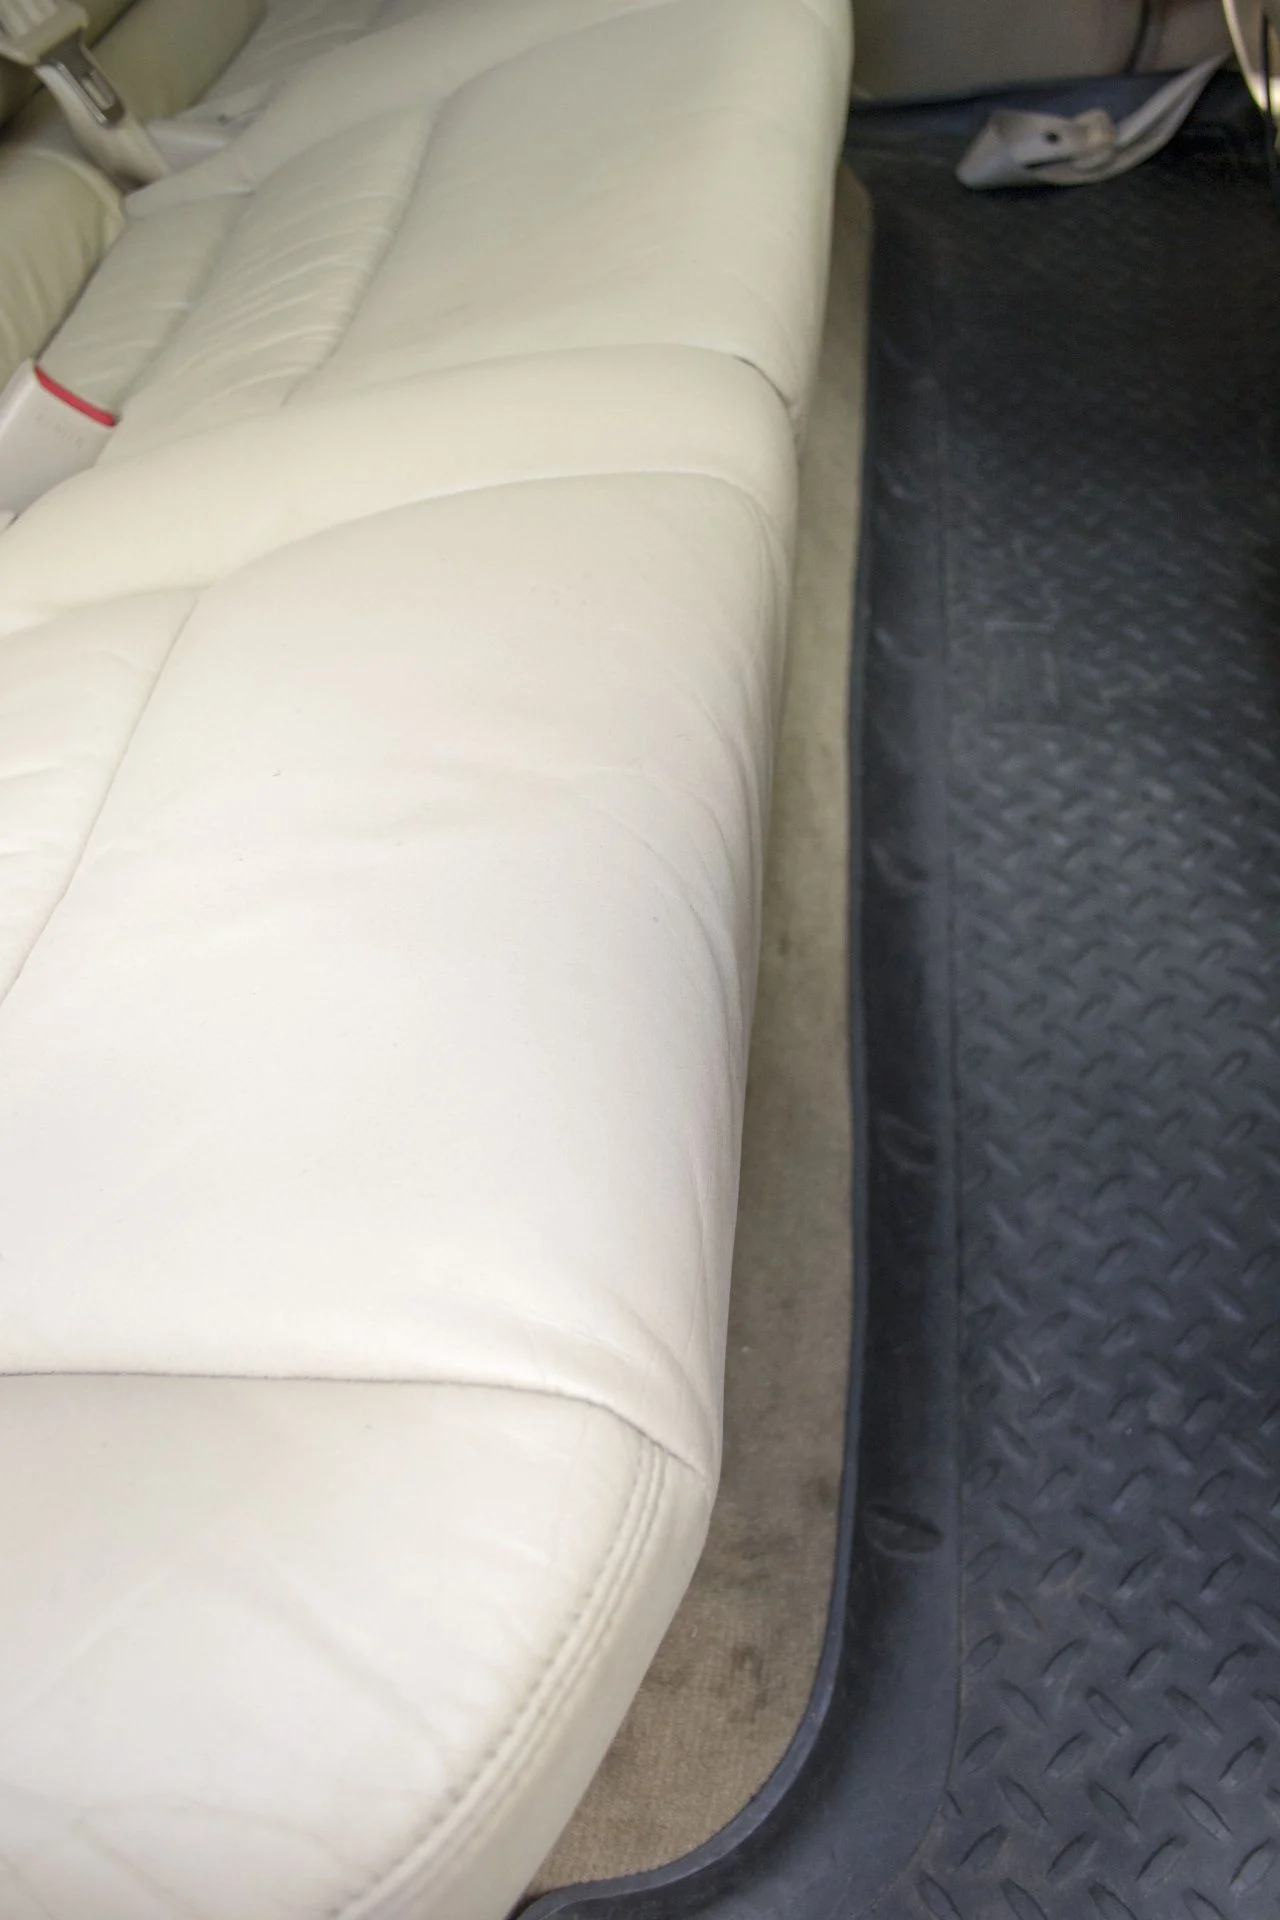
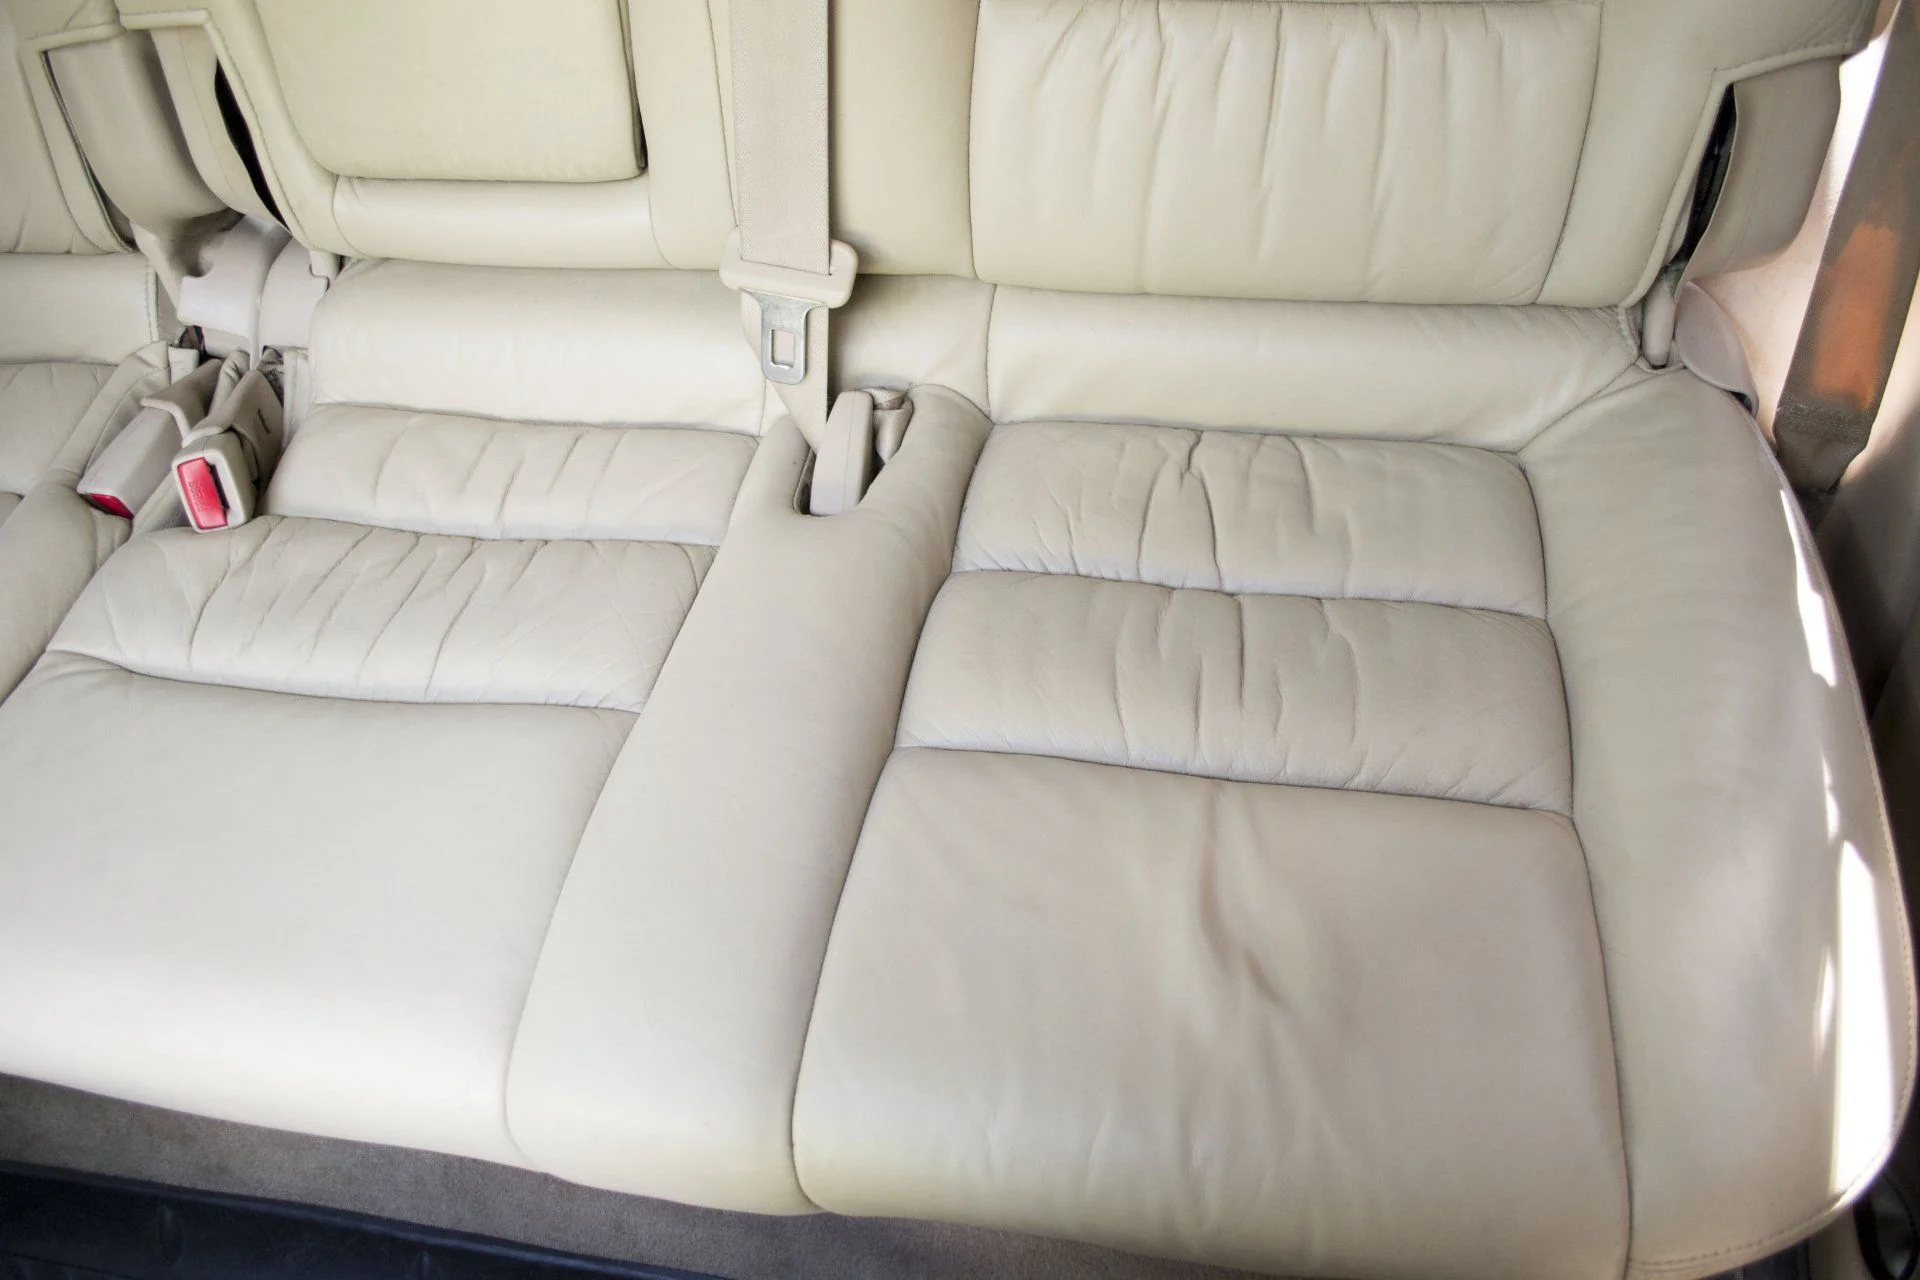
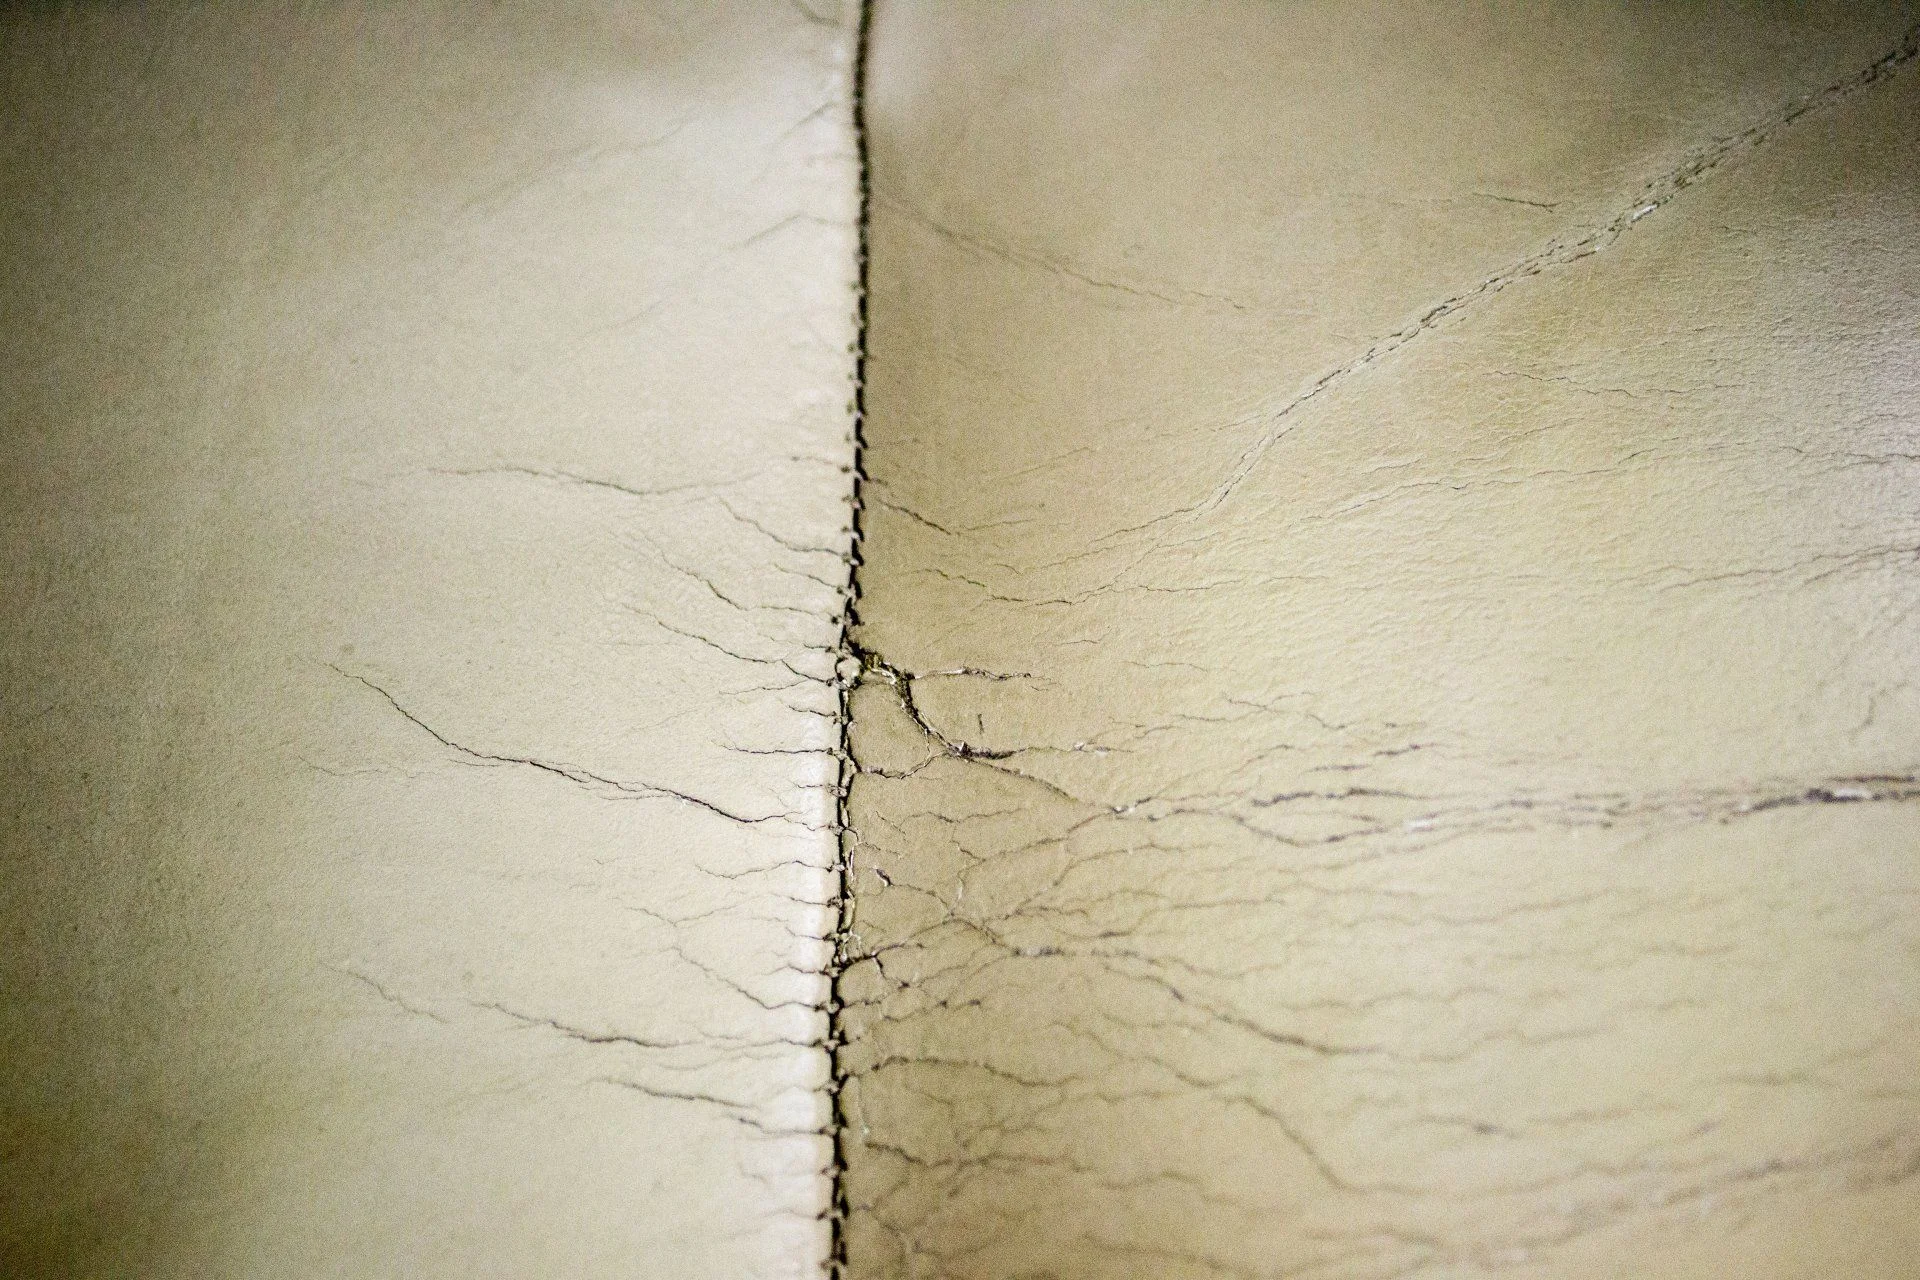
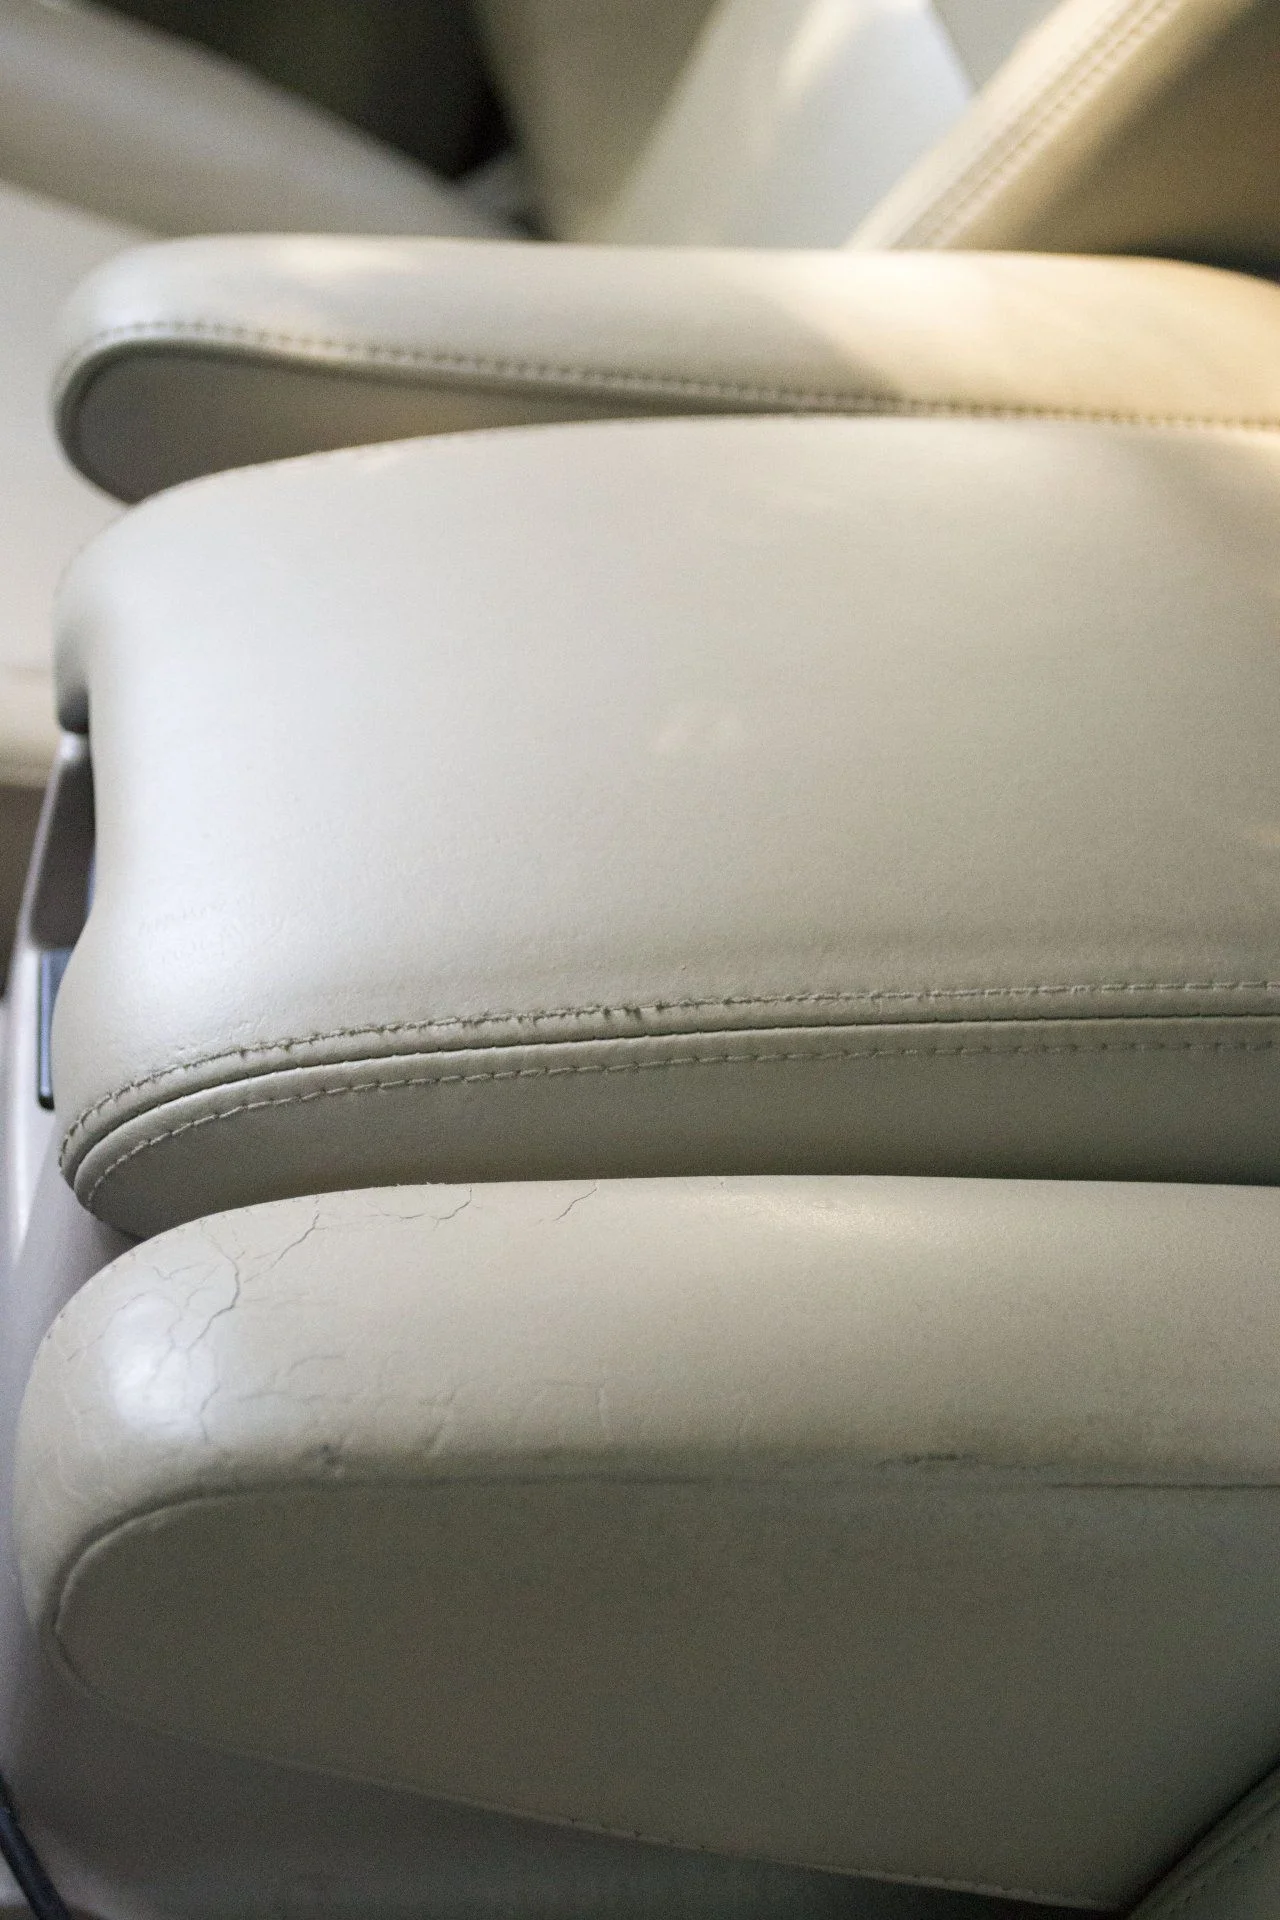
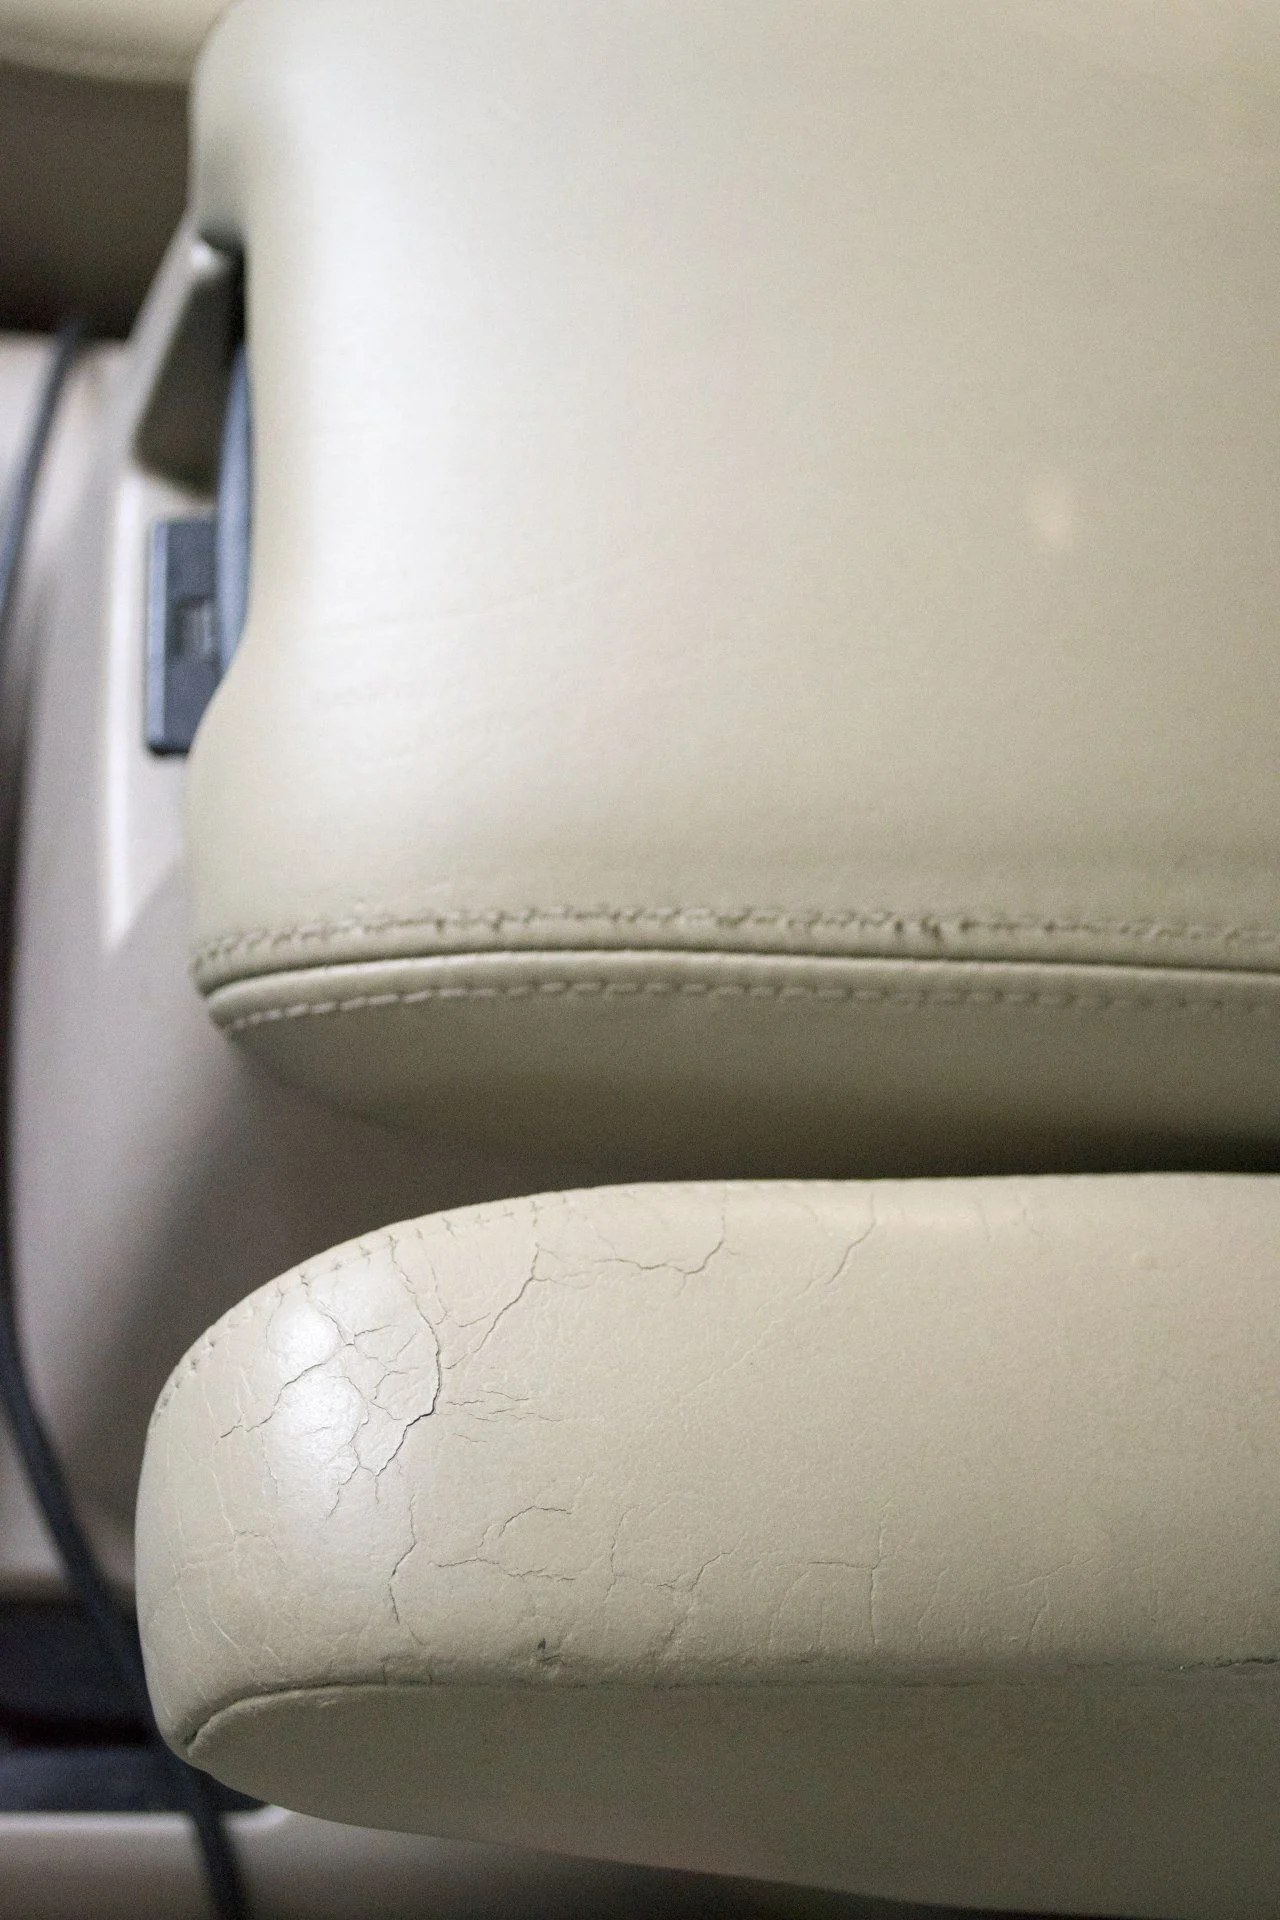
So, my leather was in about as bad a shape as it could be, while still intact: no exposed foam, rips, burns, etc., and I was looking to save some cash. It seemed like an ideal candidate for putting one of the leather restoration systems to the test. I was looking at ColorPlus or Leatherique, and went with Leatherique based on the amount of good feedback on this forum and others.
Long story short, it works. It's not snake oil nor does it have any magical powers. It's a system, that when carefully followed, can produce great results.
What to buy?
Why have them color-match?
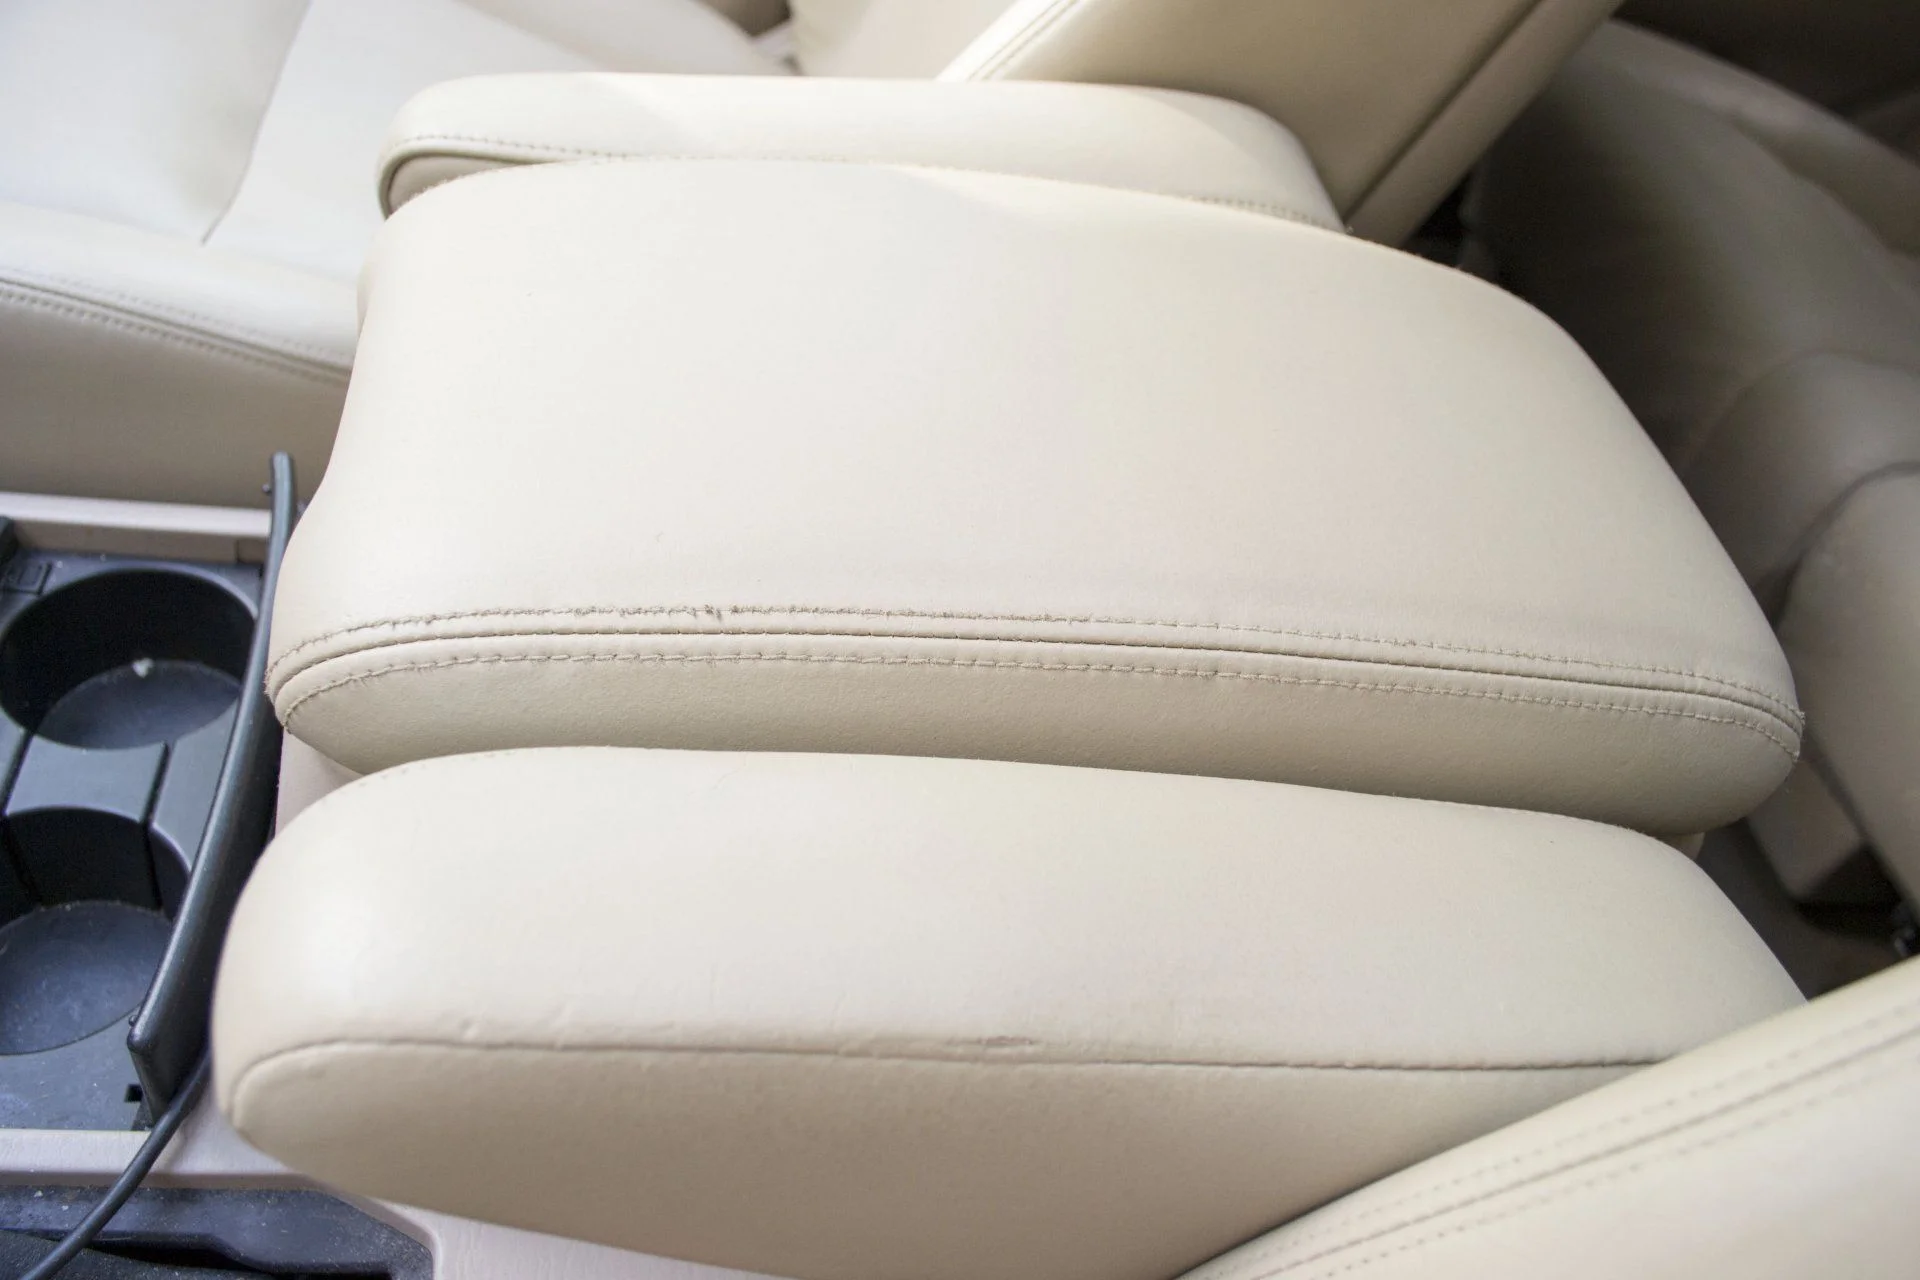
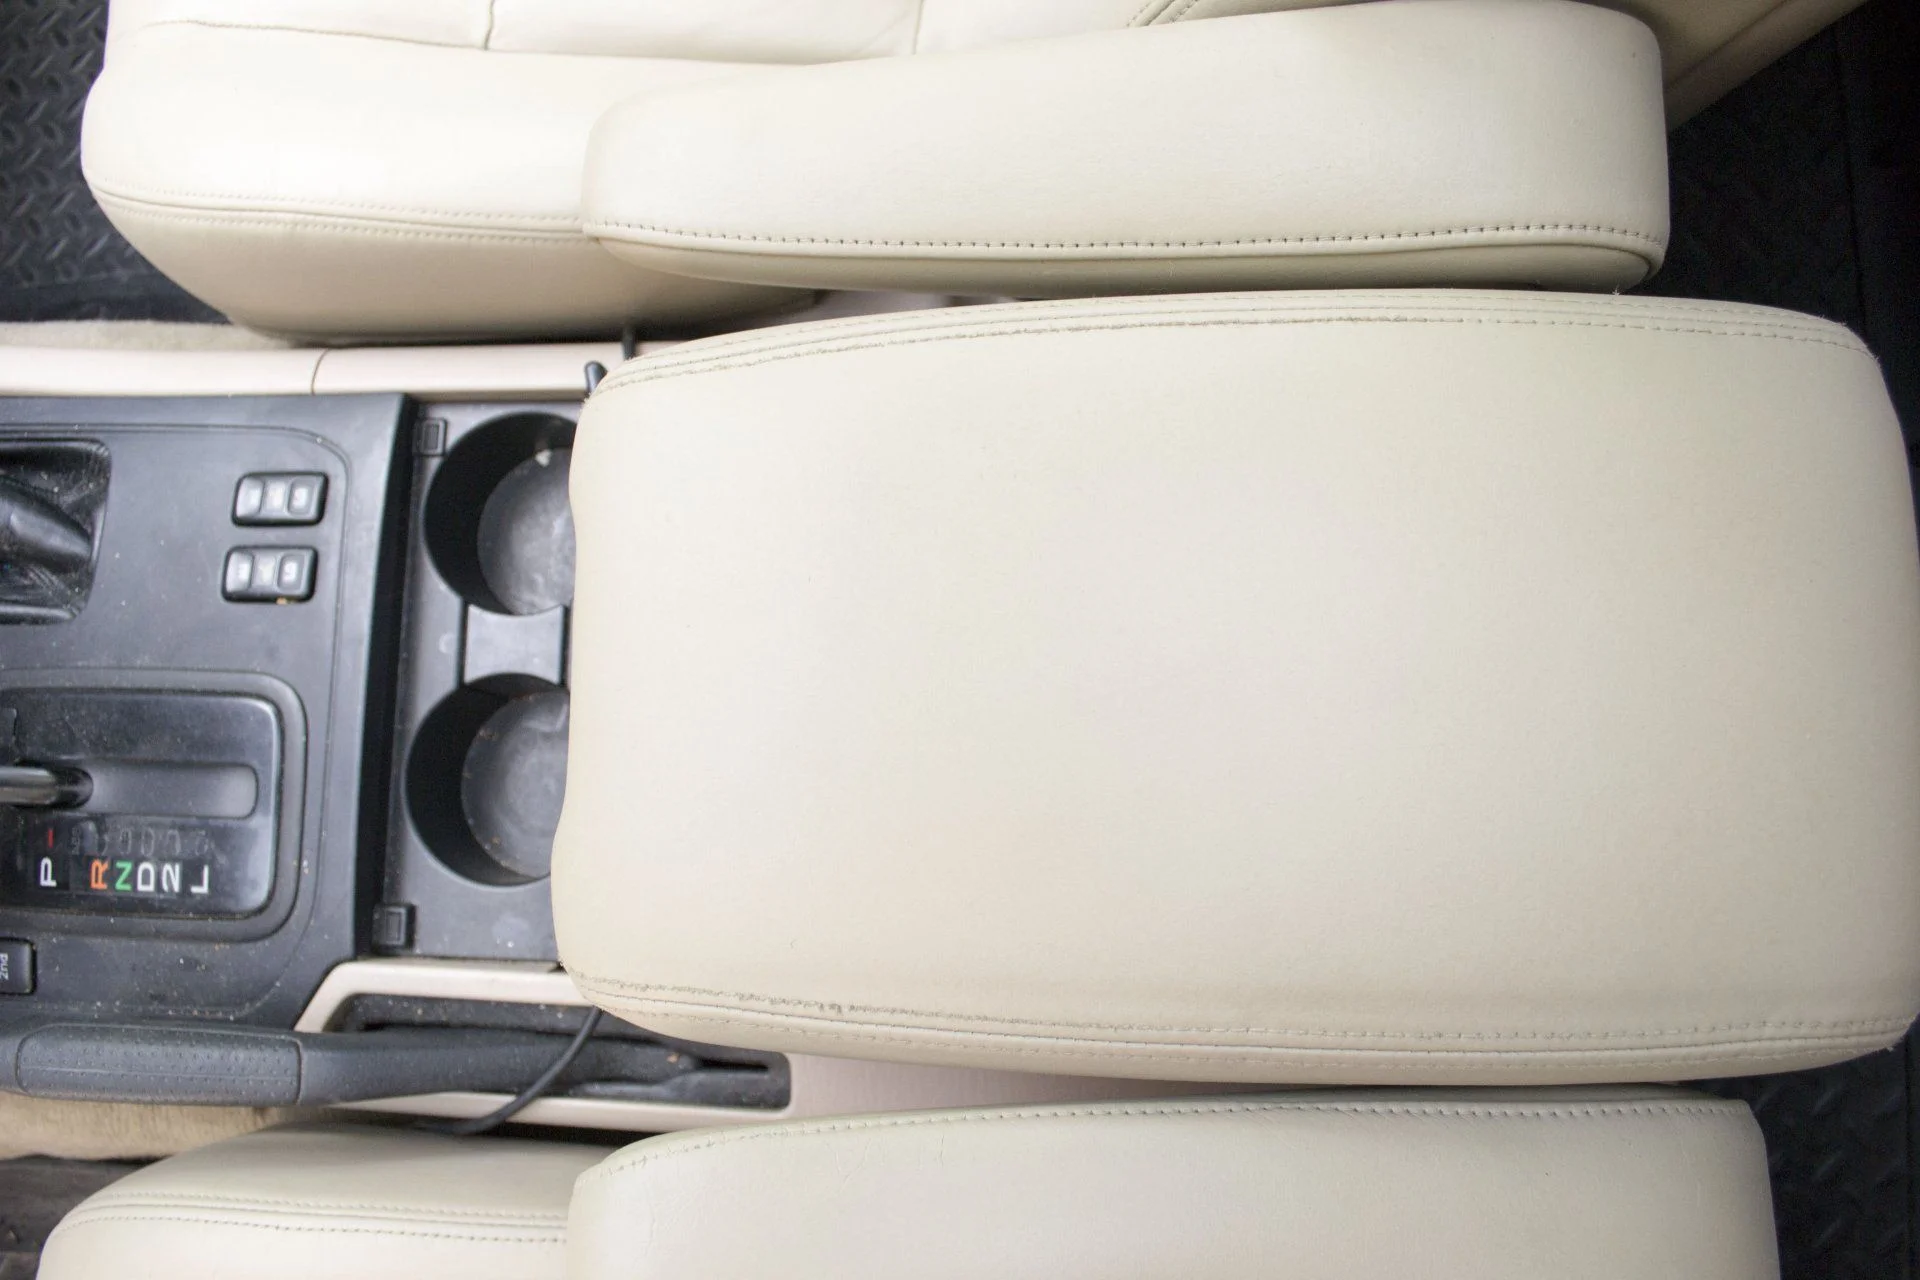
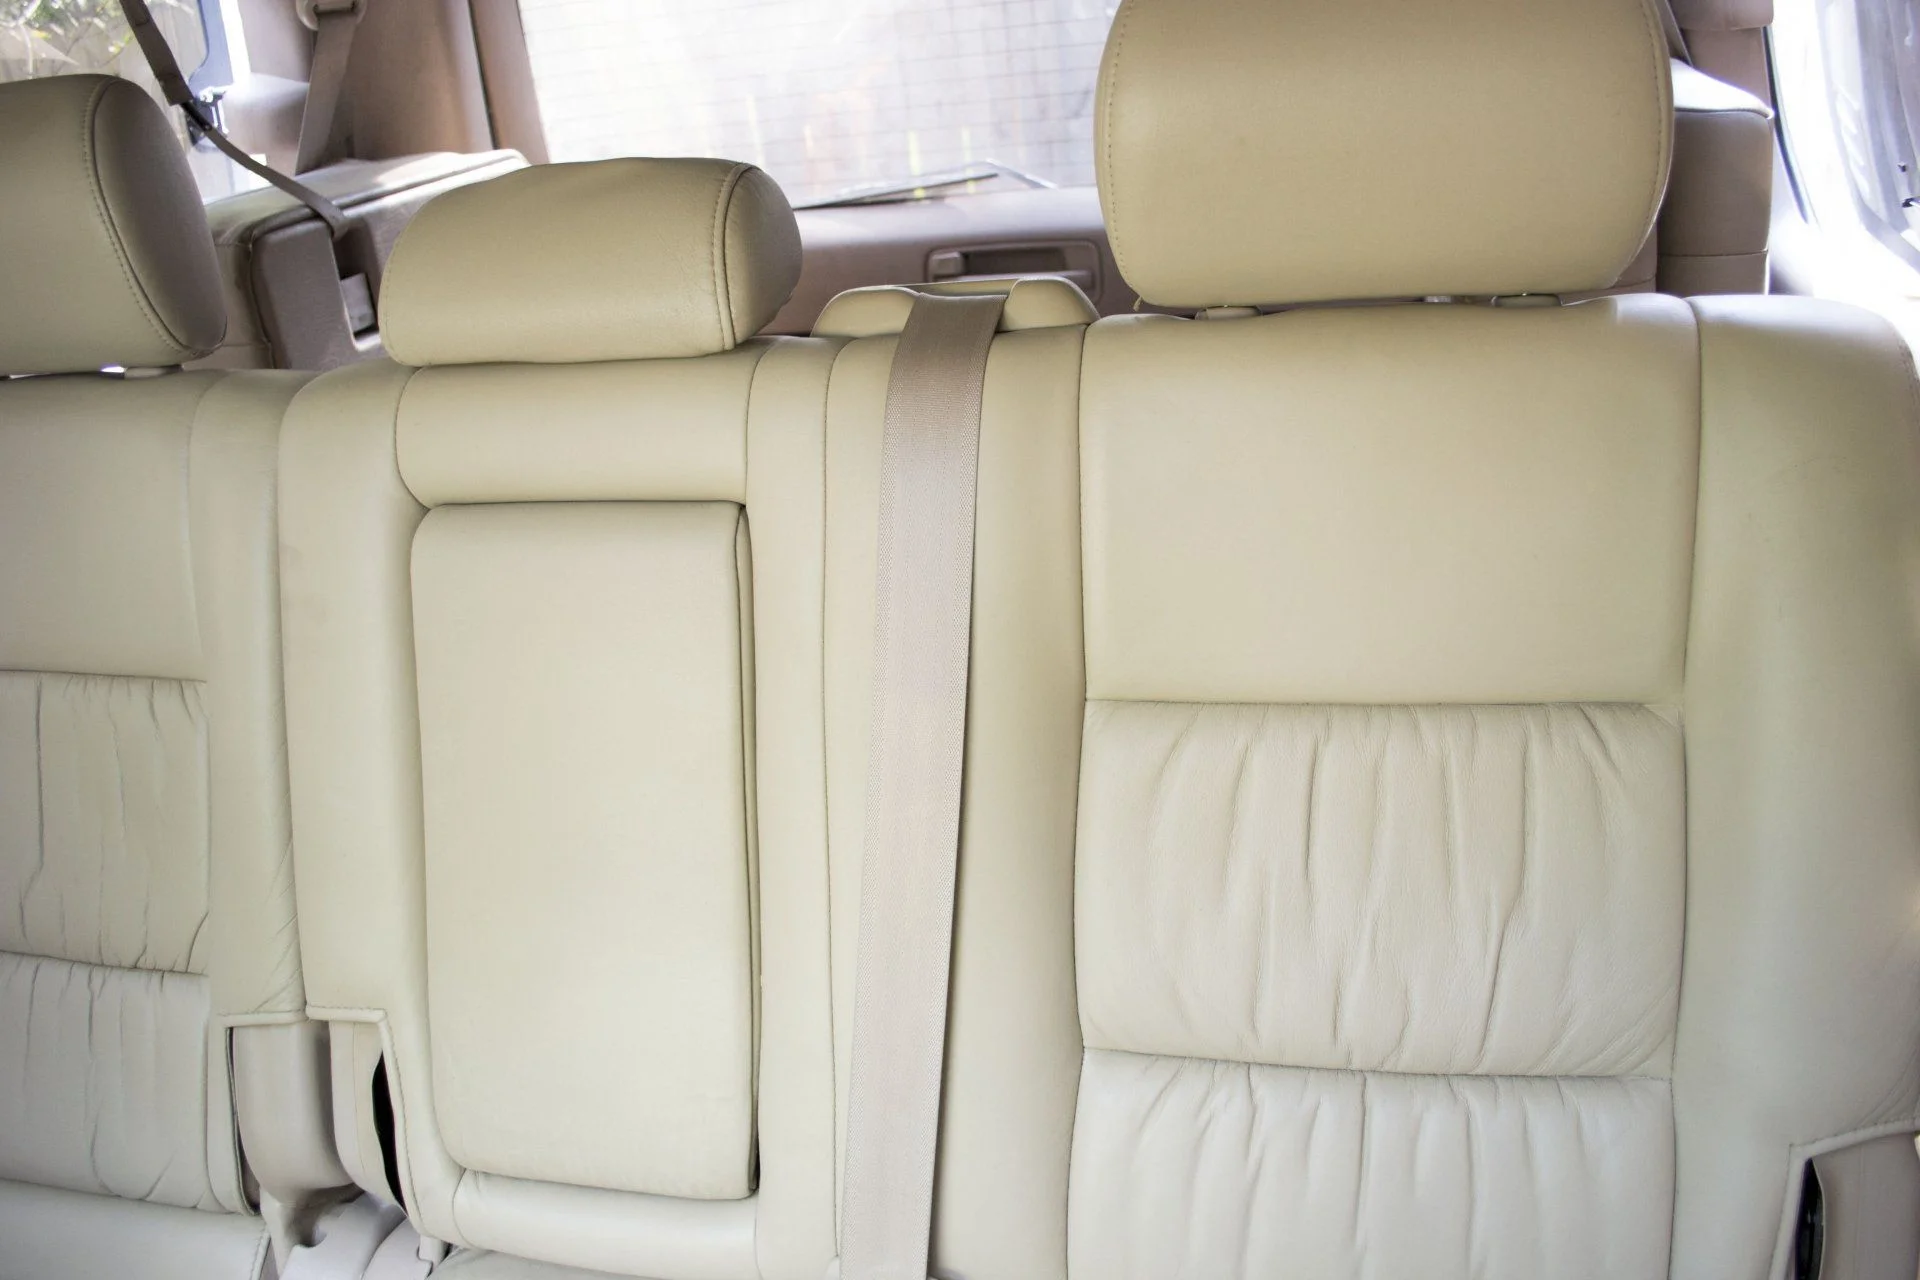
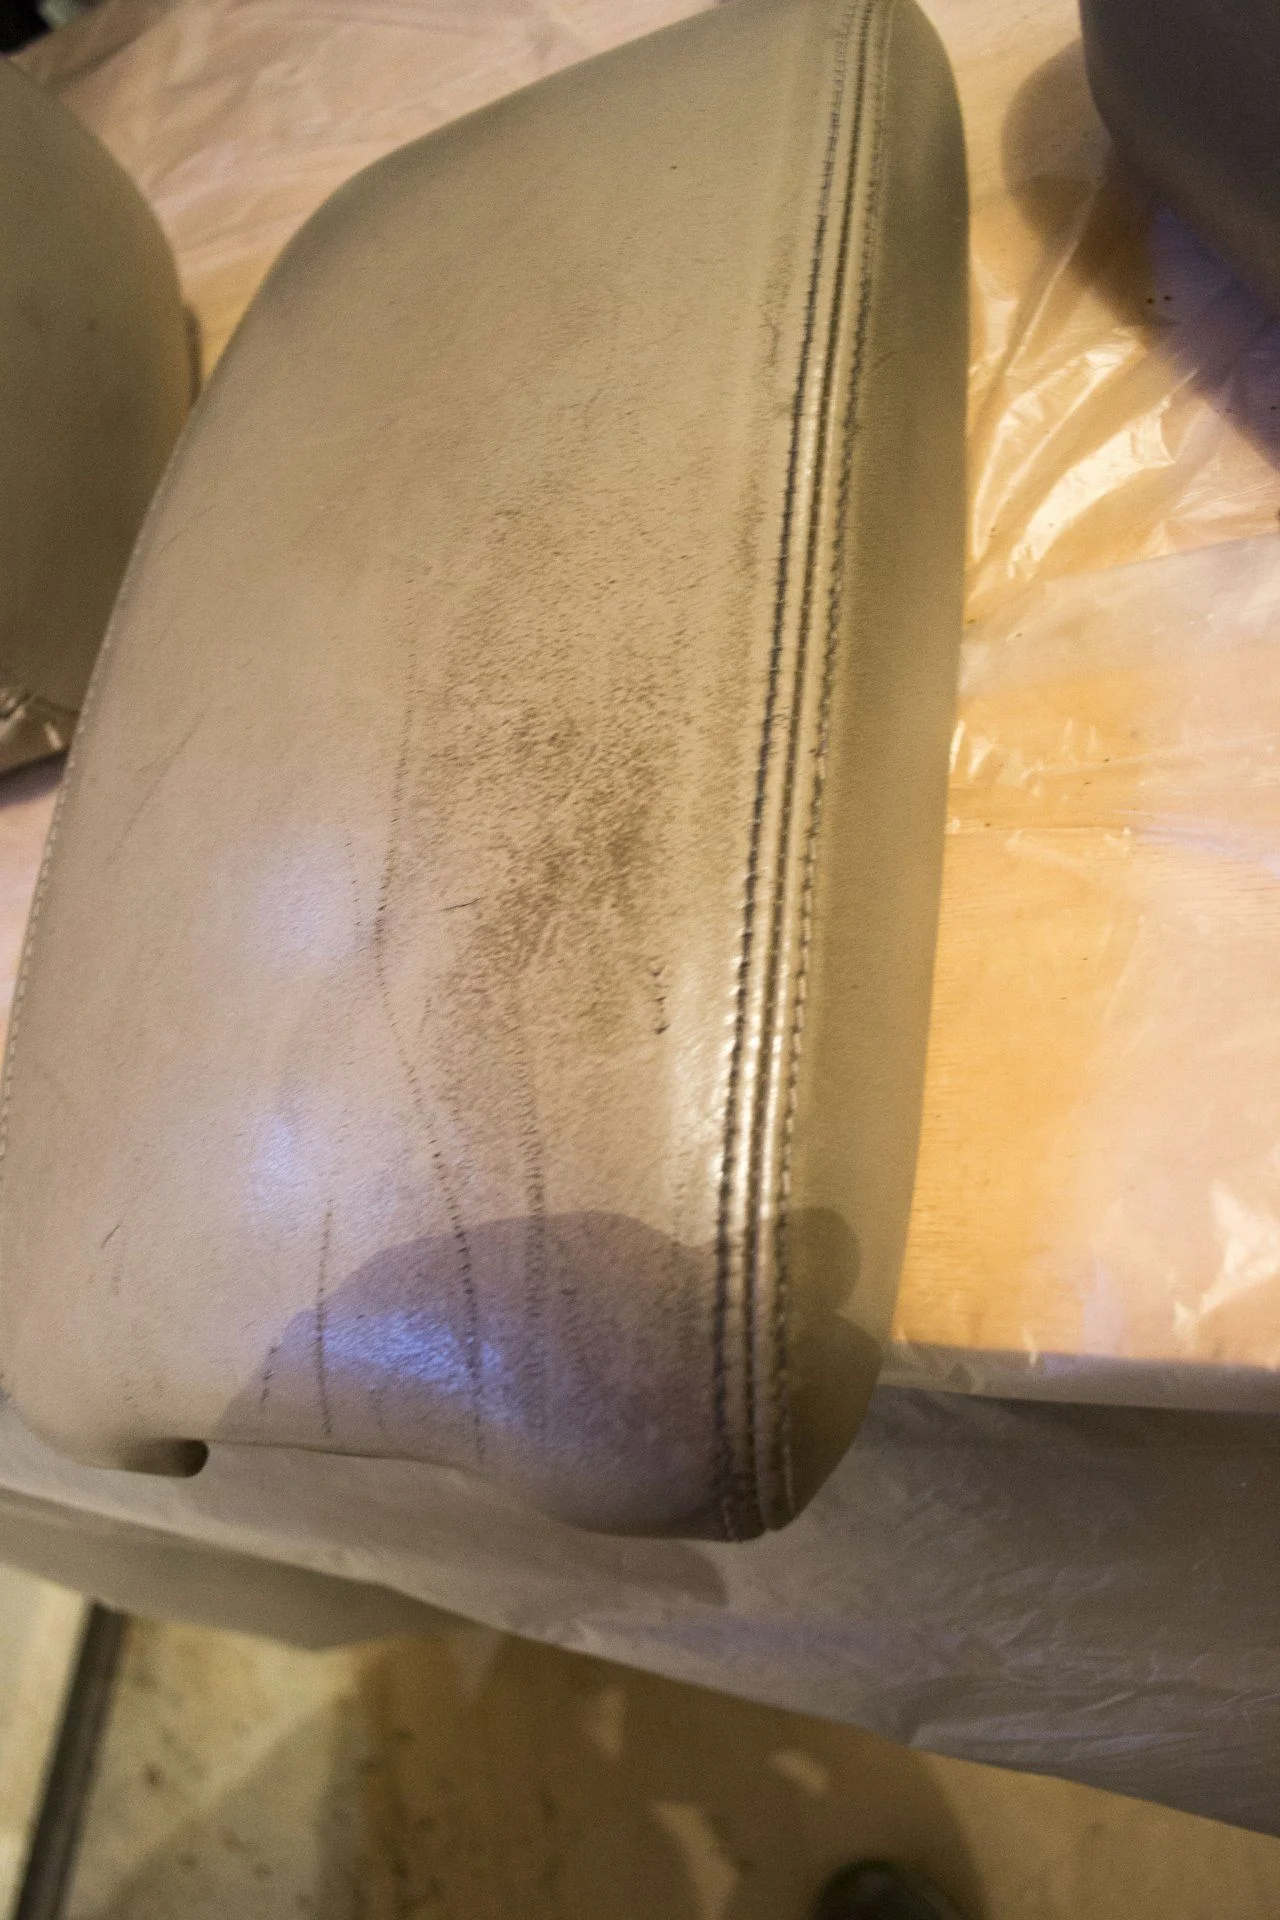
Having Leatherique color match a sample will save you a ton of work. Regardless of the condition of your leather, there are areas that will be in good shape: sides, headrests, console, backs, etc. If your dye matches these areas, they can be left alone during a re-dye. If your dye is not color-matched, then these areas will need to get two coats just like the rest. A full re-dye is only necessary if you want to change the color of your seats, getting a dye that is not color-matched forces you to do a full re-dye. Each seat has a bunch of plastic pieces that cover some of the leather or vinyl. You’ll need to remove these to get to that material for a full re-dye whereas they can stay on if you are only spot-treating the areas that are worn.
Products I purchased:
Leatherique kit #3 LEATHERIQUE LTD - Detail $150 ($172 with shipping)
Description: Kit #3 Includes
(1) 32 oz Rejuvenator Oil
(1) 32 oz Prestine Clean
(1) 32 oz Super Prepping Agent
(1) 32 oz Leatherique Standard Color Dye
(1) 2oz Crack Filler
($30.00 UP CHARGE FOR CUSTOM COLORS)
(The prepping agent is empty, not clear. I went through about half of the other fluids.)
Tools and Materials:
Process:
The high-level process in the instructions is below, and the detailed instructions are attached. All done at once, it takes nearly a week. I had a full week with the wife out of town so I could borrow her car while the cruiser was down, but the process could be split into a couple weekends. I wasn't planning on doing a write-up, so I'm sorry I don't have many pics of the actual process.
Clean and condition
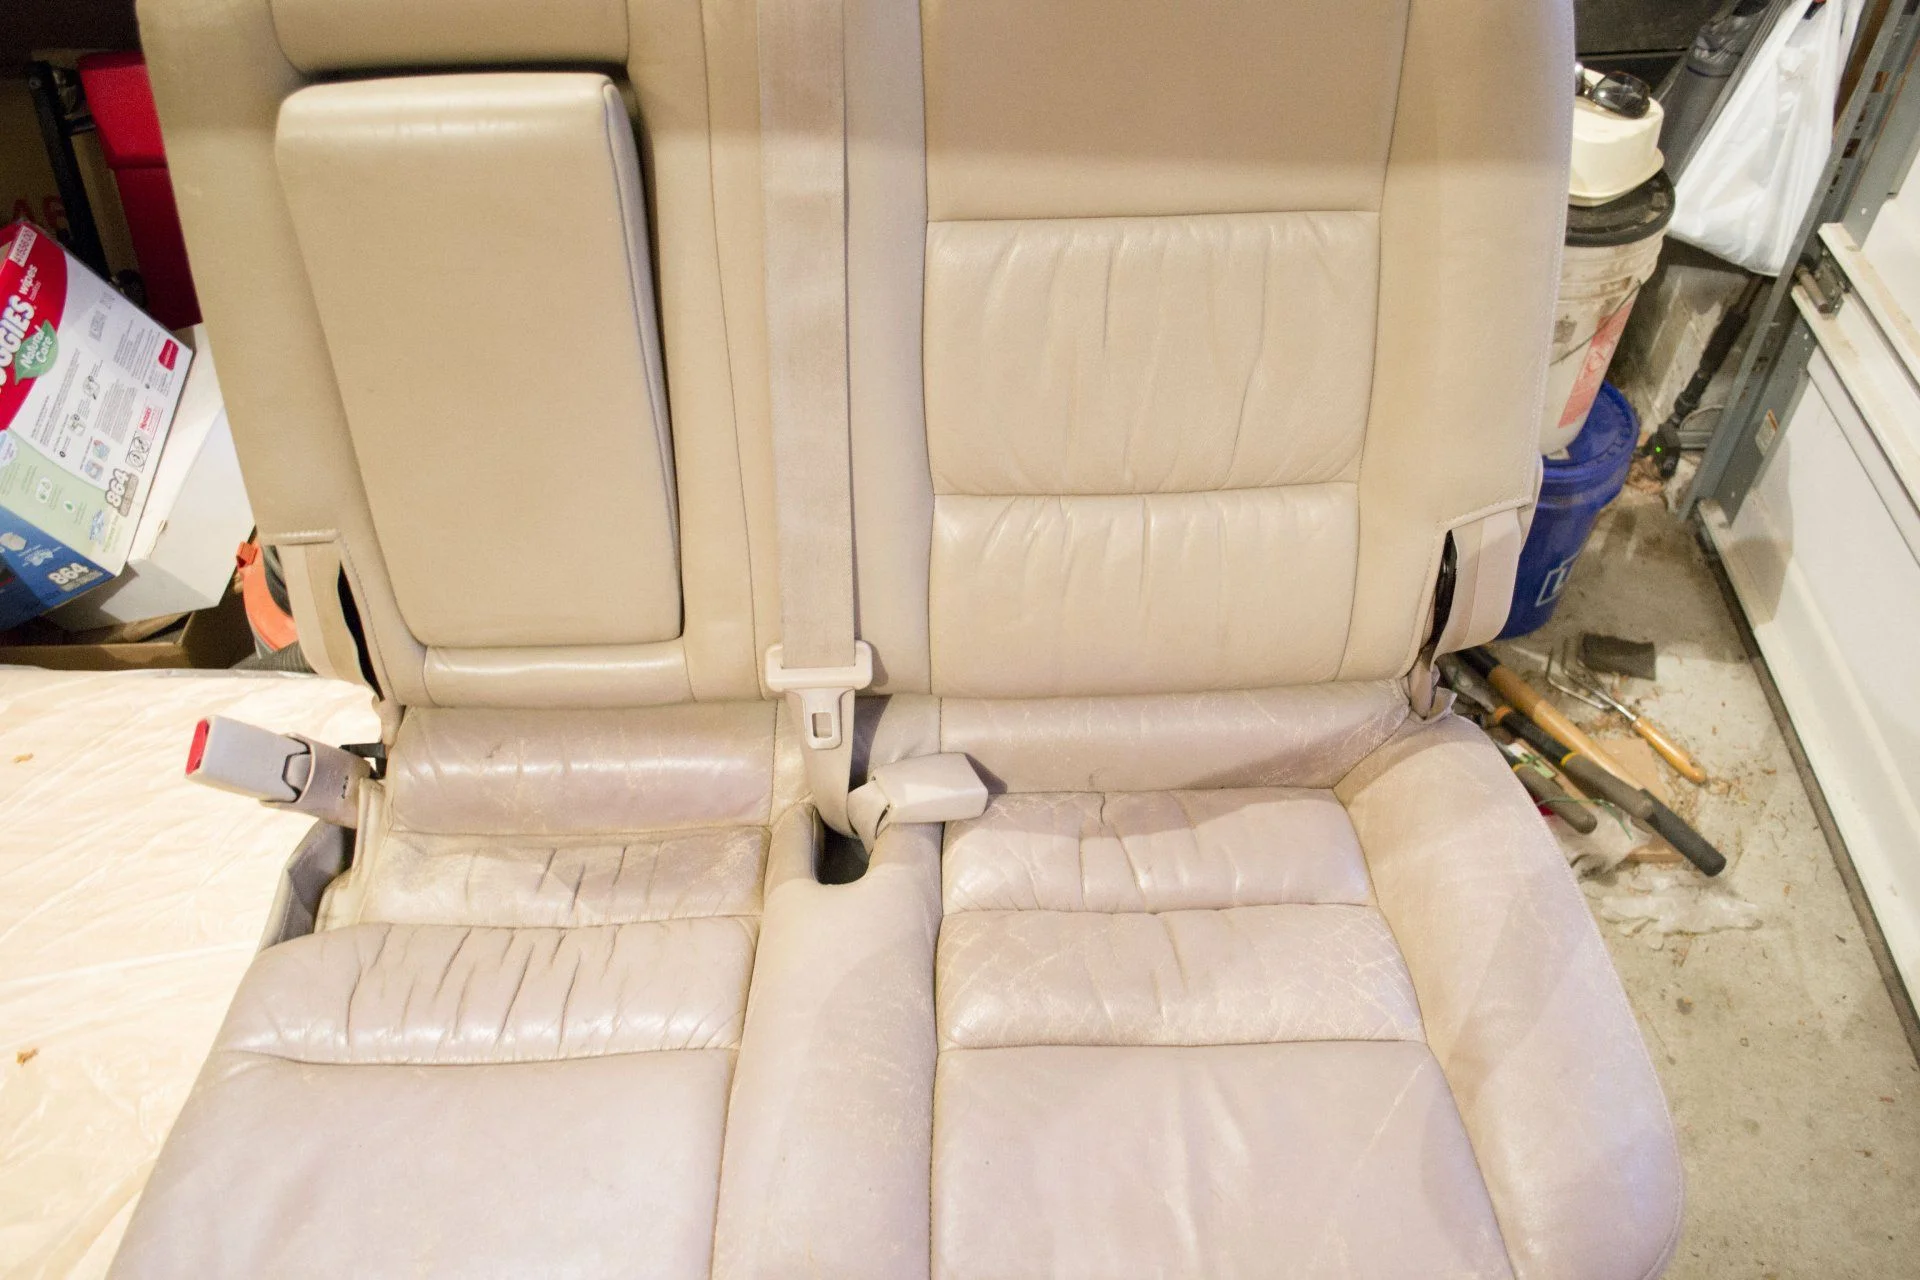
I pulled all my seats, moved them to the garage, removed all of the plastic pieces (which also needed cleaned), vacuumed them, applied the Rejuvenator Oil with a spray bottle and rubbed it in with rubber gloves. Probably took 3-4 hours and then left them to soak overnight. Next day they got spritzed with Prestine Clean and wiped down using a damp rag.
Leatherique's process recommends applying the oil to the seats in the vehicle on a warm day to create a steam room effect. I lucked out with a warm weekend in April, so I set them back in the truck and reapplied the oil. If it’s been a decade since any conditioner has been applied to your leather then it would likely benefit from multiple applications. I really should have waited and done 3-4 applications in July or August to really get the heat working on them. You can throw a trash bag over the seat if you need to run somewhere or move the truck, but I haven't read anywhere that black trash bags or parking with the seats facing the sun accelerates the process. The second time around I worked the oil in using scrub brushes, left the oil on for 48 hours and cleaned up using Prestine (some use of the scrub brushes in the seams) and the double-bucket method this guy used.
Prep
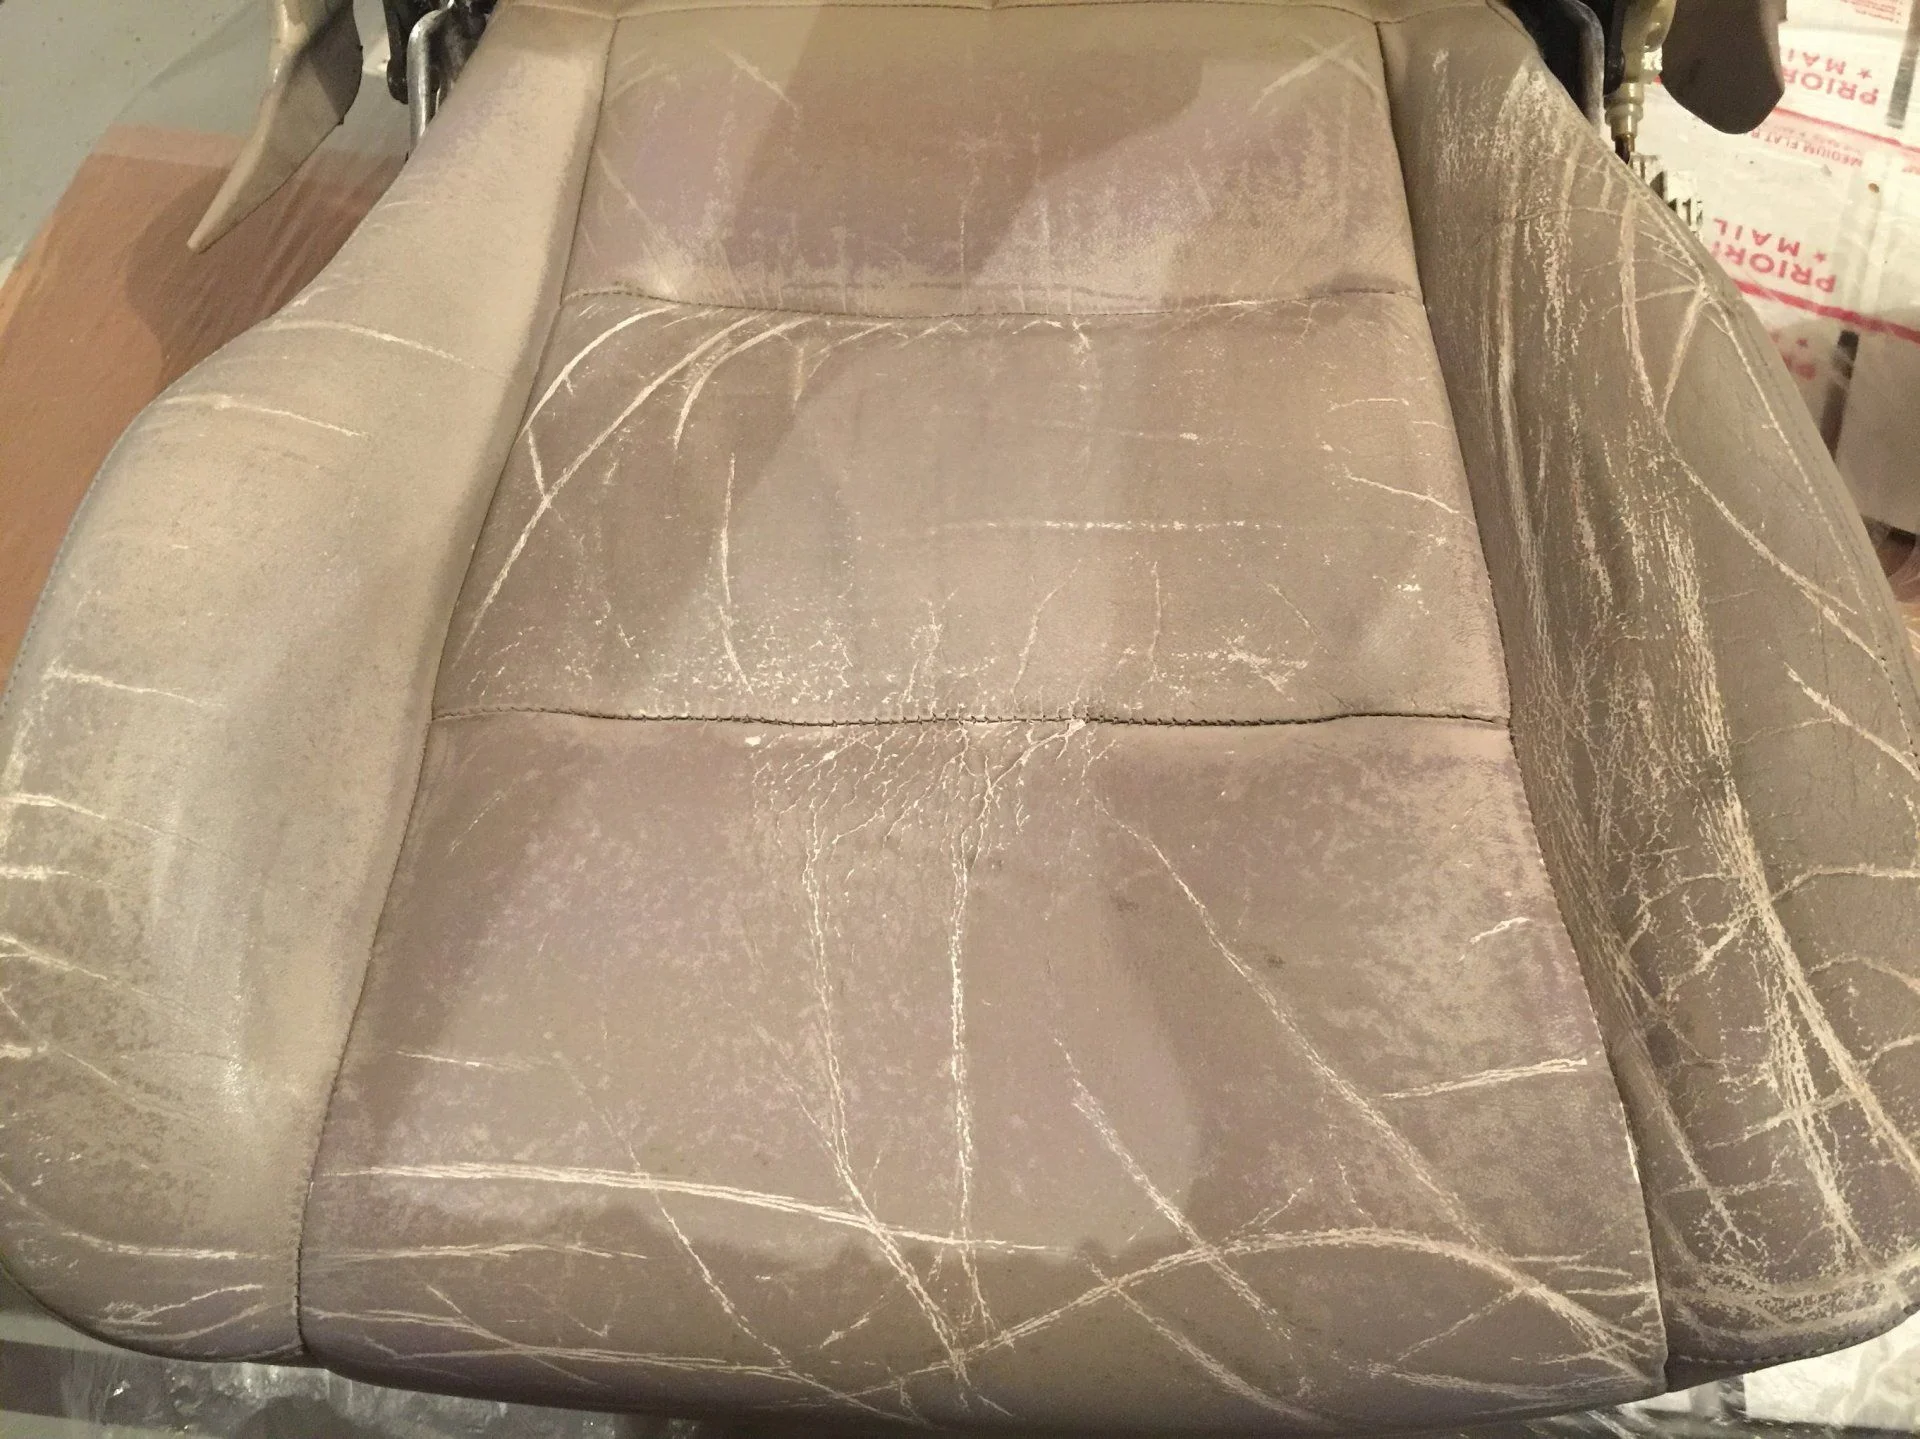
Sometime in 2008 when the front seats started to turn purple, I rattle-canned them with Nu-life color spray. Their sand color wasn’t a perfect match, but looked better than the purple. I’m pretty sure this junk was sealing out the Rejuvenator Oil from working it’s magic and it had to come off before the dye could go on. If you have tried any quick-fix products in the past, then this will create more work for you during the Prepping Agent phase. All of the seats went back into the garage and I wet-sanded all of the leather sections of the seats with 400-grit using the shallow tray and Prepping Agent, then hit the leather and vinyl all over with 600-grit. I should have done another round of the oil after the wet sanding, but I was in a rush. Next comes the Crack Filler. As you can see in the pics below, I went a little crazy with the crack filler on the driver’s seat. More to come on that. The Crack Filler should go on in thin layers using the Bondo applicators (or old credit cards.) Give it 20 minutes or so to dry, then another layer, repeat. Get it just proud of the leather and then sand it back flush. After getting it back flush using 220-grit (lightly), I went over it again with 400 and 600-grit, vacuumed and wiped down again using prepping agent and rags.
Applying the dye
I have an air compressor and a detail gun, but my regulator crapped out right when I was ready to spray the dye. I had a few Preval sprayers left over from an in-wall speaker grill project and decided to use those. Thinning the dye 10% with distilled water wasn’t enough, so I ended up going around 20-25%. I didn’t like the Prevals. They’ve worked great in the past on other things, but I felt like I was getting too much flow and it wasn’t spraying as dry as I would have liked. So the dye went on a little thicker than I would have preferred, was really prone to running and got the occasional air bubble. Runs and bubbles dry to nasty dark spots, avoid them at all costs. Instructions also say you can use a brush and the dye does do some self-leveling as it dries. So I'd be less concerned with leaving brush strokes than I was before I started. Artist's brushes are for getting the dye into the cracks and I used painter's plastic to tape off my garage like a murder room.
I'd use a detail gun over the Preval, if I could do it all over again, and if I'd color-matched, I'd probably gone the wipe-on route. I think I could have gotten nice thin coats that way and built it up to where no swirls were noticeable.
I let the dye go untouched for 48 hours as instructed. While the dye was curing, I soaked all of the plastic seat parts in dawn for a day, then ran them through the dishwasher. I used acetone to clean up any stubborn marks, then hit them with a light coat of Armor All. After reassembling and putting the seats back in the truck, I buffed them down and spot sanded any areas that felt rough with 1000-grit. It had a rubbery feel for a week or so that went away making me think that the dye is still curing after 48 hours and that leaving it unused for longer would benefit durability. The instructions also mention applying Carnauba wax as optional, and Leatherique also has a product, Klear Kote, intended to protect the finish. I didn't apply either of those, maybe I should have...
I applied leather conditioner a few times, but for the most part, I have neglected the leather in my 98 LC since I got it in 2003. It now has 245k on the clock, and everyone that sees it is amazed its nearly 20 years old…until they get inside. The sun and neglect have somehow magically turned both the front and rear seat bottoms to purple cardboard, and now, she needs new leather. The problem is: she just got about $2k in TB, WP, coils, bearings, rotors, etc., she finally got the sliders and rack she "needed" (thanks @reevesci) and she also really "needs" bumpers, skid plates, lockers, a new head unit, dual battery...you guys know the drill. Realistically, a windshield, radiator, alternator, axles and steering rack are probably all in her not too distant future.
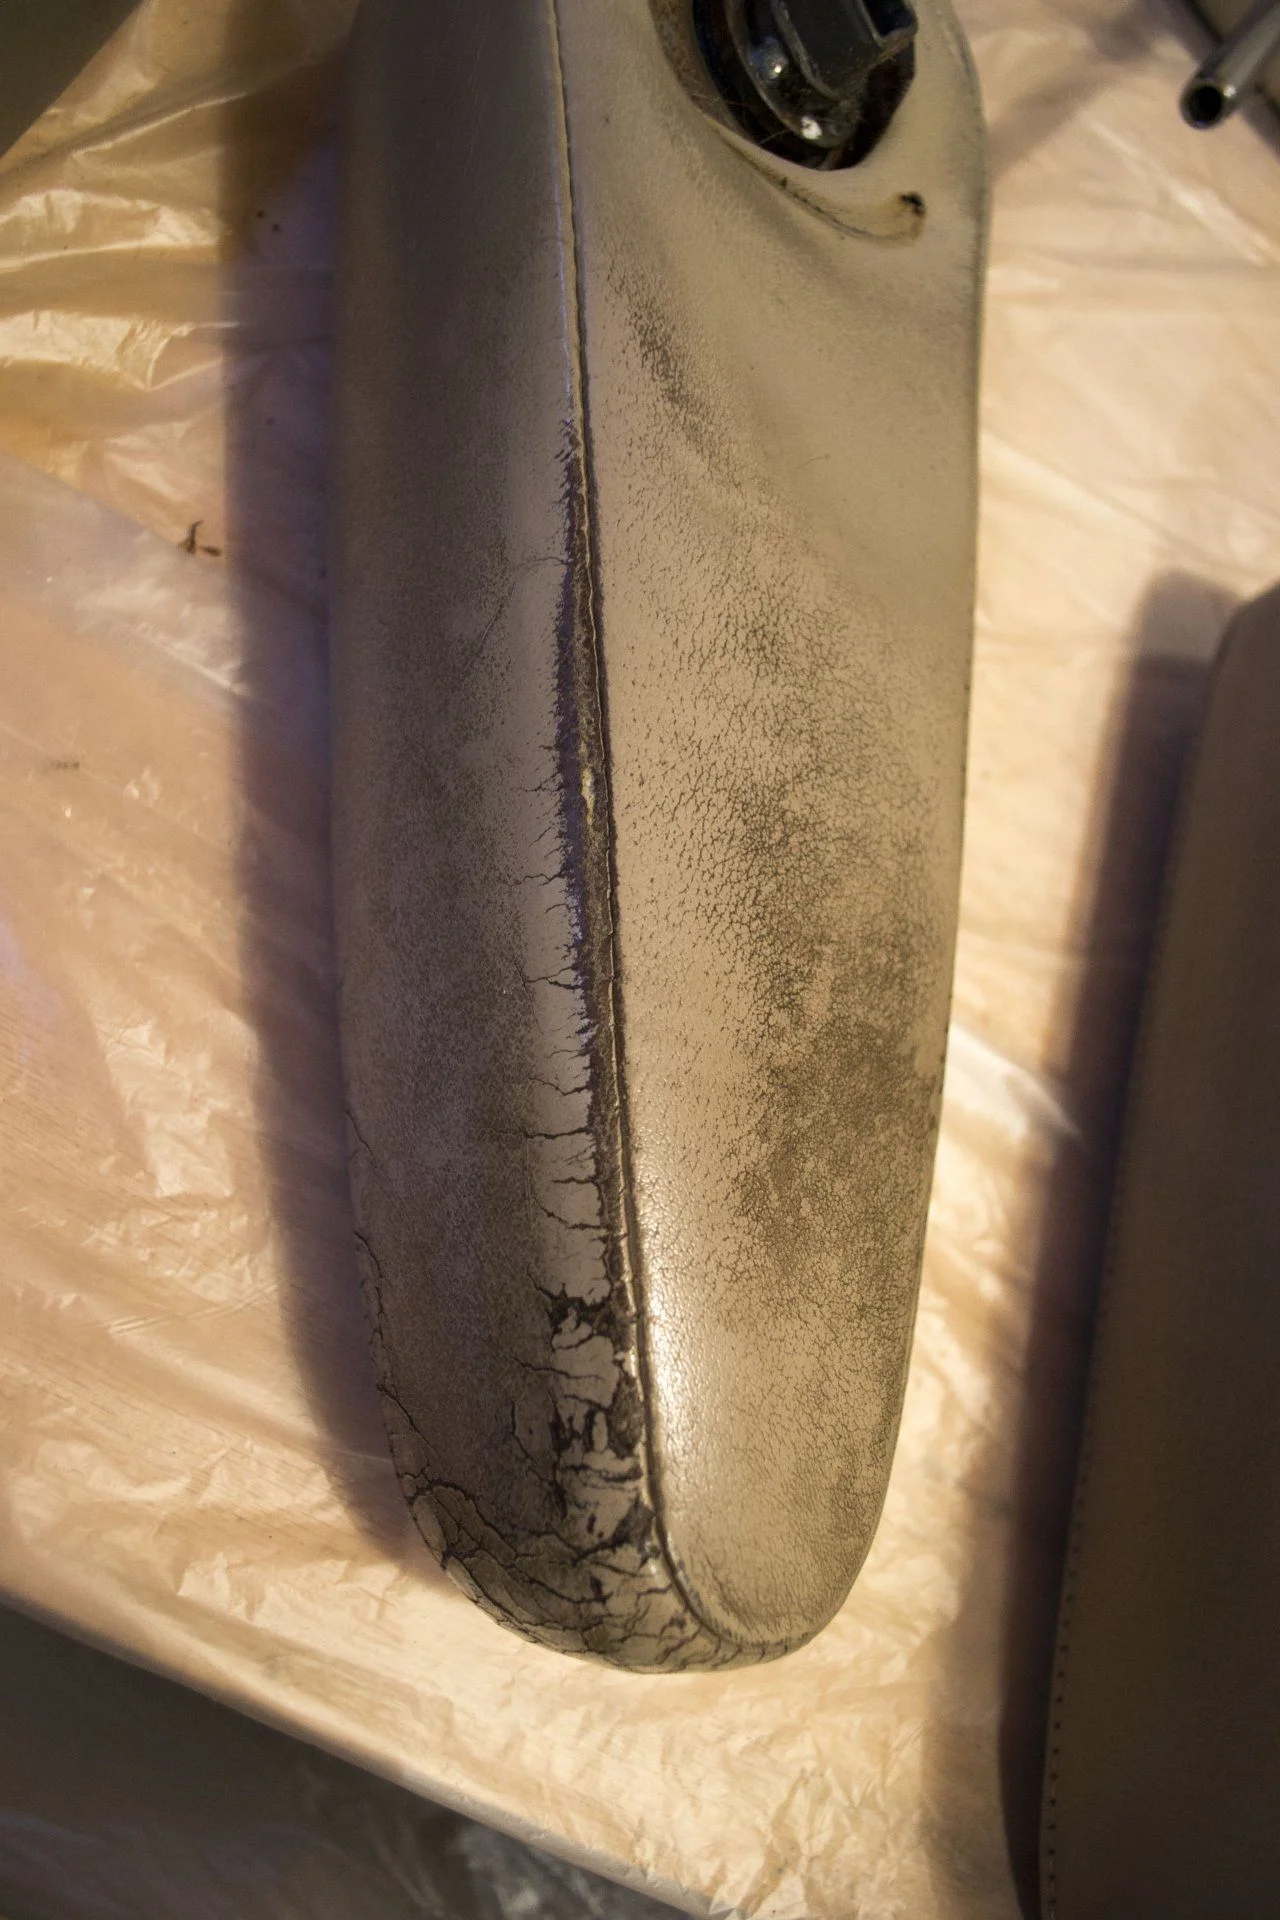
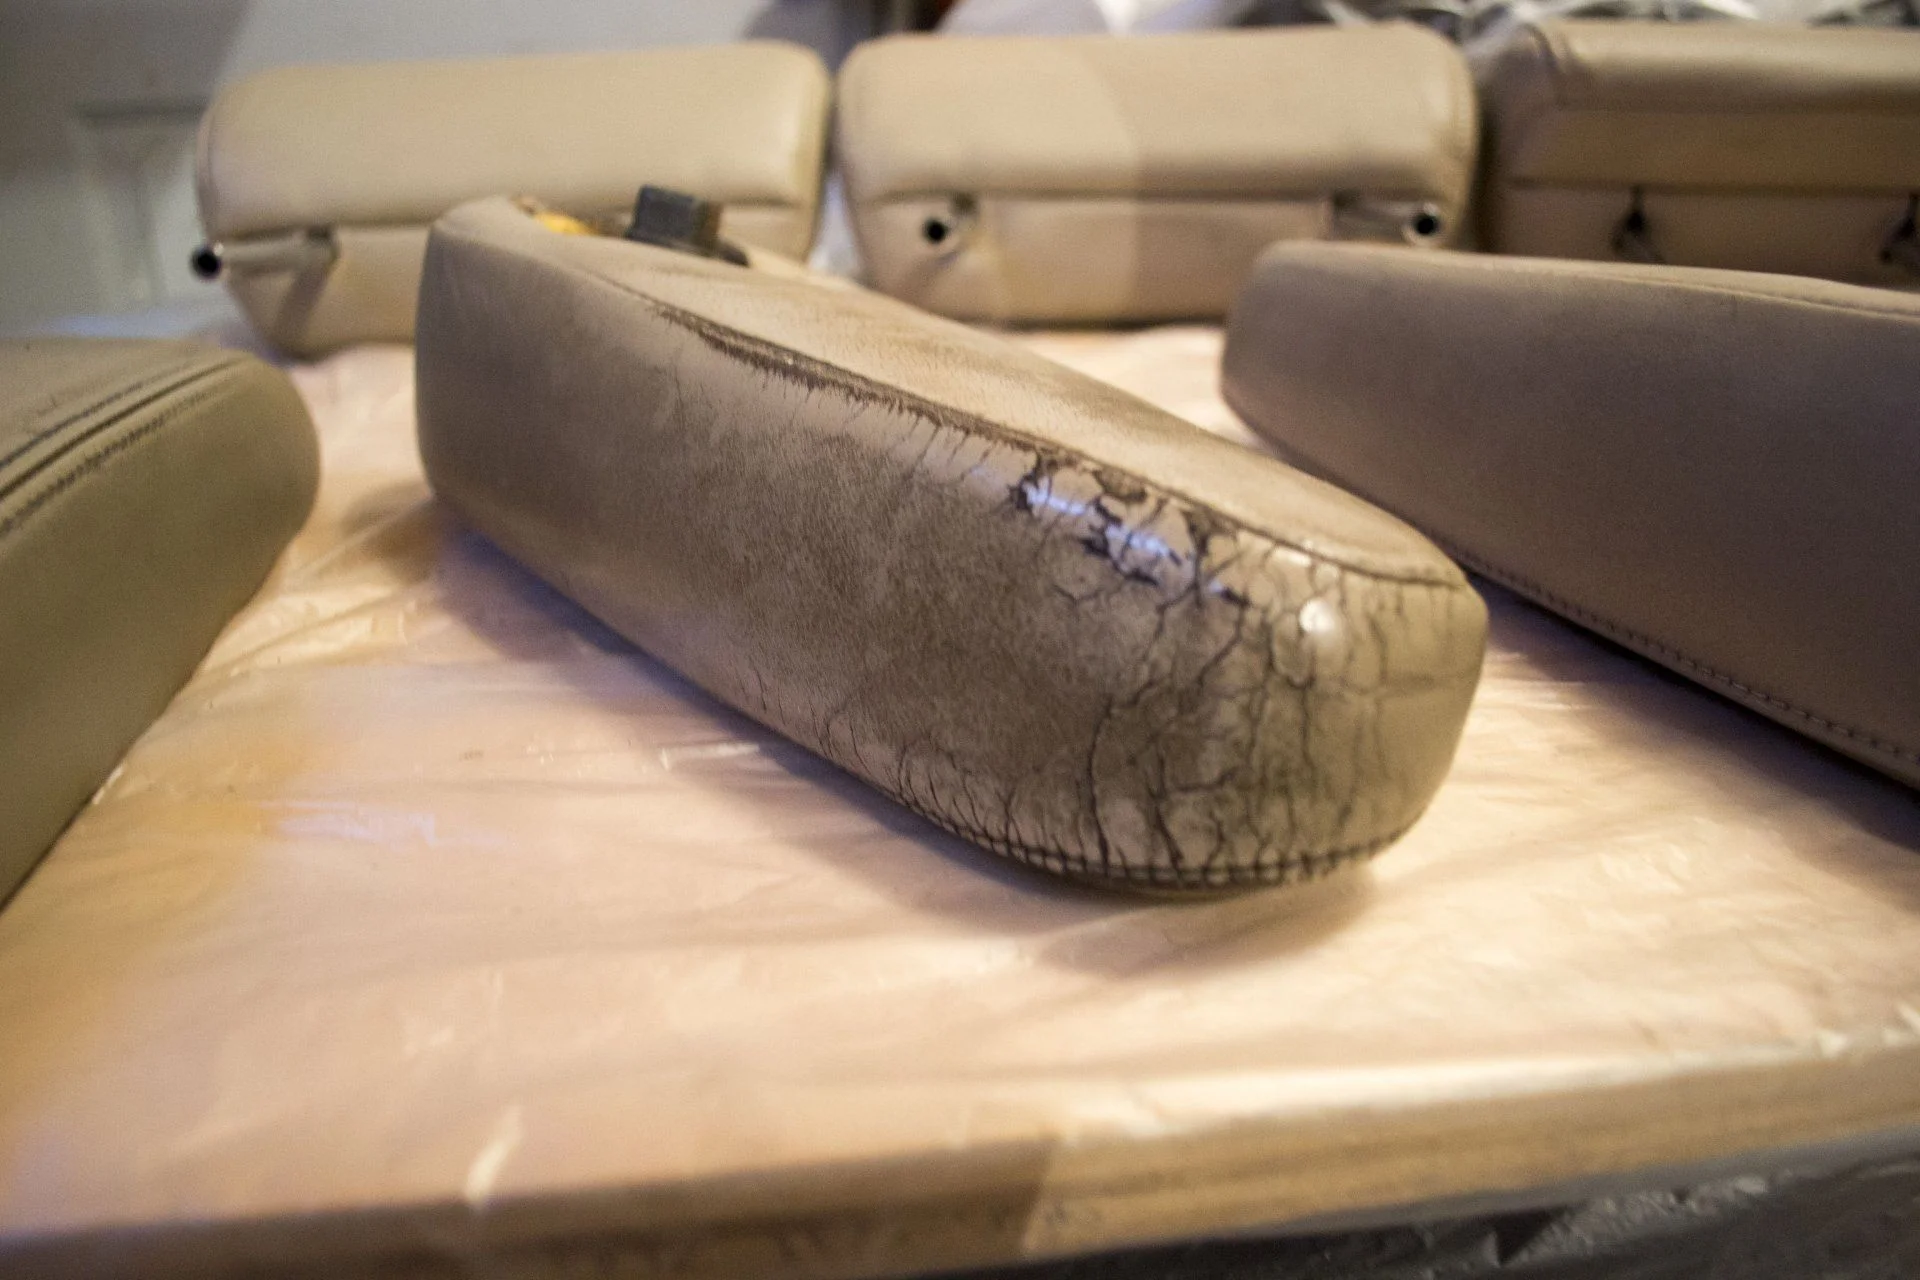
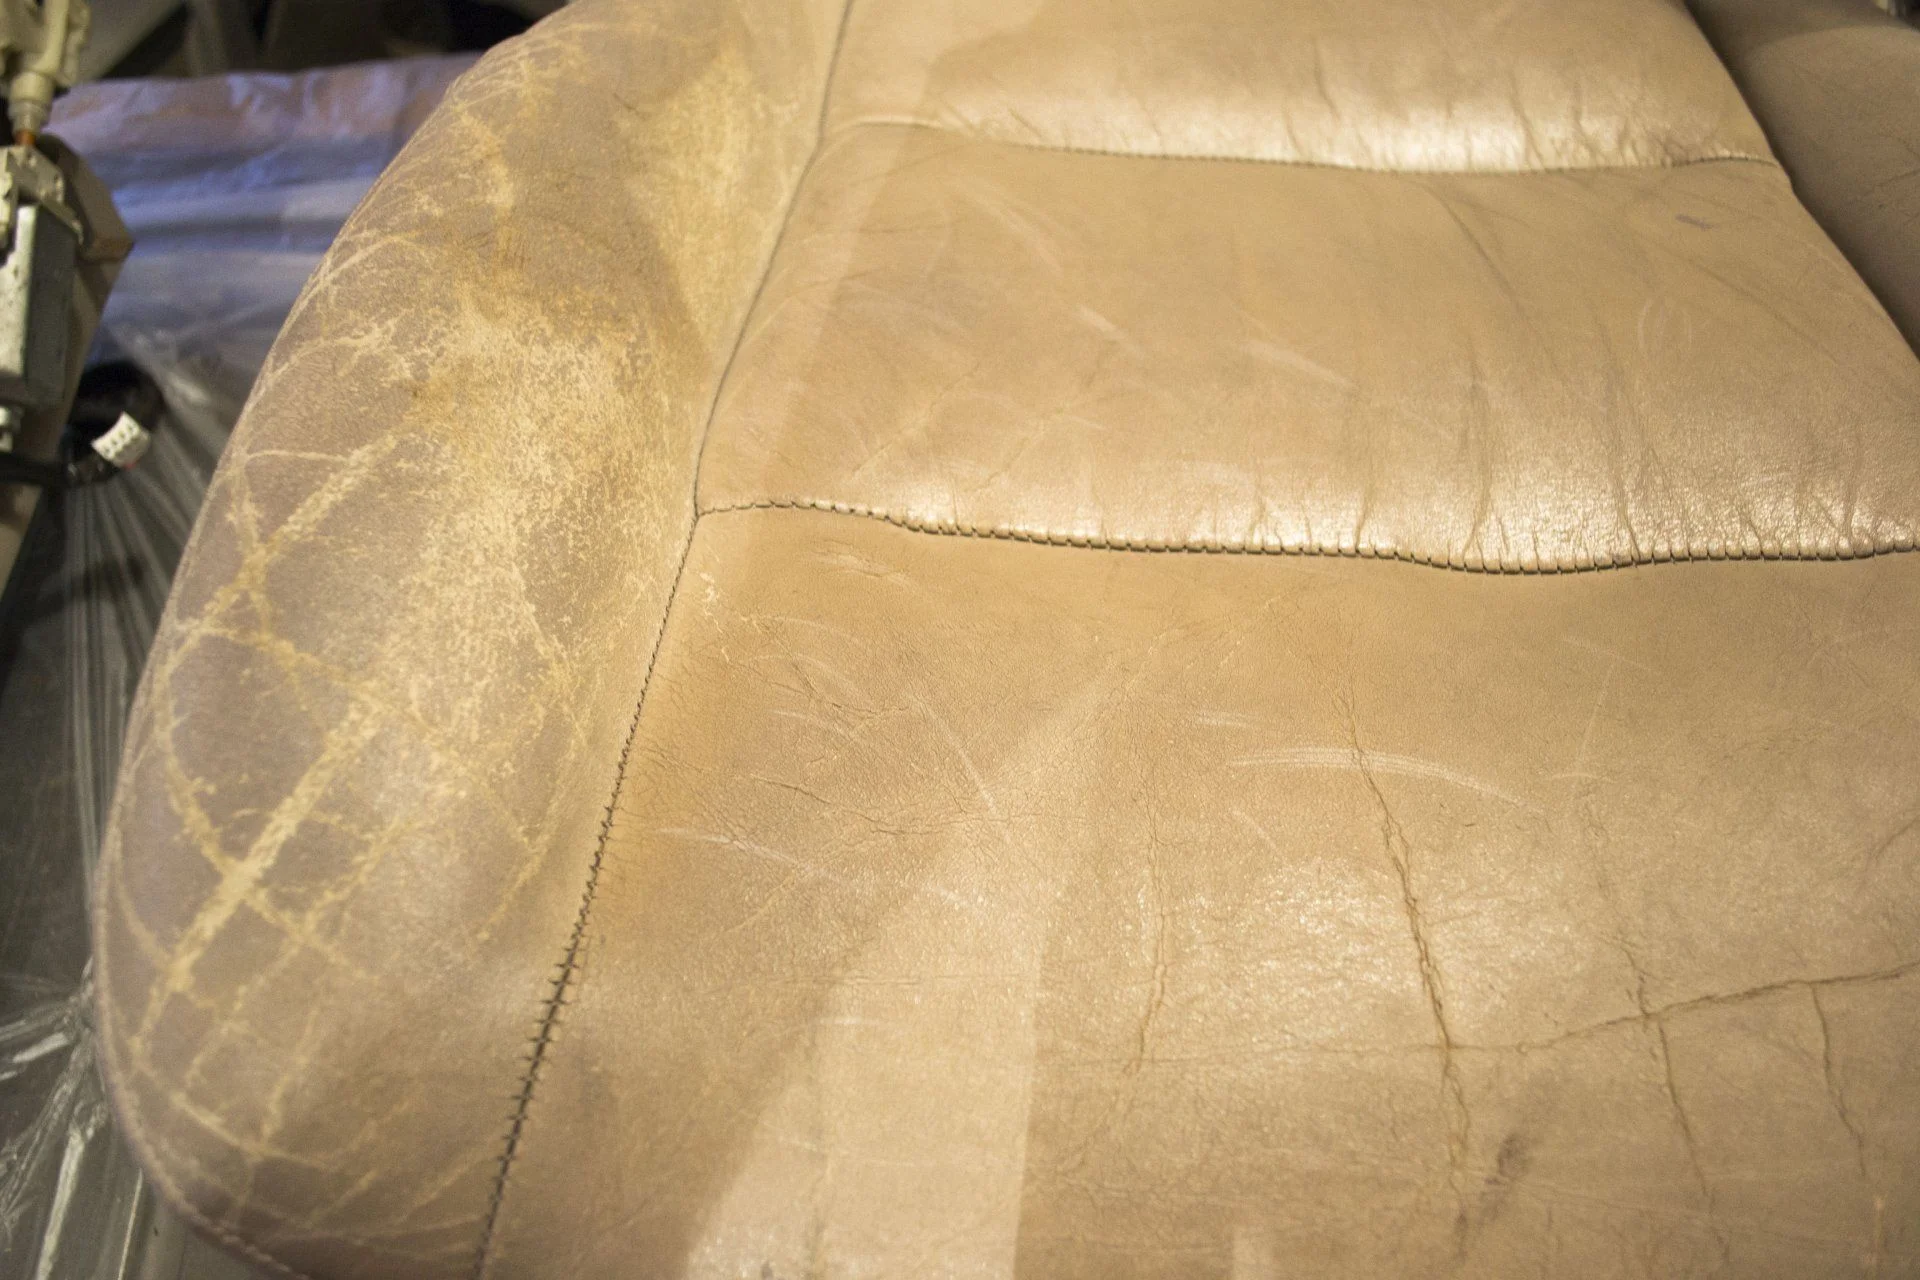


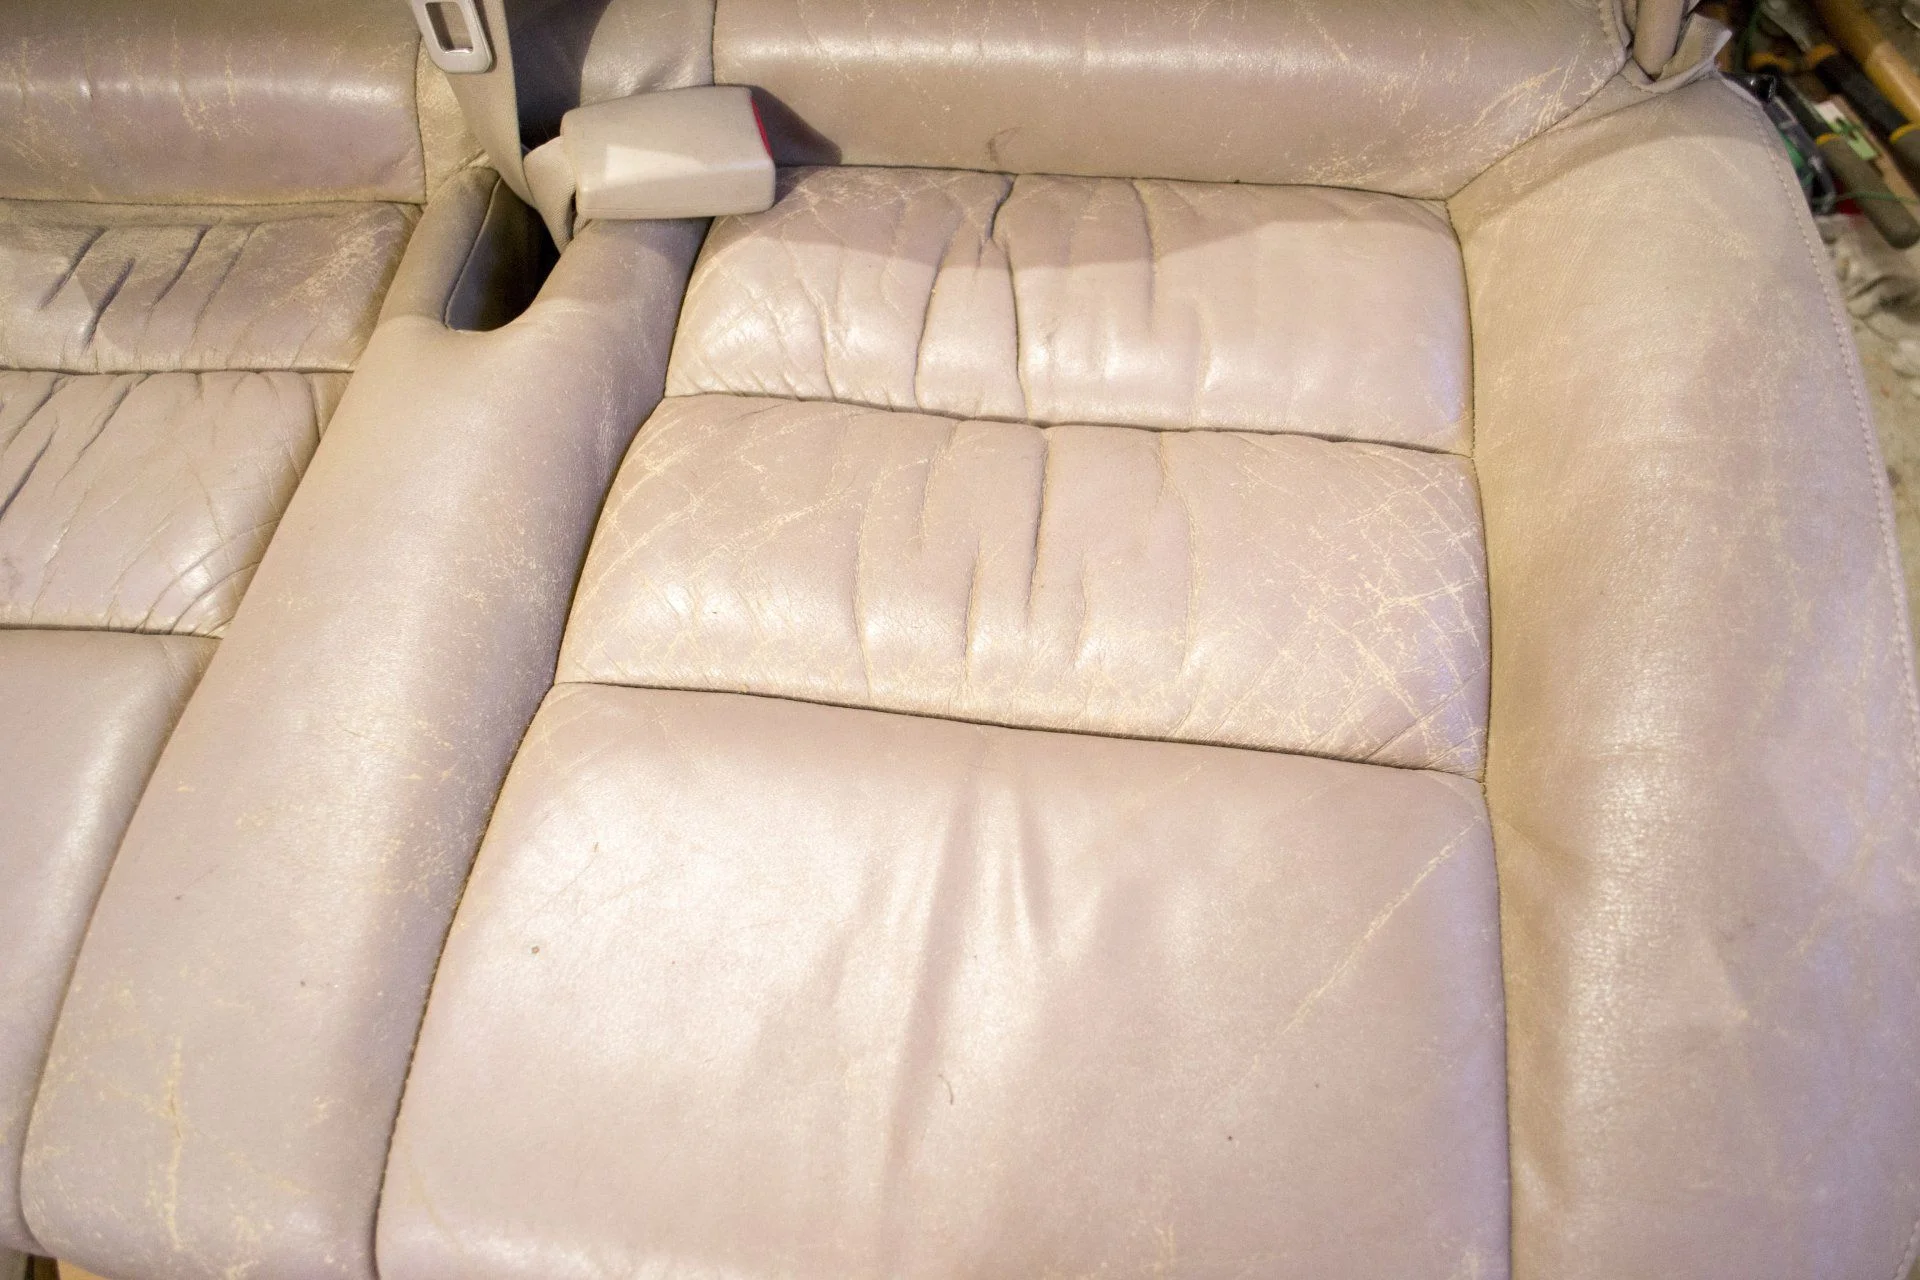
So, my leather was in about as bad a shape as it could be, while still intact: no exposed foam, rips, burns, etc., and I was looking to save some cash. It seemed like an ideal candidate for putting one of the leather restoration systems to the test. I was looking at ColorPlus or Leatherique, and went with Leatherique based on the amount of good feedback on this forum and others.
Long story short, it works. It's not snake oil nor does it have any magical powers. It's a system, that when carefully followed, can produce great results.
What to buy?
- The Rejuvenator Oil and Prestine Clean - in my opinion, everyone should have these two products. Ideally, buy these to maintain your leather long before it needs restored. If you plan to re-dye, buy these two and use them for a few months before you start. They are no-regrets purchases regardless of the state of your leather.
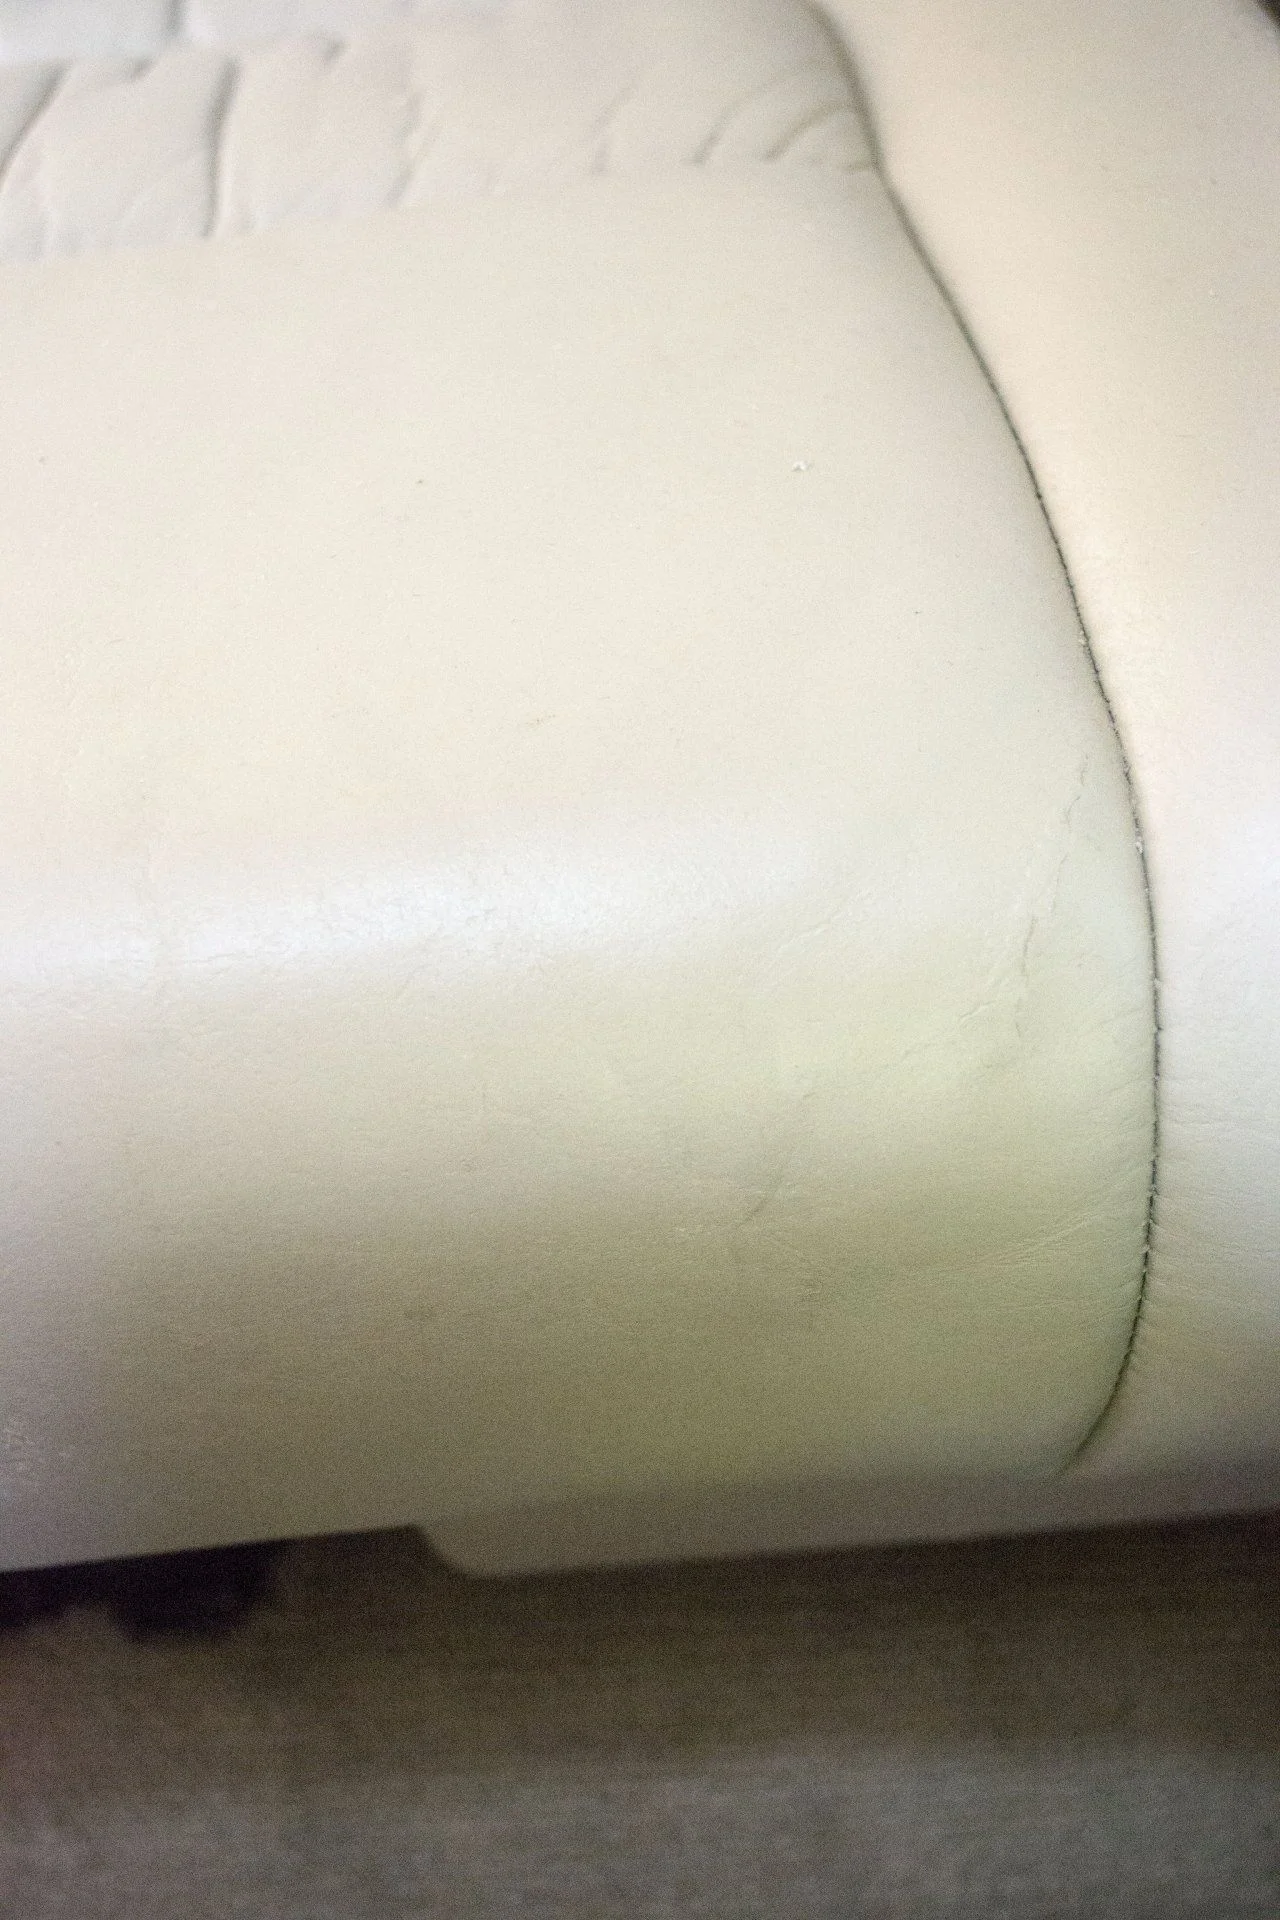
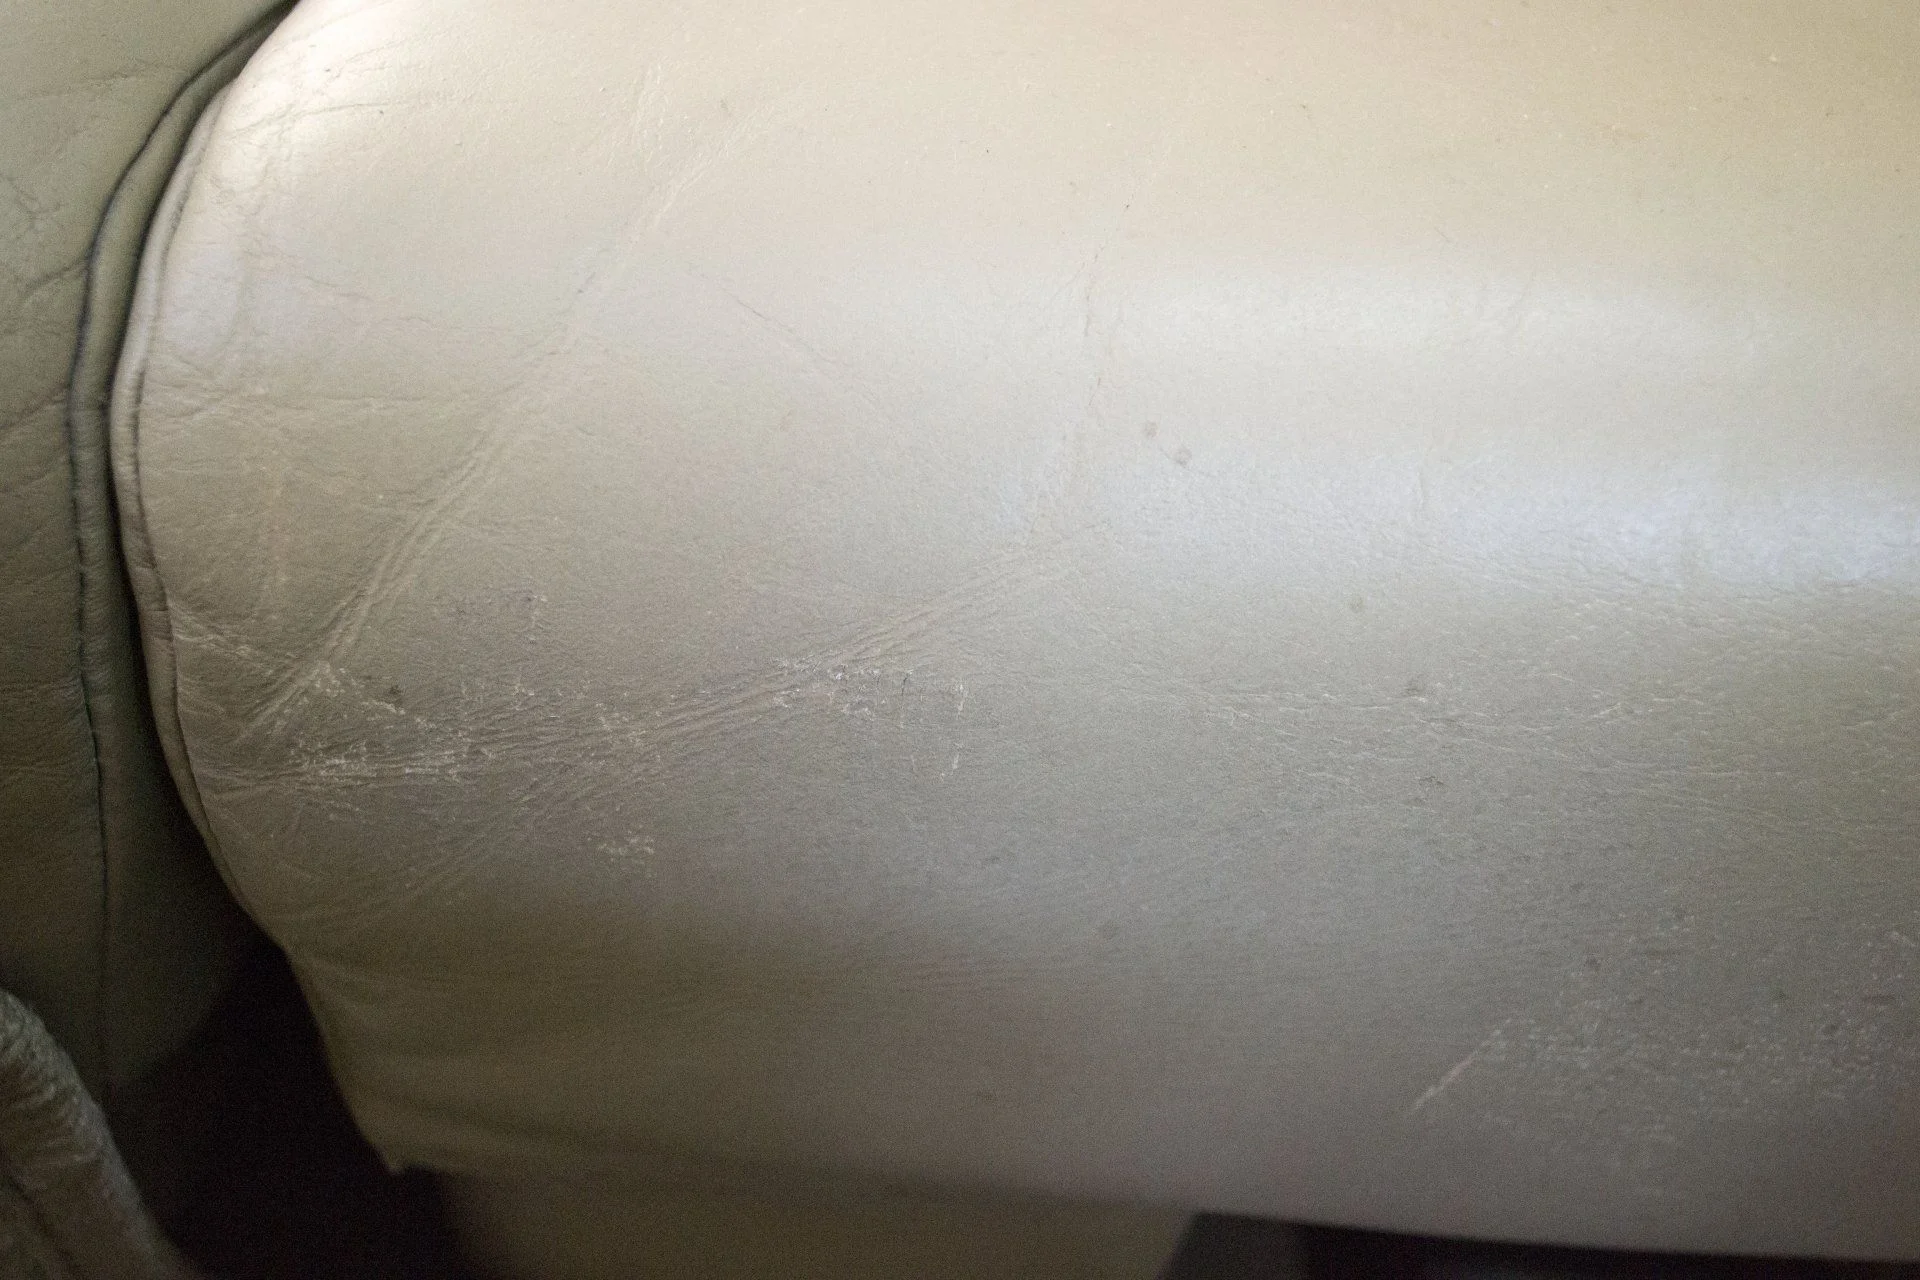
- Crack Filler - it dries white, requiring you to sand, prep and dye. It works great for hiding scratches. I didn't repair any cuts in the leather, but apparently, this could also be used to smooth the leather after the cut has been patched from the back. As you'll see below, I do not believe this should be used to fill creases, especially on high-flex parts of the seat. The small jar goes a long way.
- Super Prepping Agent - not sure what's in it or how it's better than mineral spirits or TSP. It’s cheap compared to the rest of their products, came with the kit…why risk something else.
- Dye - get them to color match a dye from a sample that is representative of the good leather/vinyl left in your truck. My trim code is LA40, so I have a tan interior, not the gray. I ordered the kit below with the 'Beige' box checked on the order form and added a note requesting that they send me their '42 Oak LC' listed on their OEM color samples page. They sent me 'Beige' and it looked close enough, so I used it.
Why have them color-match?
Having Leatherique color match a sample will save you a ton of work. Regardless of the condition of your leather, there are areas that will be in good shape: sides, headrests, console, backs, etc. If your dye matches these areas, they can be left alone during a re-dye. If your dye is not color-matched, then these areas will need to get two coats just like the rest. A full re-dye is only necessary if you want to change the color of your seats, getting a dye that is not color-matched forces you to do a full re-dye. Each seat has a bunch of plastic pieces that cover some of the leather or vinyl. You’ll need to remove these to get to that material for a full re-dye whereas they can stay on if you are only spot-treating the areas that are worn.
Products I purchased:
Leatherique kit #3 LEATHERIQUE LTD - Detail $150 ($172 with shipping)
Description: Kit #3 Includes
(1) 32 oz Rejuvenator Oil
(1) 32 oz Prestine Clean
(1) 32 oz Super Prepping Agent
(1) 32 oz Leatherique Standard Color Dye
(1) 2oz Crack Filler
($30.00 UP CHARGE FOR CUSTOM COLORS)

(The prepping agent is empty, not clear. I went through about half of the other fluids.)
Tools and Materials:
- Metric socket set
- Shop vac
- Phillips screwdriver
- Various scrub brushes
- Terry cloth rags-something lint-free
- A couple buckets
- Bondo spreaders or old credit cards
- Sandpaper 2 sheets each of 220, 400, 600 and 1000 grit
- Shallow tray
- Folding tables or sawhorses/plywood (something to put all of your seats on in your garage or basement)
- Preval spray gun and 4-5 power units
- Small artist’s paint brushes
- Painter’s plastic (comes on a roll at Lowe’s and Home Depot)
- Distilled water
- Acetone
Process:
The high-level process in the instructions is below, and the detailed instructions are attached. All done at once, it takes nearly a week. I had a full week with the wife out of town so I could borrow her car while the cruiser was down, but the process could be split into a couple weekends. I wasn't planning on doing a write-up, so I'm sorry I don't have many pics of the actual process.
- Rejuvenator Oil
- Wait 12/24 hours
- Prestine Clean
- Wait 48 hours
- Prepping Agent/Crack Filler
- Wait 12/24 hours
- Dye
- Wait 48 hours
Clean and condition
I pulled all my seats, moved them to the garage, removed all of the plastic pieces (which also needed cleaned), vacuumed them, applied the Rejuvenator Oil with a spray bottle and rubbed it in with rubber gloves. Probably took 3-4 hours and then left them to soak overnight. Next day they got spritzed with Prestine Clean and wiped down using a damp rag.
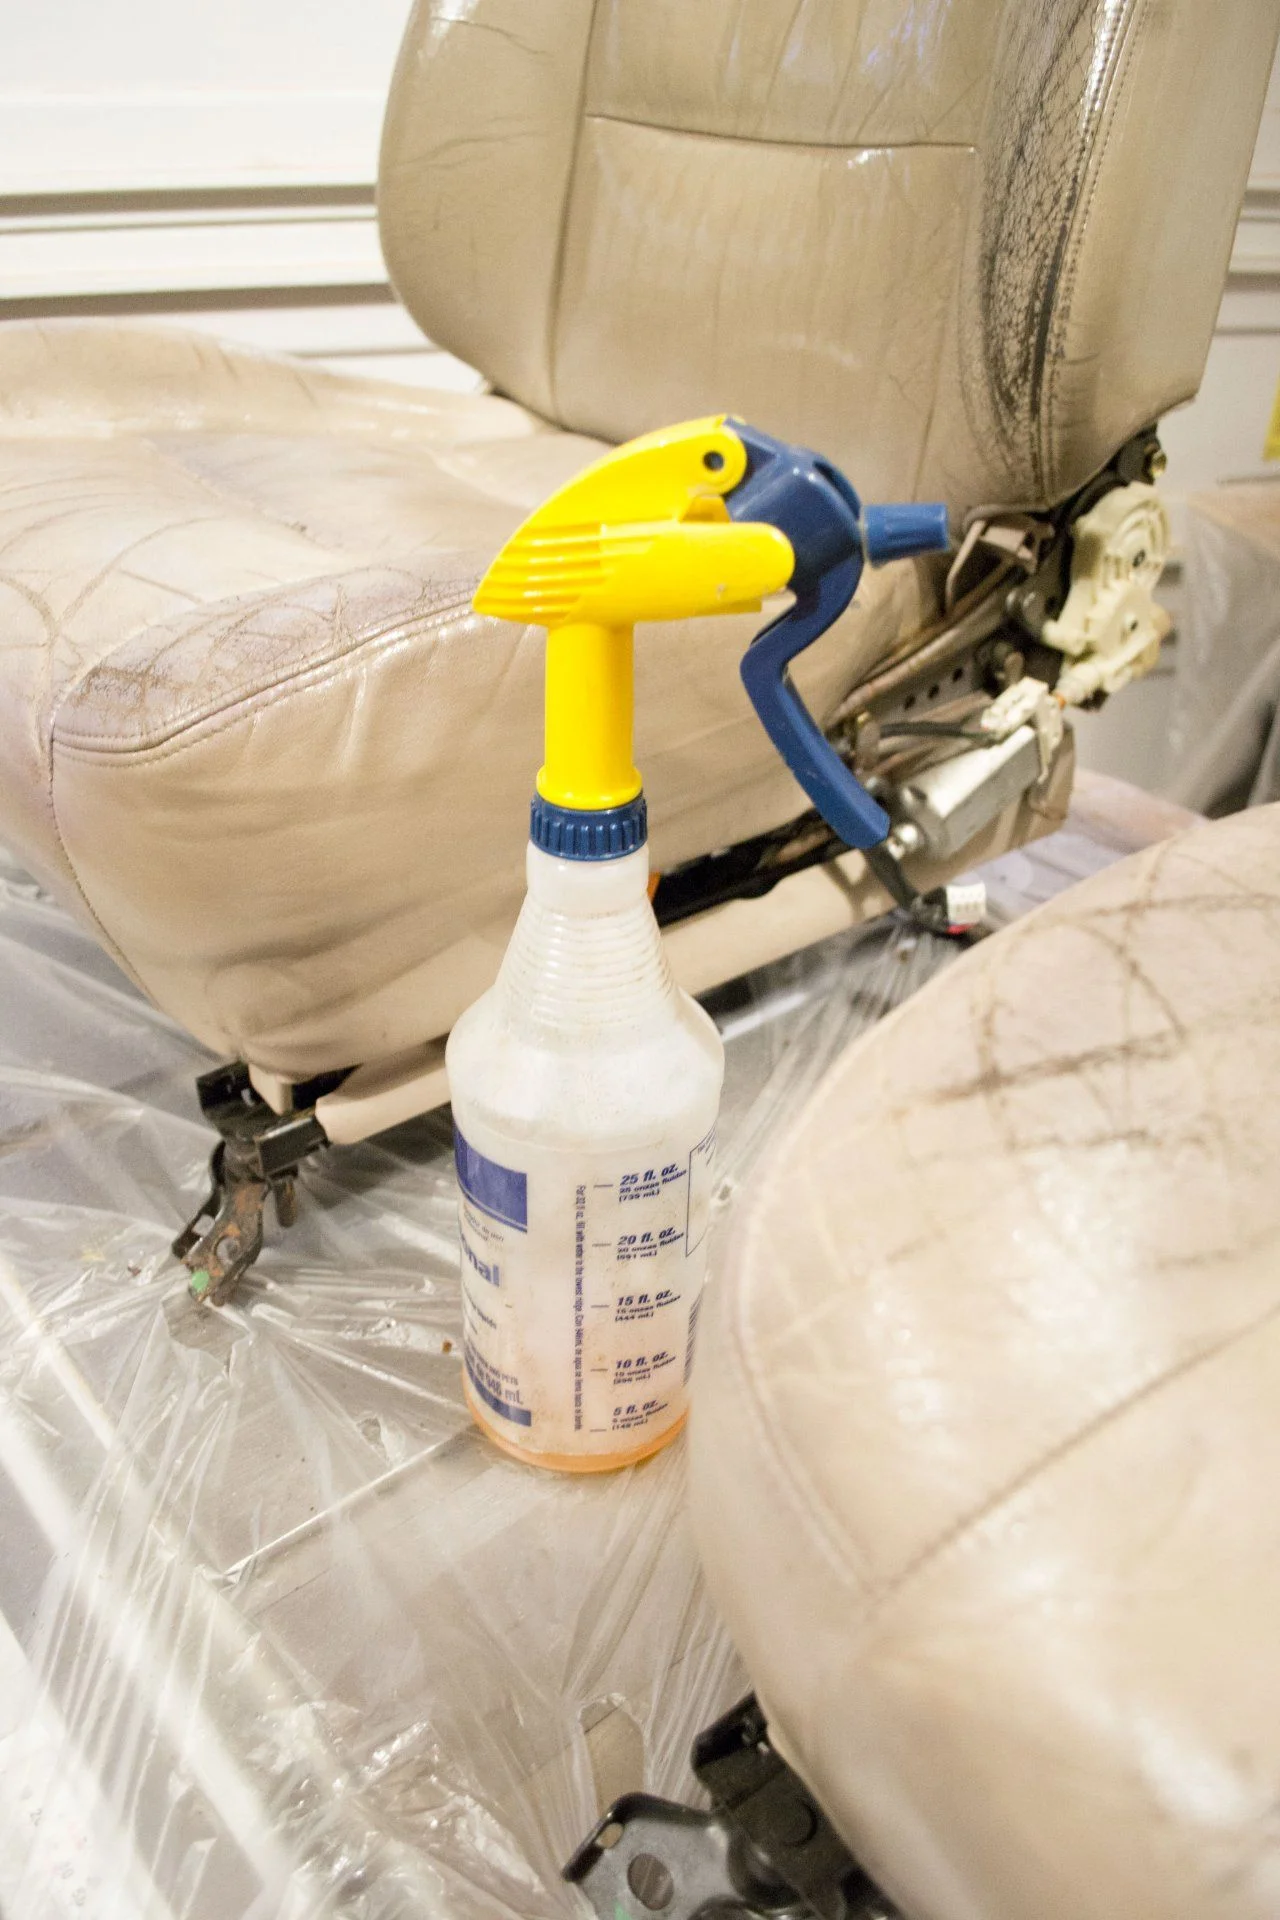
Leatherique's process recommends applying the oil to the seats in the vehicle on a warm day to create a steam room effect. I lucked out with a warm weekend in April, so I set them back in the truck and reapplied the oil. If it’s been a decade since any conditioner has been applied to your leather then it would likely benefit from multiple applications. I really should have waited and done 3-4 applications in July or August to really get the heat working on them. You can throw a trash bag over the seat if you need to run somewhere or move the truck, but I haven't read anywhere that black trash bags or parking with the seats facing the sun accelerates the process. The second time around I worked the oil in using scrub brushes, left the oil on for 48 hours and cleaned up using Prestine (some use of the scrub brushes in the seams) and the double-bucket method this guy used.
Prep
Sometime in 2008 when the front seats started to turn purple, I rattle-canned them with Nu-life color spray. Their sand color wasn’t a perfect match, but looked better than the purple. I’m pretty sure this junk was sealing out the Rejuvenator Oil from working it’s magic and it had to come off before the dye could go on. If you have tried any quick-fix products in the past, then this will create more work for you during the Prepping Agent phase. All of the seats went back into the garage and I wet-sanded all of the leather sections of the seats with 400-grit using the shallow tray and Prepping Agent, then hit the leather and vinyl all over with 600-grit. I should have done another round of the oil after the wet sanding, but I was in a rush. Next comes the Crack Filler. As you can see in the pics below, I went a little crazy with the crack filler on the driver’s seat. More to come on that. The Crack Filler should go on in thin layers using the Bondo applicators (or old credit cards.) Give it 20 minutes or so to dry, then another layer, repeat. Get it just proud of the leather and then sand it back flush. After getting it back flush using 220-grit (lightly), I went over it again with 400 and 600-grit, vacuumed and wiped down again using prepping agent and rags.

Applying the dye
I have an air compressor and a detail gun, but my regulator crapped out right when I was ready to spray the dye. I had a few Preval sprayers left over from an in-wall speaker grill project and decided to use those. Thinning the dye 10% with distilled water wasn’t enough, so I ended up going around 20-25%. I didn’t like the Prevals. They’ve worked great in the past on other things, but I felt like I was getting too much flow and it wasn’t spraying as dry as I would have liked. So the dye went on a little thicker than I would have preferred, was really prone to running and got the occasional air bubble. Runs and bubbles dry to nasty dark spots, avoid them at all costs. Instructions also say you can use a brush and the dye does do some self-leveling as it dries. So I'd be less concerned with leaving brush strokes than I was before I started. Artist's brushes are for getting the dye into the cracks and I used painter's plastic to tape off my garage like a murder room.
I'd use a detail gun over the Preval, if I could do it all over again, and if I'd color-matched, I'd probably gone the wipe-on route. I think I could have gotten nice thin coats that way and built it up to where no swirls were noticeable.
I let the dye go untouched for 48 hours as instructed. While the dye was curing, I soaked all of the plastic seat parts in dawn for a day, then ran them through the dishwasher. I used acetone to clean up any stubborn marks, then hit them with a light coat of Armor All. After reassembling and putting the seats back in the truck, I buffed them down and spot sanded any areas that felt rough with 1000-grit. It had a rubbery feel for a week or so that went away making me think that the dye is still curing after 48 hours and that leaving it unused for longer would benefit durability. The instructions also mention applying Carnauba wax as optional, and Leatherique also has a product, Klear Kote, intended to protect the finish. I didn't apply either of those, maybe I should have...
Attachments
Last edited: