Can a HJ47 Ute be Rebuilt on a $6K Budget? - Lets Find out. (1 Viewer)

This site may earn a commission from merchant affiliate
links, including eBay, Amazon, Skimlinks, and others.

Now the front diff. What a pain in the ass to get out


So Im doing a PS swap so I needed to get to the chassis rails. The steering box was flogged out so I cut it off with a grinder and the battery mount was totally rusted. I also cut of the shock mounts.


This is the before


And the cleanup


.


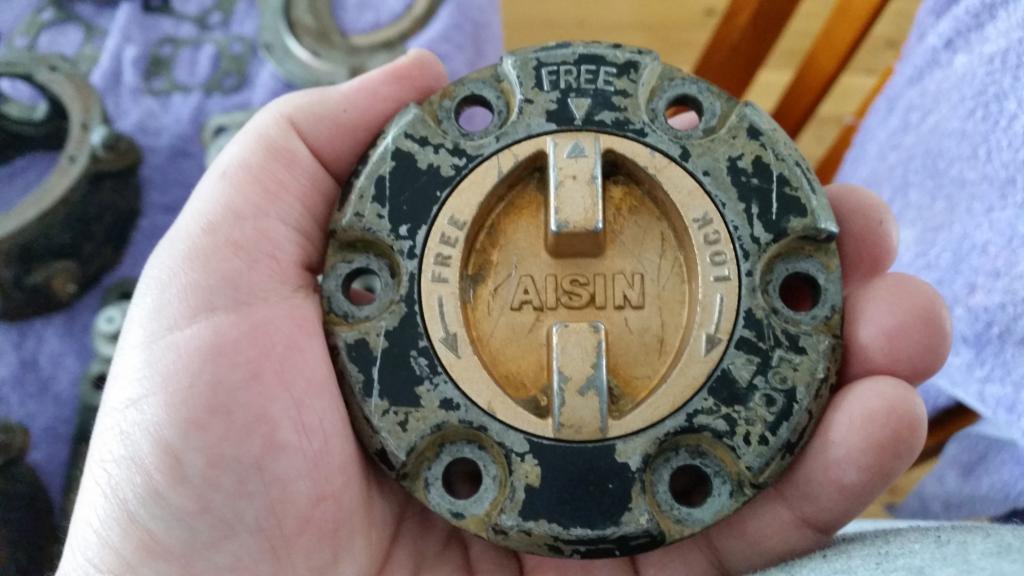
And the finished Hubs


New HJ75 steering rods and ends (well the rods are old but the ends are new)


New Steering box

 
Some more pics of the cab


And the front end back together


Last edited:
Trying to line up the shock mount and the PS box


And bolted down


Heres the backing plate (there are crush tubes in there as well)


4 Speed out


5 Speed


Damn you move fast, new.
 
Im just uploading photos taken over the last year. I actually move very slowly.
 
The 5 speed went on with the bellhousing from the 60 series so the taco can be wired. Where will I get a taco from?

I found a parts vehicle that I picked up for $200, It had no drivetrain, but it came with a shedload of second hand parts.

It also is a late 1983 model with the full dash and taco!
The tub is also 100% rust free but the rest is dead.

The old farmer was the same one I bought the origional cruiser off, and he loaded the new one using the tractor in what was one of the most dangerous activities I have ever done.


So I have the cab I need and I have sold the rest (for the same $200 I paid !) The cab is just waiting for some attention.
I will give it a wire brush and then paint the bottom with body deadener ASAP.
 
OK so back to the main project

The RHS engine mount needed to be replaced with one able to take the PS pump for the 2H so I found an early pump mount (hard to find in Aus)

Turns out the old RHS engine mount was held on by only one bolt, the other 3 had snapped and by the looks of them a long time ago.

This is before I did anything


Luckly the botls came out really really easily


And the new mount


The Winch

The best find I had was a $200 Warn Highmount winch that was needing some attention.

It was totally jammed so I pulled it apart,

The insides were totally clean it was just the clutch leaver and bearing that were jammed.

I replaced the clutch and I have put a top end and brake kit through it to clena it up. There are some origional photos and some more during the painting process.


The Electrics need replacing and I will be using a solid state solenoid that will deal with water a little better.


I also found a cleaner motor to use

 
I hope you know how fortunate you are to have such nice metal to start with. I parted out a 45 that's frame had evaporated behind the cab there were two strips of metal left... one had been the top, and the other the bottom... and they were touching with nothing in between. The truck was so rough, that it'd use less metal to replace the entire cab, box, and frame than to repair it... there was little to nothing that was salvageable... other than the axles... :D
 
I got really lucky. My daily driver is a HJ47 troopy and it has more rust in it then my project. How many people can say that!
 
Nice looking build!

Are parts in aussie just pretty cheap? I'm also on a really tight budget, almost nothing, so I can't afford to buy new things right off the bat like that. Wish I could though!

And your 2H is making me jealous and miss my first 45 which was a HJ45. Great motors, solid as hell and won't stop for nothing wither.

Great work!
 
Subscribed. It looks great !

John
 
Sorry No photos today,

But I did get the tray sides welded up. I have cut them back a bit so I can put angle steel on the ends, this allows them to "wrap" around the tube ends of the tray, long story short I will have a removable rear builders rack for the tray.

I also got the front section of the tray folded up and I welded the majority of it.

I started the new Power steering pump mount (above the Alternator - I cant find the right mount so Im making one) but I need some steel to finish the mount.
 
Love this idea... Following your progress!!!


Sent from my iPad
 
Sorry no progress lately.

There was some flooding south of my area and I deployed with search and rescue for most of the week.

I also have a dead starter on my daily driver HJ47 at the moment so Im riding around on the motorbike and its not as effective at picking up parts.
 
So I still have a dead starter on my daily driver and thats really slowing me down.

I welded a new battery tray. (the welds are terrible)


But the battery fits, and I have worked out how Im going to mount it to the chassis. not quite in the factory position but a little lower and underneath the brake booster. this leaves me some room in front of the battery and gives me some future options.


A new position for the PS pump


I still need to make a bracket to hold the rear of the pump to the block.


The pully lines up nicely and the mount is nice and strong. but I did have to remove the temp sensor from the thermostat housing and make a sump lug to fill the hole. I am going to put a more accurate temp sensor in the water pipes somewhere.
 
So I started to grind the bottom of the tub.

And I needed to get into the little crevices around the front of the tub so I took the handle of the grinder.

2 minutes latter and BANG


And even though it scared the living cr@p out of me there was only a graze - It still hurts now 5 hours after it happened.


Note, this is the only grinder I own that still has the safety guard on it.
 
Wire wheels are one of the most dangerous tools out there - I broke a couple fingers when my 9 amp Metabo caught a glove - you're lucky it didn't carve a hole in you . Lesson learned - never wear clothing that is loose and can be caught up in any wheel - the gear drive in those tools doesn't care and they have an amazing amount of torque . If you are trying to work in tight spots - consider investing into a needle scaler . They work quickly and are a bit safer but eye protection is a real must . For any heavy grinding work or removing rust/paint I use a full face shield now , getting tired of digging grinding wheel chunks , steel and wire wheel wires out of my face - so is my old doc as he finally retired . One thing that is really great to wear for demo work like that is a welder's leather apron - they aren't so hot and hang down low enough they aren't as likely to get caught in a wheel , if it does the material is heavy enough to stop most machines . 7-9" heavy/high power angle grinders - all bets off as they will cut through anything that touches them , regardless of what wheel you're using .

I've done a lot of industrial demo jobs at work - seen some really ugly injuries involving limbs being chopped off , 3rd degree burns and such from a lack of good personal protection gear . The stuff isn't cheap , but a lot less expense than a trip to the emergency room .
Like I said - get a heavy leather apron that ties in the back , it will hurt the wallet but save your skin instead .

Sarge
 

Users who are viewing this thread

Back
Top Bottom