kevinmrowland
Forum Lifer
I get a lot of questions from folks who want to install their tailgate lids with an angle grinder rather than the typical jig-saw method.
So, my buddy Matts truck had been coated on the interior with a heavy layer of LineX, it would have made a mess to use the plasma cuter like I normally do at my shop, so I took the opportunity to document an angle grinder cut and install.
Angle grinders work just fine and are probably a bit faster, they are not my first recommendation for a few reasons though:
There is a lot more chance of screwing up, they can be very dangerous (most people use cheap cut-off wheels from Harbor Freight that are even more dangerous and work like crap), the grinder will throw sparks all over your truck and make a bit more of a mess and I've had customers slip and cut through the outer skin. (I find that would be hard to do, but keep it in mind)
There are benefits though:
It's faster.
They cut through the reinforcing ribs a bit easier.
Ummm... I guess that is about it though.
So, on to the pics:
Here is Matt putting the finishing touches on our blanket fort.
With the sparks flying around from the grinder it's a good idea to cover up the back of the truck, including the glass.
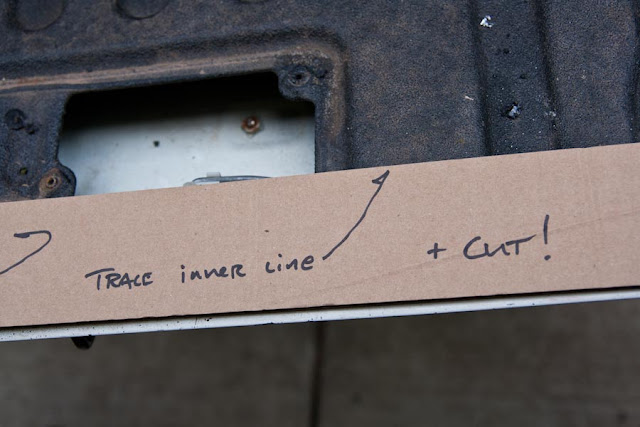
You can see here I have the lift gate closed and behind the liftgate I put a piece of cardboard, this really helps keep the inside of the truck clean. The cardboard that your lid comes wrapped in works great for this.

You can see the cardboard here as well.
Pull the accsess covers like normal, good idea to remove the foam blocks so they don't melt and make a mess.
Drop the template into place and pin it with a few bolts.
...
So, my buddy Matts truck had been coated on the interior with a heavy layer of LineX, it would have made a mess to use the plasma cuter like I normally do at my shop, so I took the opportunity to document an angle grinder cut and install.
Angle grinders work just fine and are probably a bit faster, they are not my first recommendation for a few reasons though:
There is a lot more chance of screwing up, they can be very dangerous (most people use cheap cut-off wheels from Harbor Freight that are even more dangerous and work like crap), the grinder will throw sparks all over your truck and make a bit more of a mess and I've had customers slip and cut through the outer skin. (I find that would be hard to do, but keep it in mind)
There are benefits though:
It's faster.
They cut through the reinforcing ribs a bit easier.
Ummm... I guess that is about it though.
So, on to the pics:
Here is Matt putting the finishing touches on our blanket fort.
With the sparks flying around from the grinder it's a good idea to cover up the back of the truck, including the glass.
You can see here I have the lift gate closed and behind the liftgate I put a piece of cardboard, this really helps keep the inside of the truck clean. The cardboard that your lid comes wrapped in works great for this.

You can see the cardboard here as well.
Pull the accsess covers like normal, good idea to remove the foam blocks so they don't melt and make a mess.

Drop the template into place and pin it with a few bolts.

...
Last edited: