Aussie locker (1 Viewer)

This site may earn a commission from merchant affiliate
links, including eBay, Amazon, Skimlinks, and others.

Joined
May 27, 2011
Threads
31
Messages
982
Location
South MS
There's no current thread here about these lunchbox style lockers. So here it goes again.

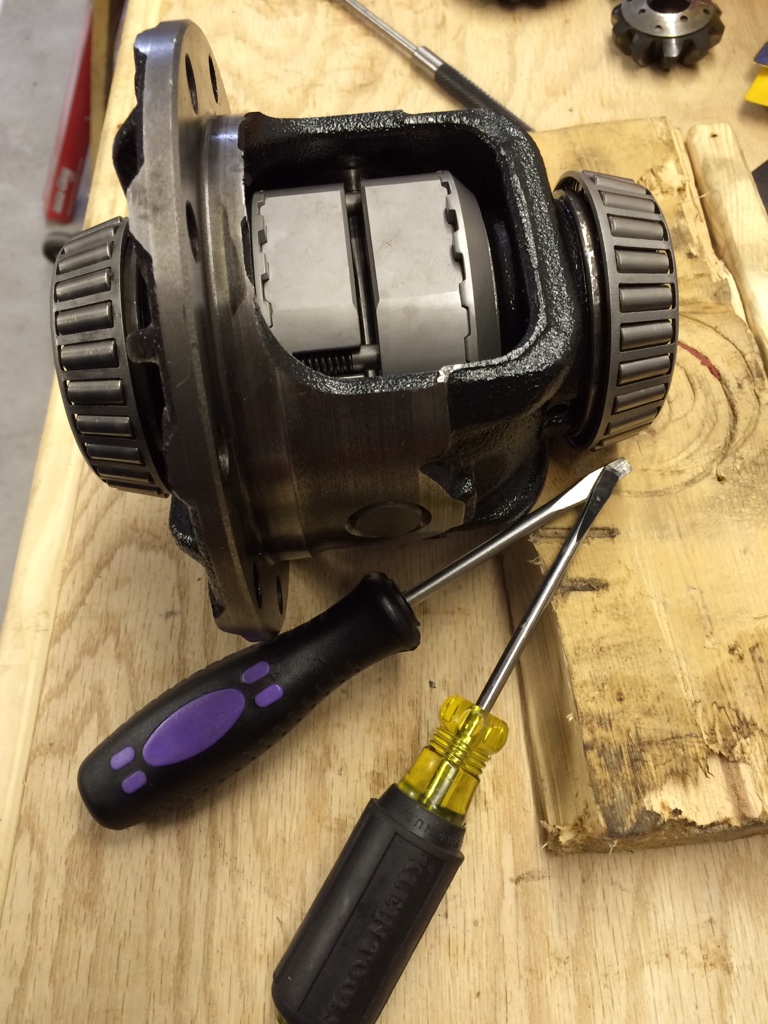
I've mulled over it long enough. I've read countless reviews and gone over every scrap of literature I could google on the matter. I do believe an Aussie locker IN THE FRONT is for me and I've ordered one. Where I'm located, we don't have rock trails, just mud holes and some dirt trails which are basically washouts formed in red dirt embedded with sand and gravel. So turning while in 4wd on these common surfaces here will not be an issue.

Does anyone run one of these in their IFS and/or have a buddy that does? First hand experience with one?

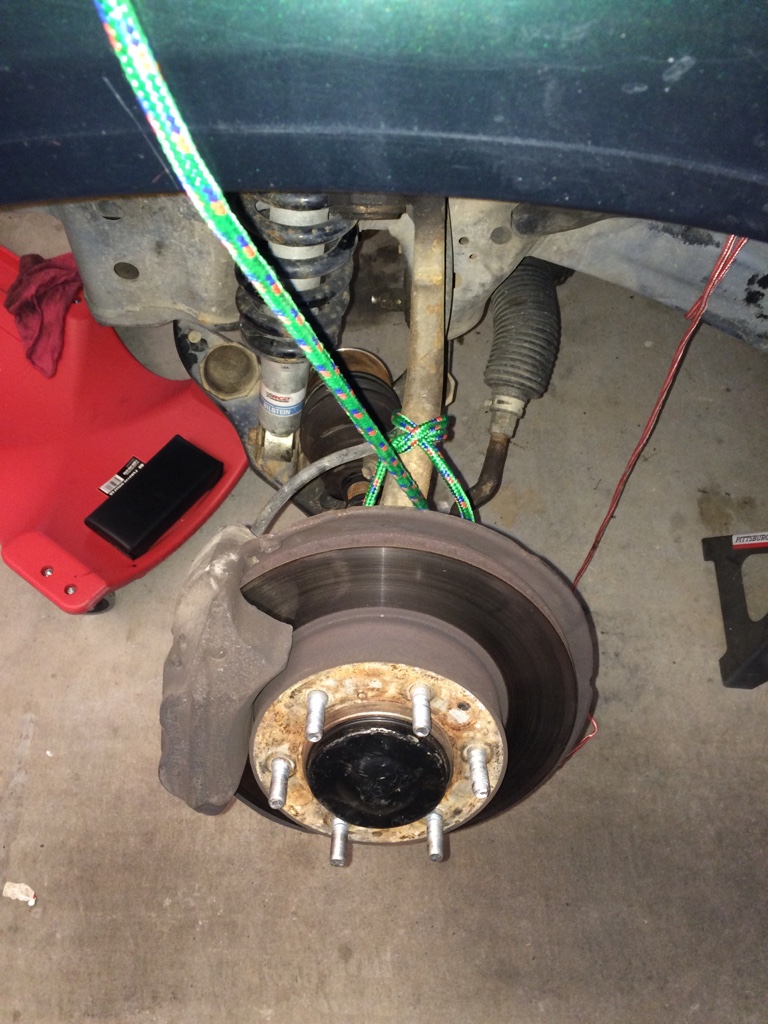
The install will be done by me on my garage floor while I'm removing and fixing a leaky oil pan on a 2.7l.
 
Now for some time to put it in.
12f65a6ac1b7f3102f55888d97840a11.jpg


ed09f840e93435ae48802a9b7dc2e701.jpg


e78bcadb1e02779b0c6f450288be658a.jpg
 
I did the install last weekend and just copied/pasted from what the guys at TW wanted to know. Here is all the hang ups that I encountered having never dealt with an IFS. You'll have to fill in the blanks with your own know how for the rest.

I started out with some rope. I unbolted the LBJs and then snapped the axles out. Pulled the axles clear and hung it all out of the way so I could work on the diff, oil pan, and coils.
ba75dc3dac717e0fdf76ffba7c0312d4.jpg


64108b253f811aaddbc57a4d2299bbfe.jpg


This little guy is a 12mm ALLEN NUT. The only one I know of so far on this truck or my VW. I didn't know it was there and I had to run to the parts house for a set of allen wrenches. It holds the back of the diff to the crossmember. This was my setback #1.
6af3f46cd066ca1f1a75ffa4293b2ec9.jpg


I couldn't get the diff out because the vent hose piping kept hanging up on another hose going to the rack and pinion. I ended up tying it out of the way by laying the rope over the motor mount and pulling it that direction. Then the diff has to be benchpressed up and off of the crossmember. Remember that allen nut, well the bolt is still there causing problems and the diff has to be wrangled back and forth until you find the one way it'll come out. I did put in on the bathroom scales before I put it back in and it weighed about 84 pounds. Just so all the little people would know.
27f2b053f9634fc97353a83a34f6170c.jpg


Here's that pesky hose tied out of the way once the diff was out. I bent the bottom of it some with the handle of my hammer also.
64fbb19f2d89050c2045325f4068c7fc.jpg


Here's some of setback number two. The little halfshaft or whatever it's called has to be driven out like the axles do. I have an exploded diagram and it has what is referred to as a "snap ring". Well, in my field of a work a snap ring requires special pliers(that I did have) but I couldn't see where to get at it. I finally gave up and decided to beat on it some and it started moving. I purchased these punches prior to knowing I needed them.
5920eb6e22771765e1eba07388f1929e.jpg


Here is set back #2. These bolts hold the diff housing/tube that's located on the passenger side. A poor choice of bolt head, IMO, but I did have a set of the proper sockets from having to buy a set years ago to swap out the cracked exhaust manifold. But, the gurus at Toyota decided to apply some Loctite of the gods onto these bolts. I was having to use my 1/2" drive torque wrench I use on the lug nuts just to break these. Specs show they only needed somewhere around 50 ft/lbs or so. I had my wrench set at 90ft/lbs and it would click.
35673a9b8c5070f9ce96eebe23672f38.jpg


So I ended up having to get a set of these to get the one bolt out. This all had to wait over the weekend anyway. I call the local Stealership on Friday afternoon about a replacement bolt and he tells me 'I can get you the set of four bolts.' That's cool. When? He says 'Two weeks and you pay now.' I say I can order them from Japan myself quicker than that. I have a brother in Austin and I can get him to call around their dozen or so Toyota dealerships and get me some. Then overnight them to me and I'd have them before you even ordered mine Monday morning. He got didn't like my idea. I also picked up the set of punches in the above photo because the ones I had weren't long enough to knock out the pin in the chunk nor drive out the halfshaft.
ca606db92ff30f654678020b0f1c17d9.jpg


Another Harbor Freight idea that's half crazy...yet genius: the hitch mounted vise. Once the bolts are all out of the ring gear, you'll have to beat it off. I had an old 1/2" bolt that I used. The punches are harden steel and have sharp edges. The bolt was regular cheap steel and had rounded edges. Tap it in opposing holes, use the same pattern technique you'd torque a head with, and keep tapping until it comes off even. You may need to increase the hammer size or end up beating it. Depends on what hammer you've got.
7ac16fe1c961fe93d4bcd4c76ad2ef31.jpg


I made this prop out of a scrap piece of 2x4 and a 1x2. It was the perfect height. I used a pair of long wood screws to secure the chunk while I drove out the pin so I could use both hands to hold the punch and the hammer.
348e1120ca5287f56afd0f053ddd170a.jpg
 
Last edited:
Out with the old junk, install the new stuff. There needs to be a certain gap between the pin and the two halves. Mine was .010" and that's dead center of the Aussie spec.
4f89b879330d542d9c1368417661816d.jpg


Put it all together and admire you handy work. I used two flat head screwdrivers to put the springs in. I didn't loose a single one or have one shoot across the bench. Use one as a slide into the hole for it and push it down with the other screwdriver. Easy peasy. Some reviews I had seen said this was hard...
28513d20e0f313f479e4decb6101c118.jpg


Here's another gap to check. Again, mine was dead center at Note how that the locker will be engaged when there isn't power applied. This was stated in one of the other and more recent threads, but here's a visual to reinforce that statement. This will cause the driveshaft to rotate back to the transfer case. The ratcheting that allows the wheels to turn at different speeds only happens when the driveshaft powering the Aussie locker is not driving it any more. So essentially, when you are engine braking you can turn, when you on the throttle you can't without it locking. Make sense?

I'll be looking into and doing the mod where you can manually control the ADD. This would allow a fully locked 3wd and you'd be able to turn more easily on firm surfaces. I tried to turn around in my yard yesterday and it wasn't easy. I'm not used to this yet and will update this thread as I figure some of it out. There was some...a lot of binding up front. Granted it's been hot as hell here the last few weeks, the grass is dead, and the ground is as hard as concrete.
9a0d3ad911b8670f224957f51680caaa.jpg


Once this is off put it into the sun so that it can get hot for later. If it's not sunny or is cold out, you'll need an alternative.
cb2273455d1cedba1ef786516e13bafd.jpg


Once this is all back together put it in the freezer. I did 30 minutes while I took a breather and got ready for the next step.
37f9a81510b2c1f896c1f4c92b397ca7.jpg


I took this screen shot while I took a breather.
d6420d49136ee6d11d091b7c58cd1866.jpg


If you don't have the nice weather like I had, you can use this instead. Be sure to not over heat in and be sure to let the heat 'soak' some to allow the entire ring to heat up and not just the outside. It doesn't have to boil spit, but should be just a little beyond the average person's comfort zone of holding. Once it's hot, grab the rest out of the freezer and put it together. Have all your stuff ready because this needs to happen quickly or you'll end up beating it on.
40f3b9b7b530cef032db08f1222462f7.jpg


I didn't even have to tap it. Make sure you line up the score marks you put onto them before taking them apart. Just put a small amount of torque at first and set it all back in the sun. The two pieces need to be fairly close in temperature for a most accurate reading. Also, my hub started sweating like a cold drink as it warmed up. I set mine back out in the sun until it wasn't cold anymore then set it up on the tailgate while I finish cleaning the faces of the diff housing. Heat expands and cold retracts; the ring will grow as it warms up and the hub will shrink in the freezer. After you put it back together the ring will shrink and the hub will grow.
3a9997195249308a884574aaea40911b.jpg


I ended up having to use this to get into all the little channels that Toyota put onto the faces of everything that bolts up.
061691204fe5c61252453c6f2cdd4ffd.jpg


Ready.
9c493629fe854436f97a335aaf536101.jpg


7f98c4a85158169807479d0bfd9ca8eb.jpg


This was included in setback #2. I ain't got time for that mess. No stores in this two horse town had the right length bolt to replace the one I FUBARed. I could have cut this one down to fit proper like, but I was tired at this point. I did get the old Dewalt out, but I found these 12mm washers I had still laying on the floor in front of my shelves from the last project on my VW. Sweet.
611287a47853bc3101290a4e8d60c7ea.jpg


Here's a shot of how far I had the knuckles and axles pulled out of the way.
3142dc9b480f3c484cb5abecca8e79c0.jpg
 
Last weekend was fairly productive. I got an Aussie locker in, pulled my leaky oil pan, resealed the oil pan, and installed & wired a Harbor Freight 12k winch. I used 1g welding lead for the power wire and pull wire to the winch. I also mounted the solenoid box under the hood beside the airbox. I raised the 5100s up to the middle notch and rotated the tires while it was on jackstands, too.


Just trying these lights on for size and a photo op.
be14300aea48e5cfa7dd63f45c1fa2ec.jpg
 
This is a great thread. Very informative. Thank you for going through the trouble of posting that!
 
Ive only just in the woods behind my house. It does make it harder to turn. I'm getting the items and time to put a switch on the ADD solenoid so I can disconnect the drivers side axle with a switch. The would make it a 3wd and should make tight turning easy.
 

Users who are viewing this thread

Back
Top Bottom