Builds Shipwreck (12 Viewers)

This site may earn a commission from merchant affiliate
links, including eBay, Amazon, Skimlinks, and others.

^^^^^^ nice
though I'm not sure I need bomb-proof under the seat - 3/8" steel... now that's some stout plate.

tonight... welded a couple tabs on.... ugh

finish welds I couldn't get to when it was in the vehicle


then outside for stripping


and back inside to rust


tomorrow I'll weld some braces on if I get a chance (meeting night)... I was a bit disappointed that it's welded seam tube, but by the same token, for what I do, it doesn't matter.... and with a few corner braces will be just peachy.
 
back to the current headache...errr.. project

cleaned the tub


it'll flow out, they said, POR 15 lies... but at least I'll wear it off pretty quickly in the snow.... still, I wish there was an easy way of spraying POR 15


and now I have a front axle with gears in it - time to order the RCV shafts.... but, like all good things, it requires an unrelated step - my printer doesn't work so I can't print out the sheet I need... ugh


and cleaned knuckles


painted them too


and started working on the rear axle then got stopped when I couldn't find my 1 5/16 socket... always something
 
Last night I started setting up the rear gears,


measuring for shims


Sprayed the KBS today - it went on pretty well, and going to get a larger-nozzle gun was the right choice - I blew this on with a 1.8 nozzle ($16.00 at HF)


round 1 the coating


then a top coat


eventually it will end up a factory matte finish - but I almost ran out of time to spray this - KBS recommends low humidity and no rain. Tomorrow it's supposed to rain, thus killing our great 35% humidity we have today.
 
^^^^^^ nice
though I'm not sure I need bomb-proof under the seat - 3/8" steel... now that's some stout plate.

.......
You mentioned .250 plate, I just made the top .375 to compensate for the .125 deep groove. Unless some crack head had a plasma cutter out in the woods with them you could probably build the whole thing out of .125 and sleep secure that nobody would be busting into your safe while you were away from the truck.

Actually you could probably through bolt an ammo can to the body and put a standard padlock hasp on the latch and be perfectly fine.
 
I was wondering where you stashed your build thread - you really are taking this to the extreme. Going to subscribe here and learn a thing or two, since you've been so insightful over on my thread!
 
Some nice work there mate motoring through it
 
bit of paint and some glue....

painted


glued the front diff cover on so I could put the steering on tomorrow, and got the hubs on, the big thing was taking the upper spring out of the coil overs to get it closer to ride-height


it seems way too light, but the 300/200 springs will probably end up being 200/150... that said, I'm not driving it like this, but rather getting the ride height set so that when I get it all together, I can weigh it and get the right springs
 
I'm having a hard time seeing how the steering linkage will go together, what with the Akerman angles and all that.
 
I know this sounds terribly arrogant, and by saying that I hope you get that it's actually not meant to be at all - simply meant to be a response. Ackerman will be as Ford designed it. I didn't mess with anything that affects ackerman. I did change the camber, but that's not a new or terribly exciting thing so I didn't really talk about it other then a brief mention. The longer of the caster comment - stock was 1 degree positive. I welded the knuckle at 0 degrees, and now they are .5 degrees negative but adjustable to -1.5 degrees.... this gives you the on-center feel without the tire wear and dartiness associated with too much toe.

anyway, here's the major punch list... there's a billion other points on it... but the satellite view is:
1) put the efi on, and wire it
2) adjust the valves
3) put the O2 sensor in the header, install the headers, and plumb at least some of the exhaust
4) put the pressure plate and clutch in
5) figure out what hydraulic slave I'm going to use
6) fix the leak in the transmission (at the mid-joint)
7) take the rear housing to my friend with a mill and open up the hole just a touch for the seal
8) finish welding the adapter to the t-case
9) put the output on the t-case and paint the case
10) put the rear motor mount in place
11) get the rear differential
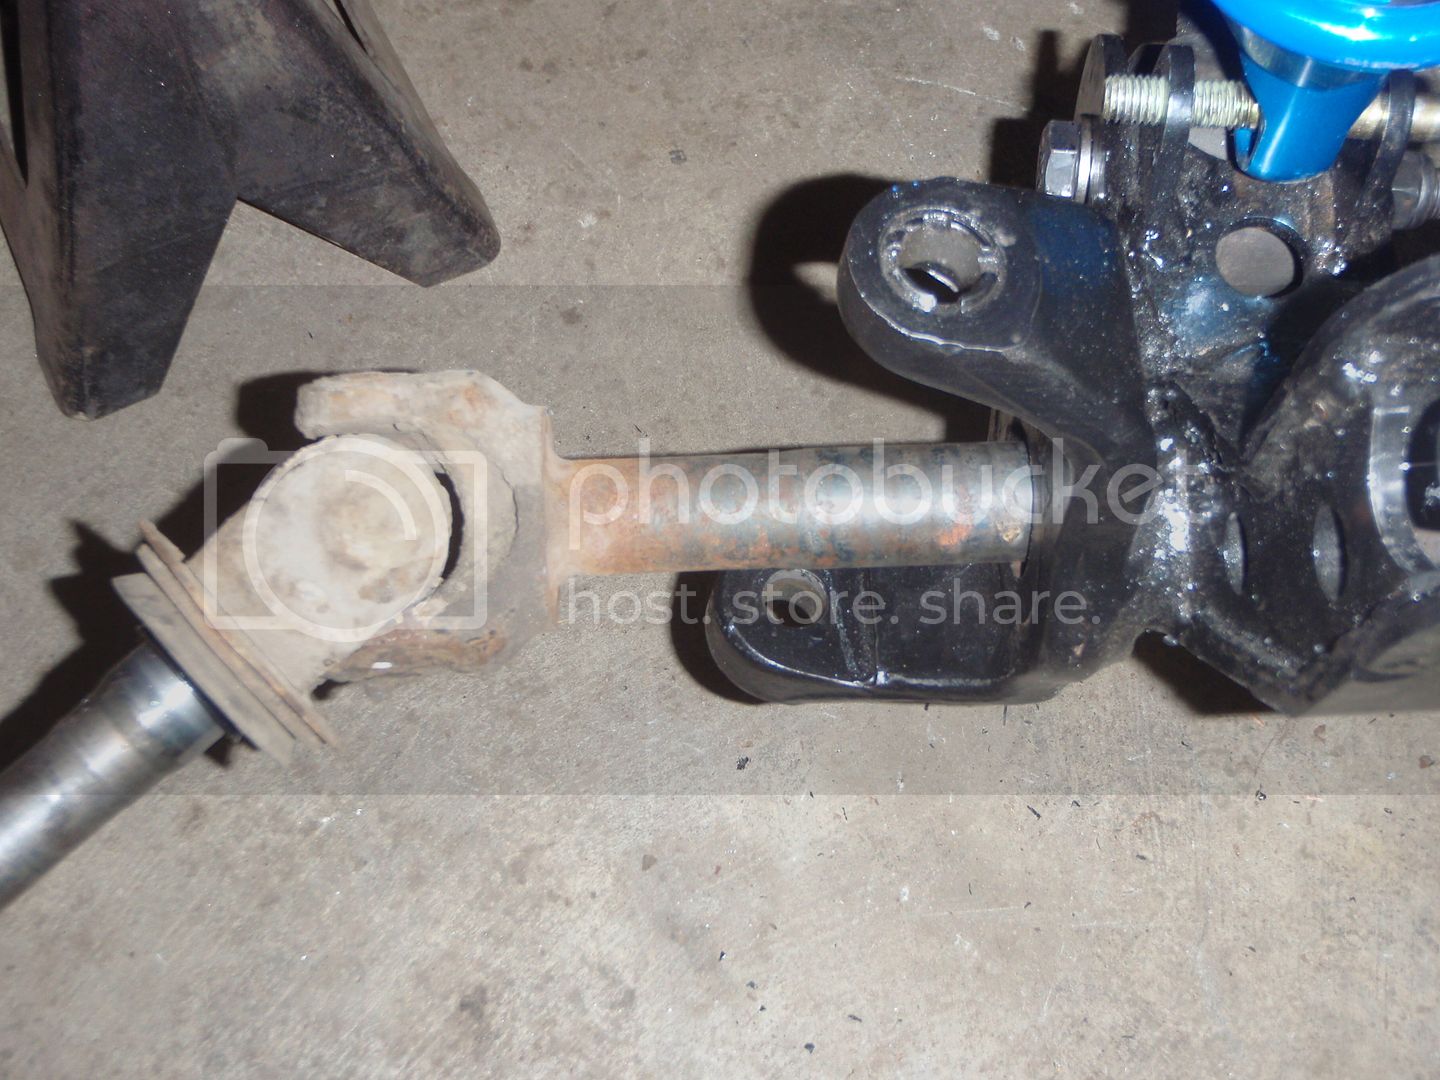
12) order and install the axle shafts front/rear
13) get the front calipers
14) repack the front bearings
15) repack the rear bearings
16) get drive shafts
17) plumb the brakes
18) install the rear shocks (which are custom built, were supposed to be sent Friday, and take a week to arrive since they can't go by air).

then there's the dash - I'm still not sure what the center is going to look like - though I may take a chance on it and undercoat/bedline/paint the tub since I think I'm done with the floor... which would allow me to mount the body back on the chassis (I'll do the body work with the body on the frame).

on top of this, I'm having an internal debate about the axles - do I spend the $1400 for indestructible axles when I've never broken an axle? even when I ran these same axles under a heavier vehicle and 44" tires - simply getting the axles shorted will set me back $150 and shipping.... or do I upgrade a bit? anyway, that discussion alone, once decided will take a month to send, get shortened (or bought new) and received.

I'm really leaning towards the cheapest option because, I've wheeled for decades and never broken an axle - even on my really lifted 74 Blazer that was on 44s (with stock'ish suspension and stock axles).
 
rusty, you got a good laugh out of me on that one. :D
 

Users who are viewing this thread

Back
Top Bottom